Step 1: Install Clipflow Recorder
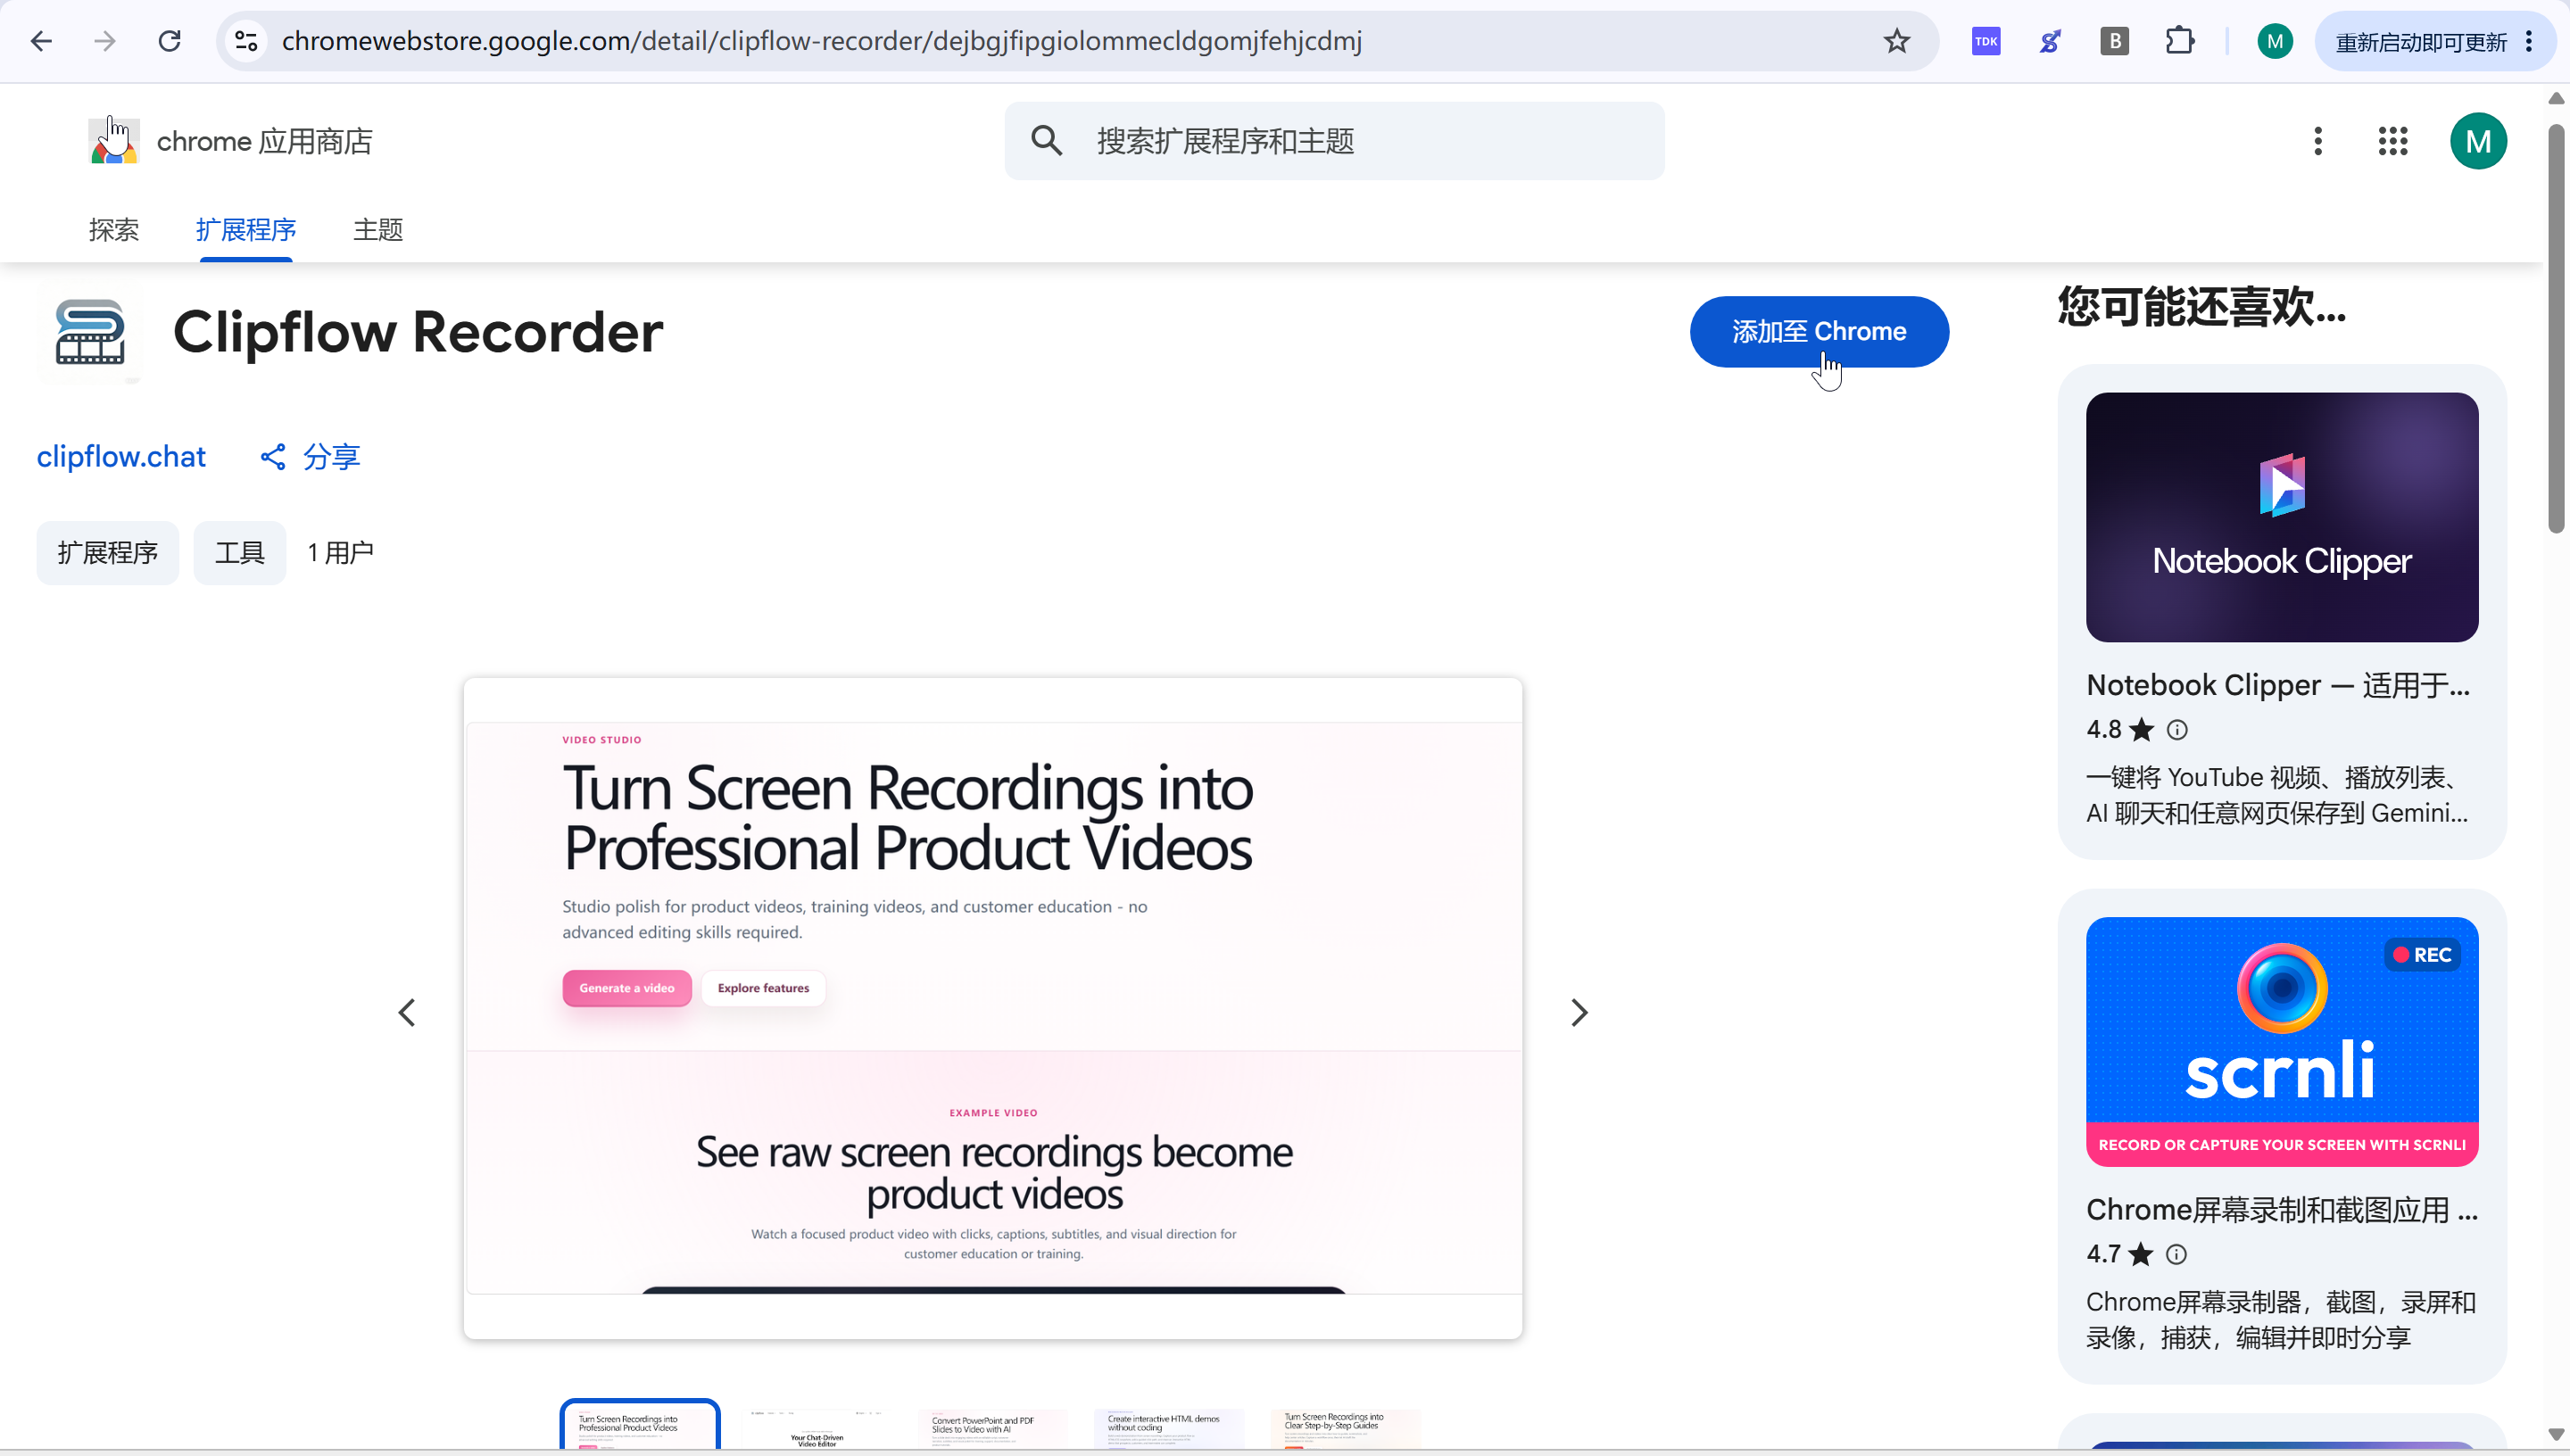
Open the Clipflow Recorder listing in the Chrome Web Store, or open this link directly: https://chromewebstore.google.com/detail/clipflow-recorder/dejbgjfipgiolommecldgomjfehjcdmj.
Click Add to Chrome.
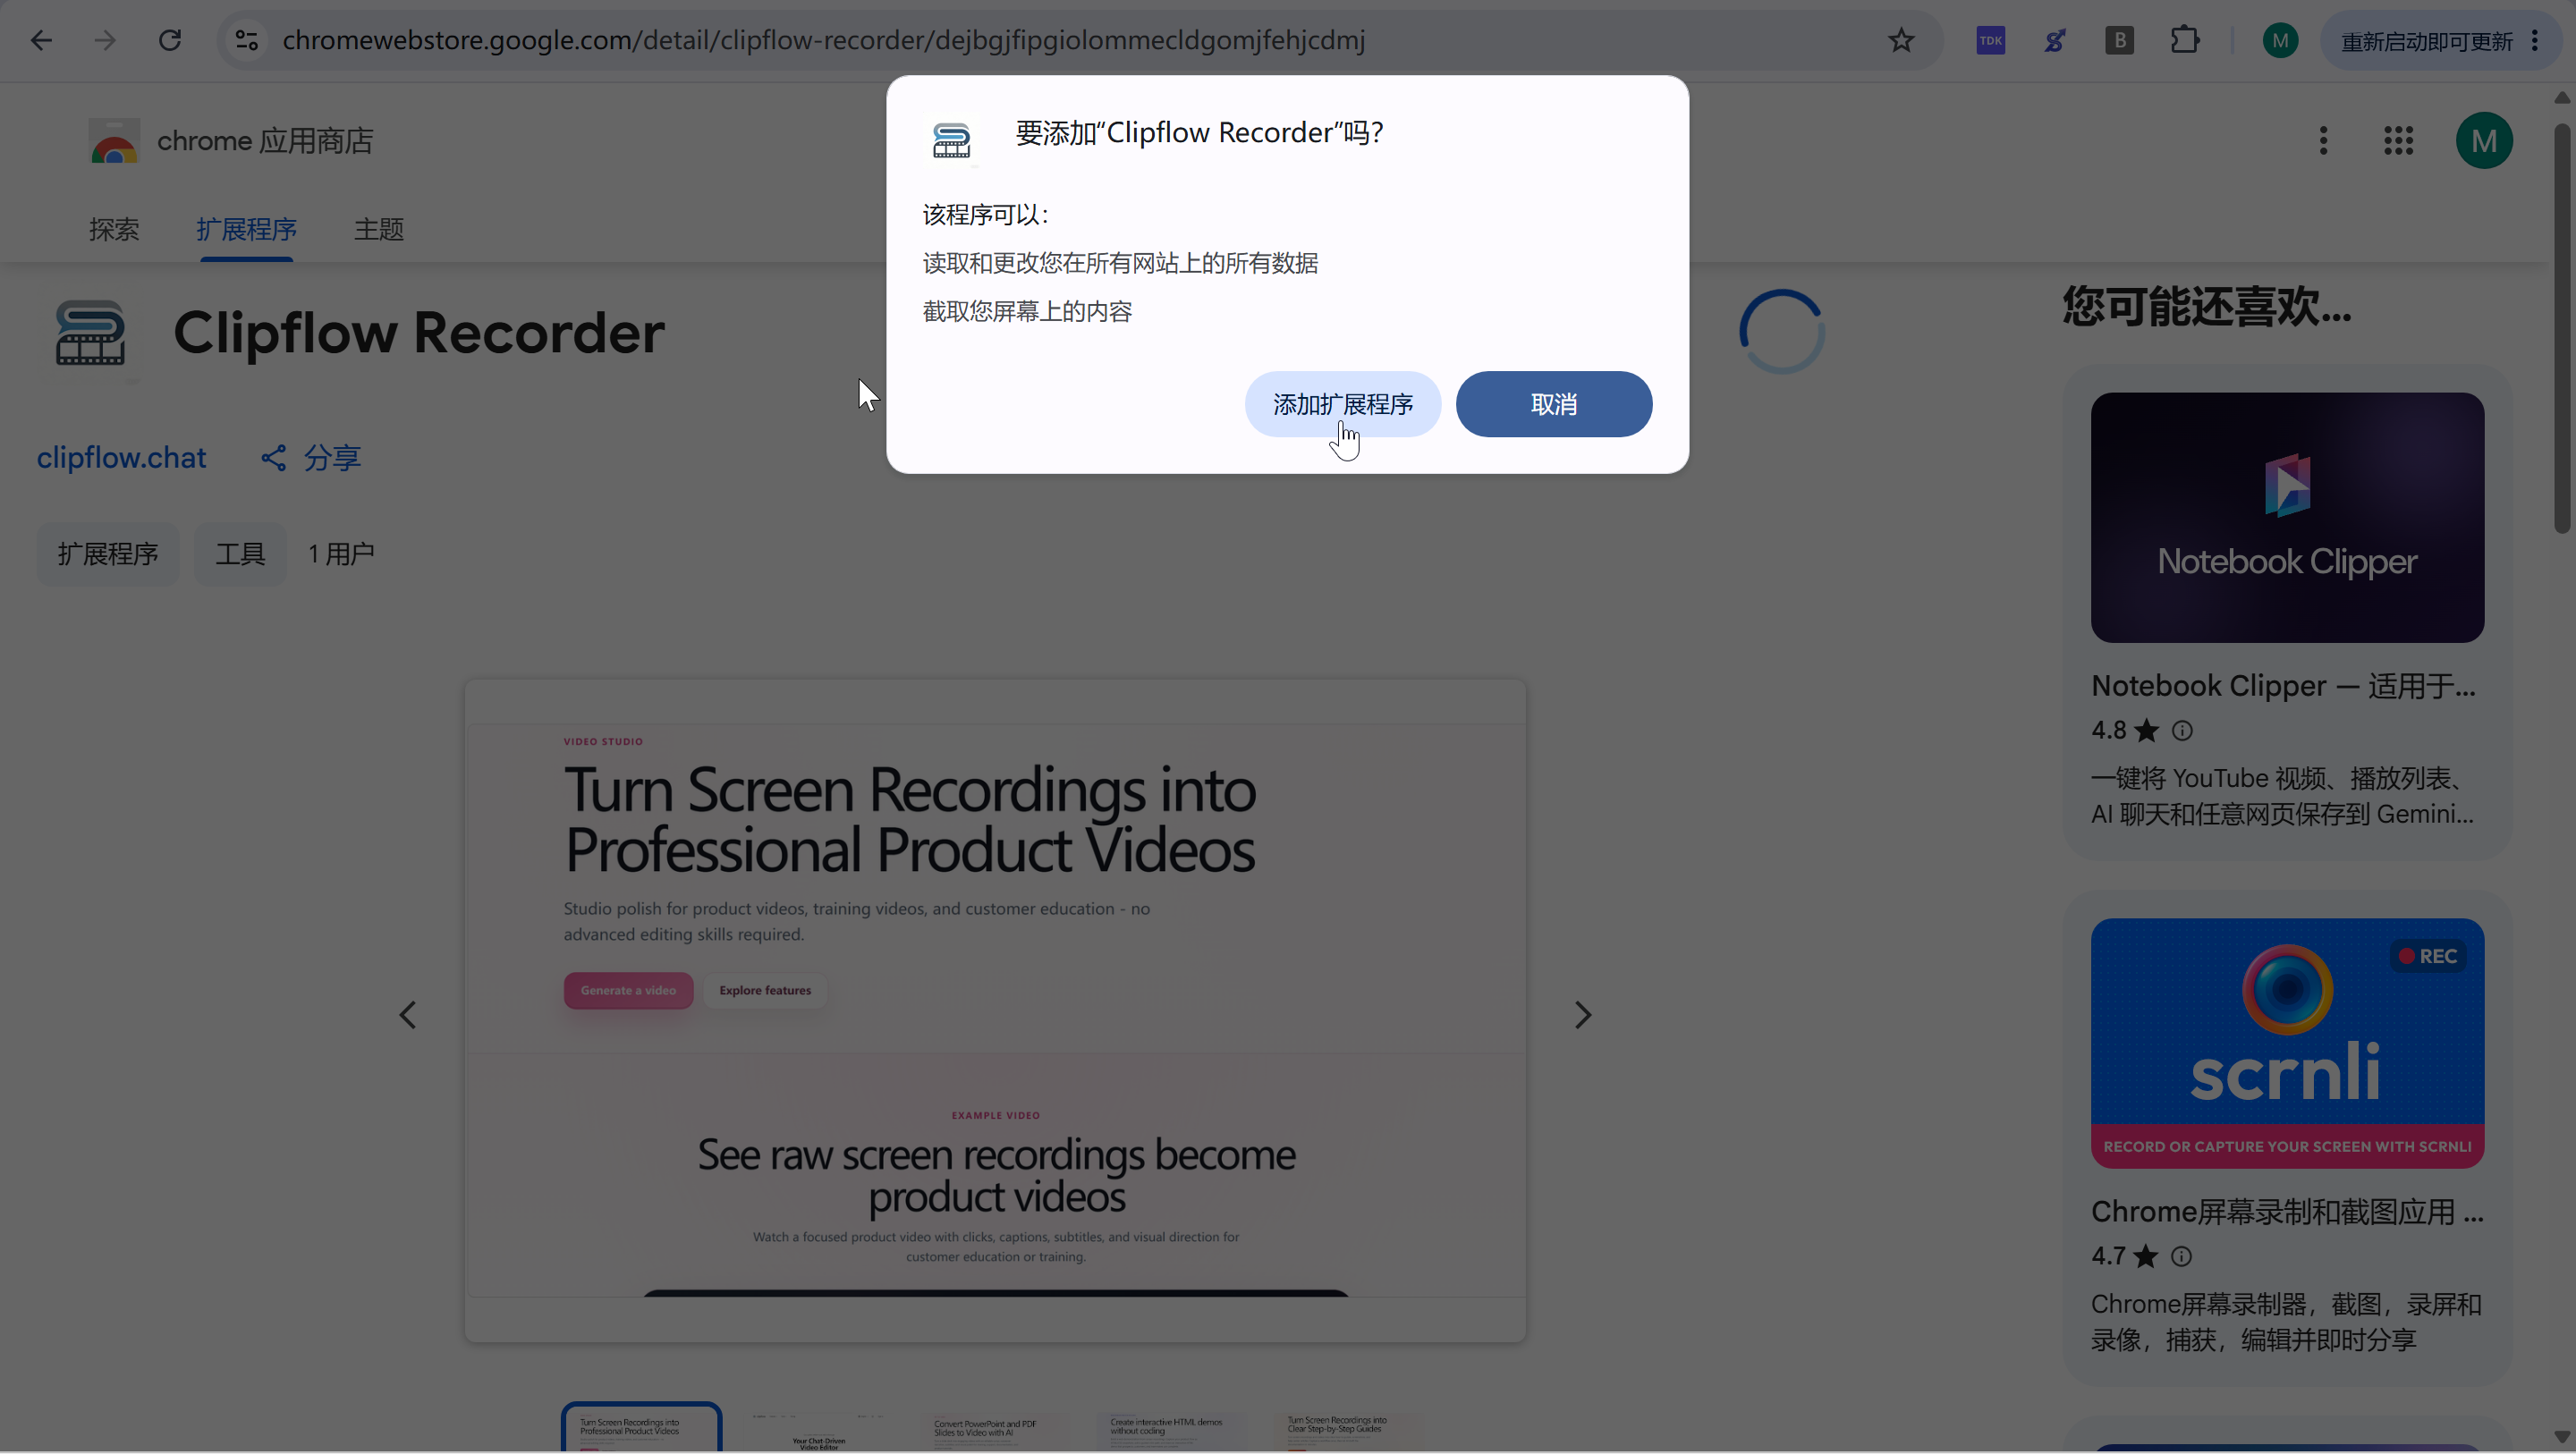
Click Add extension in the Chrome permission dialog.
Step 2: Open the feature page you want to record
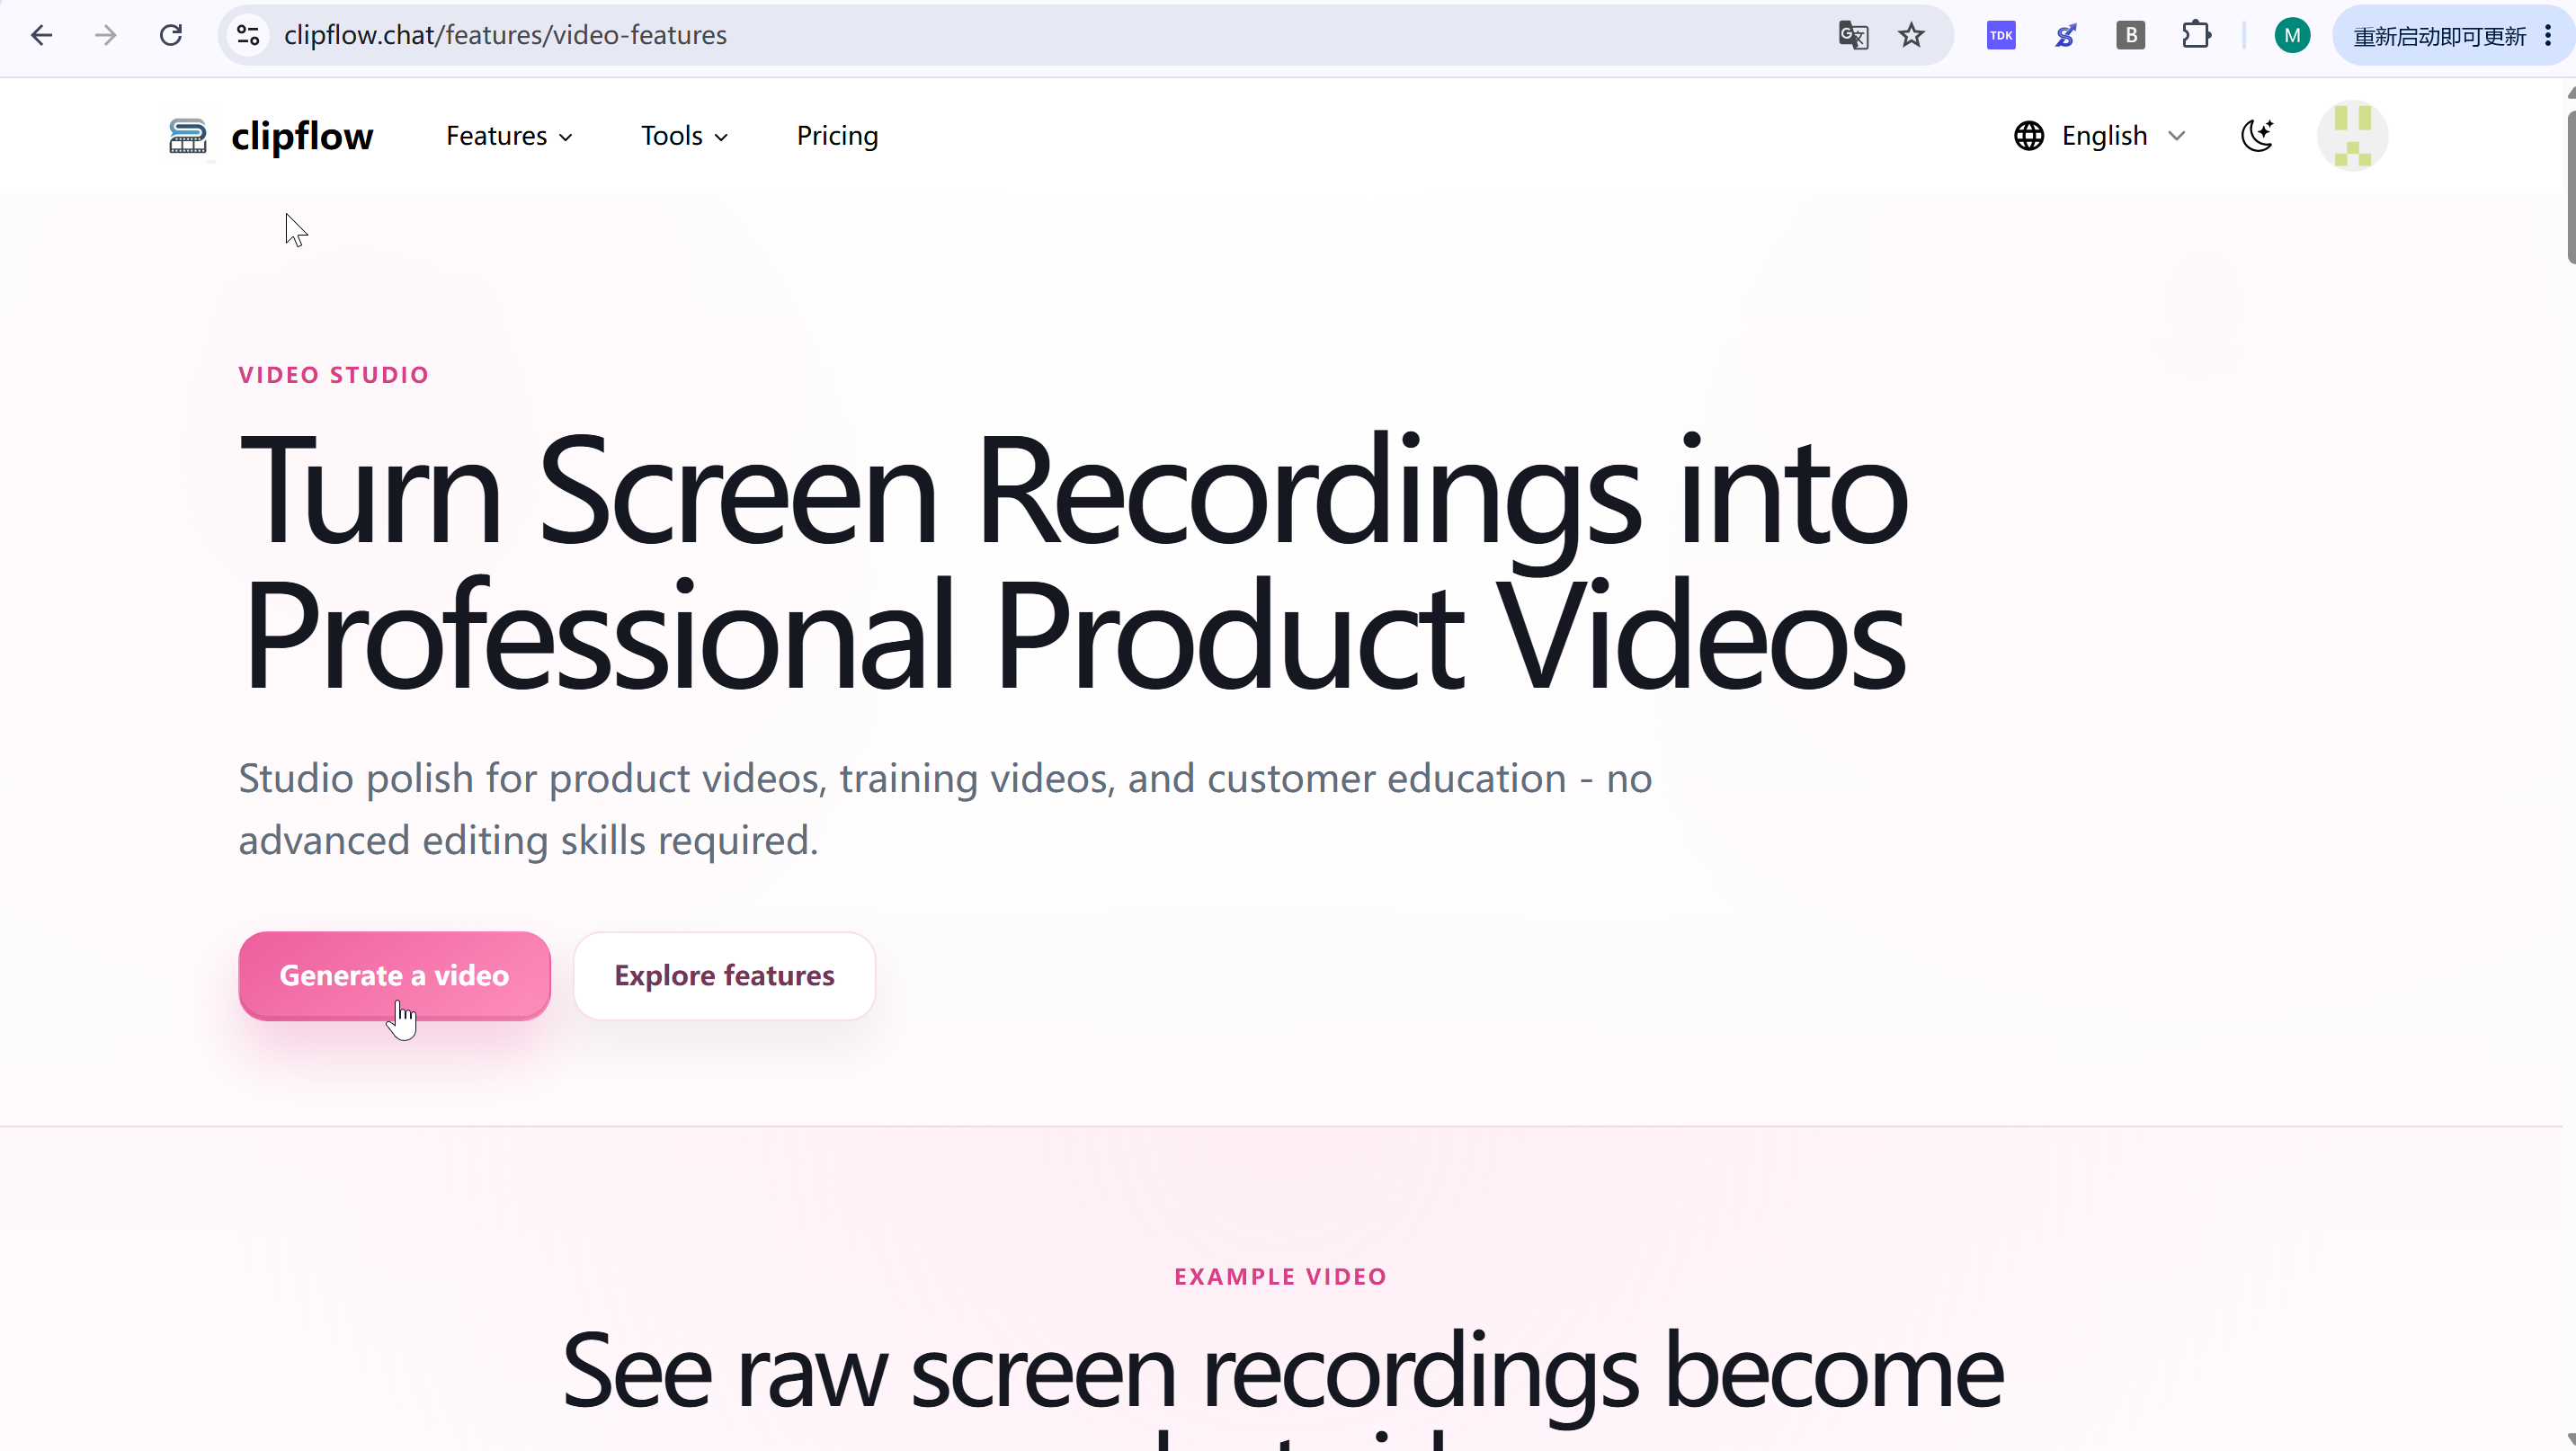
This recording walkthrough uses Video Features as the example. Go to the Video Features page, or open this link directly: https://www.clipflow.chat/features/video-features.
Click Generate a video.
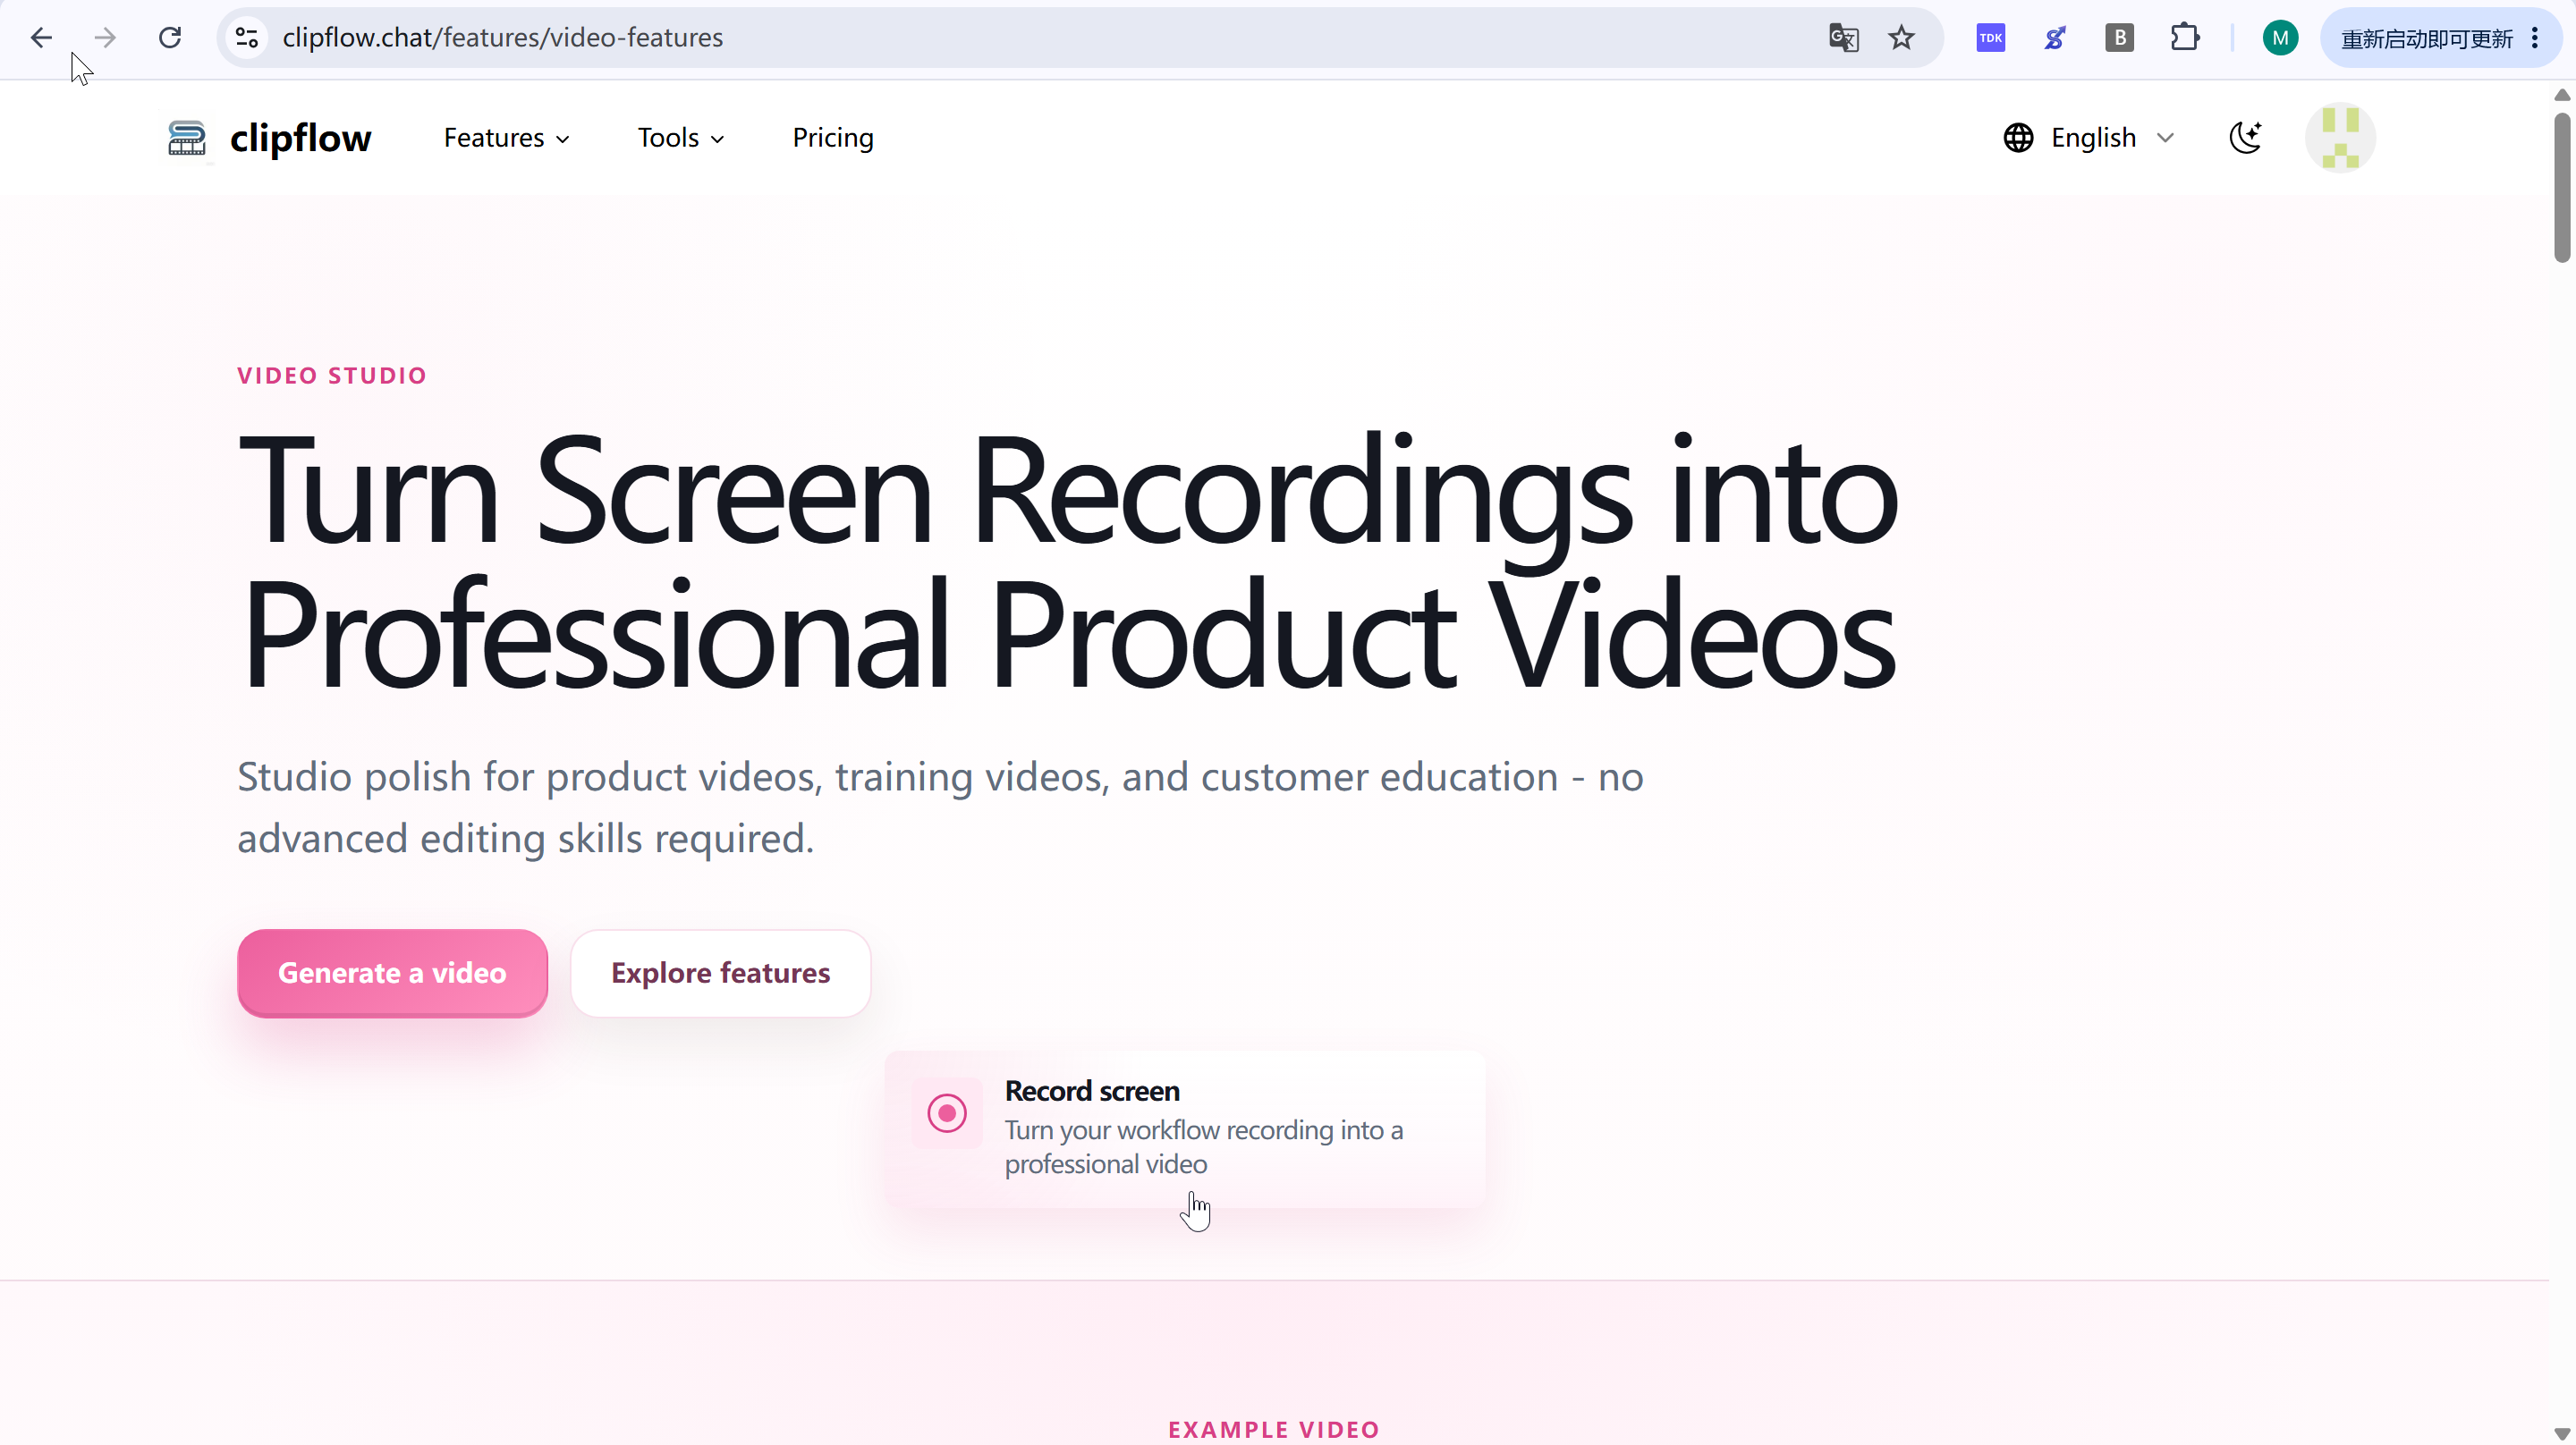
Click Record screen to start the recording setup.
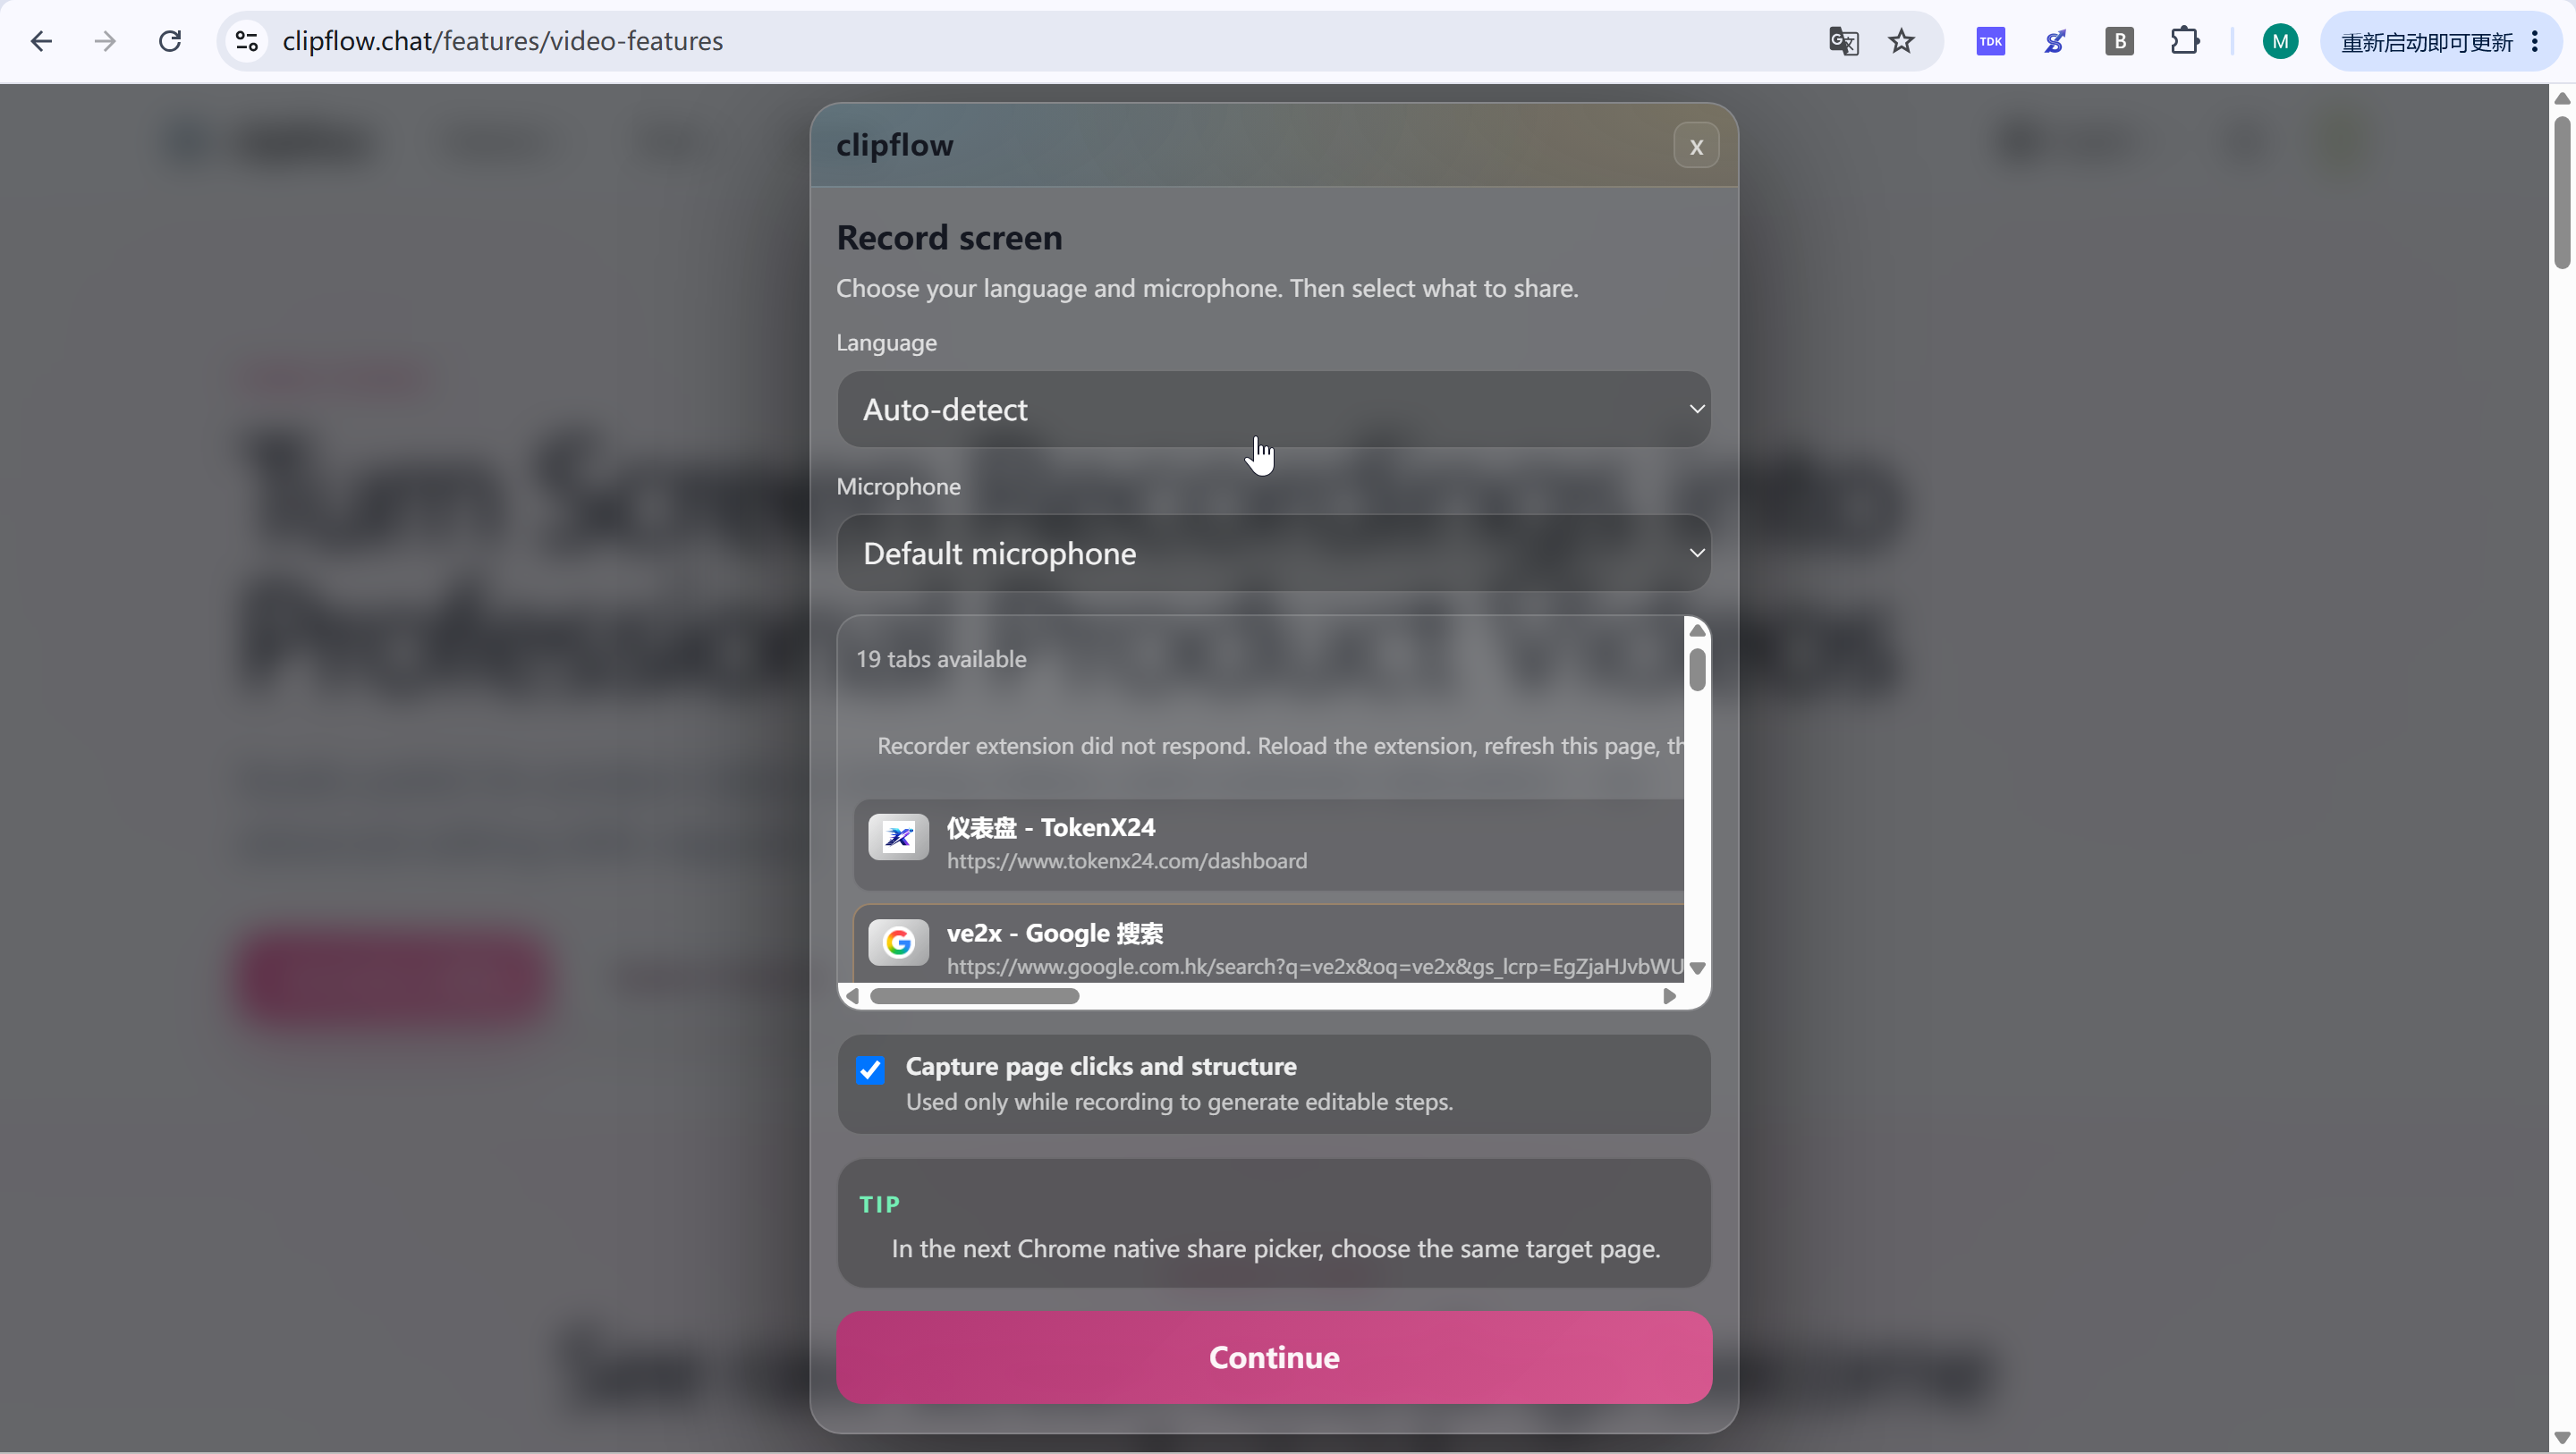
Step 3: Choose the recording language
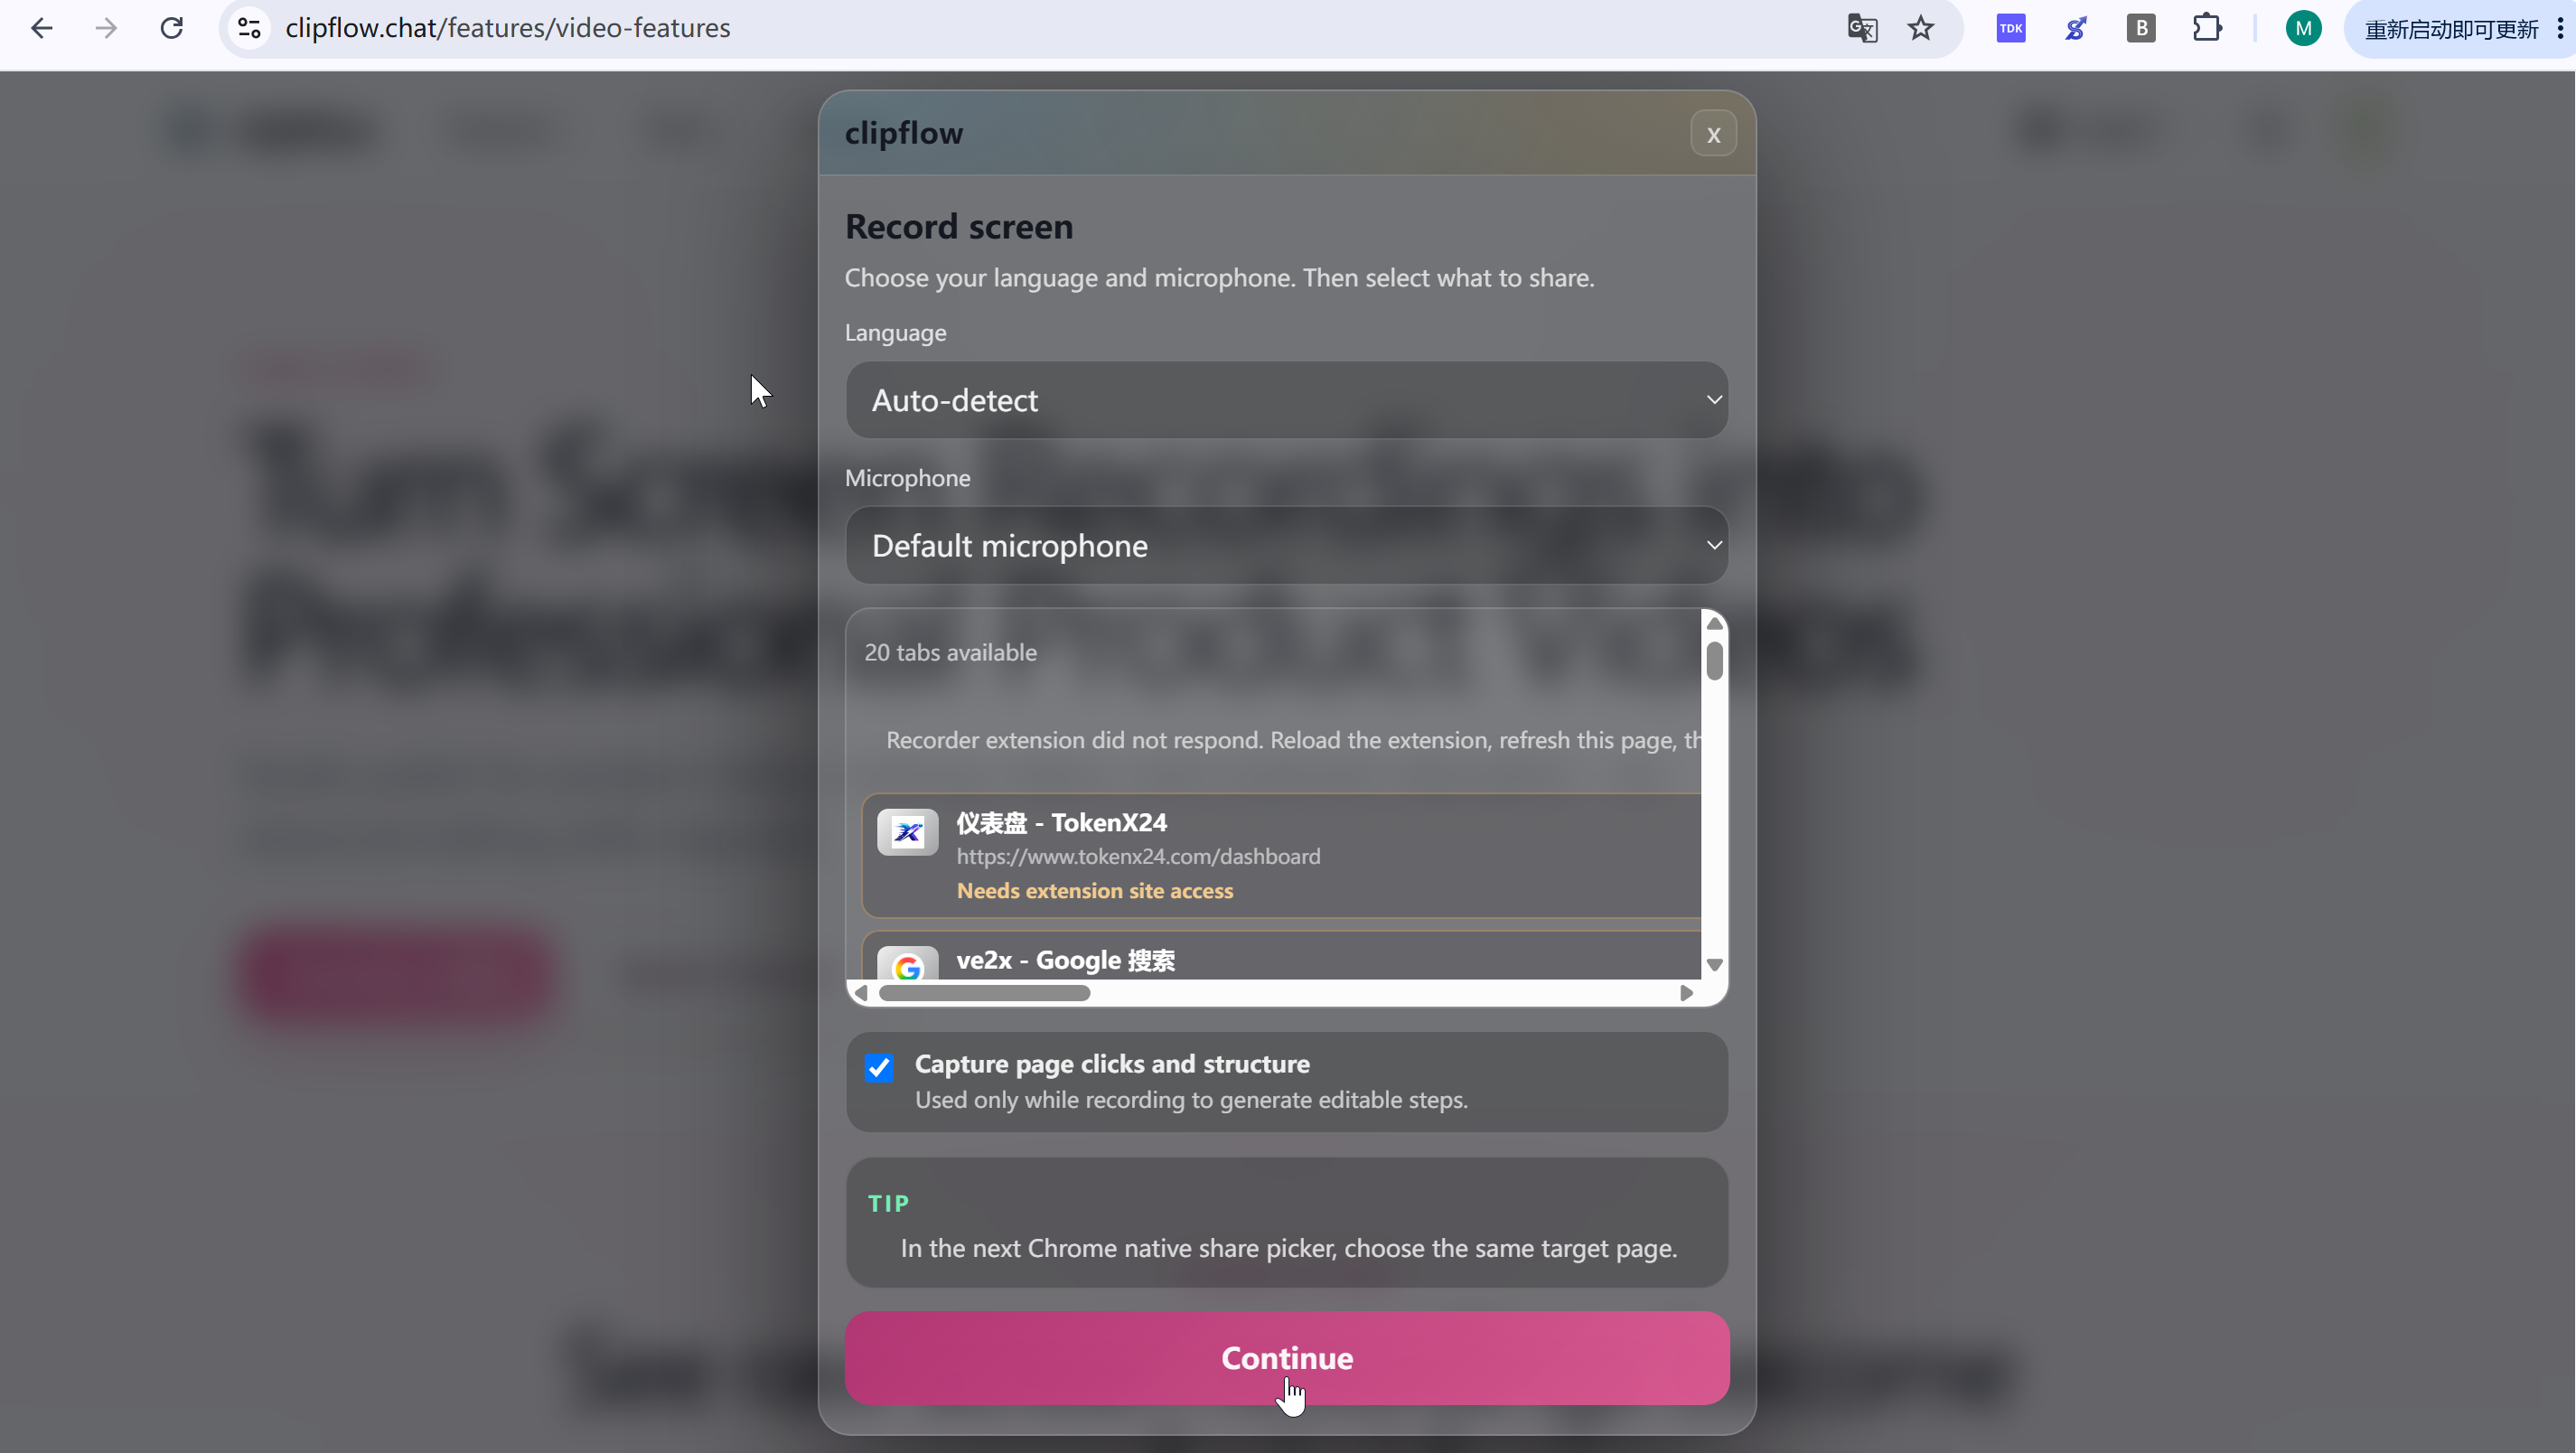
Click the Language dropdown.
Choose Auto detect if Clipflow should identify the spoken language automatically.
Step 4: Choose the microphone
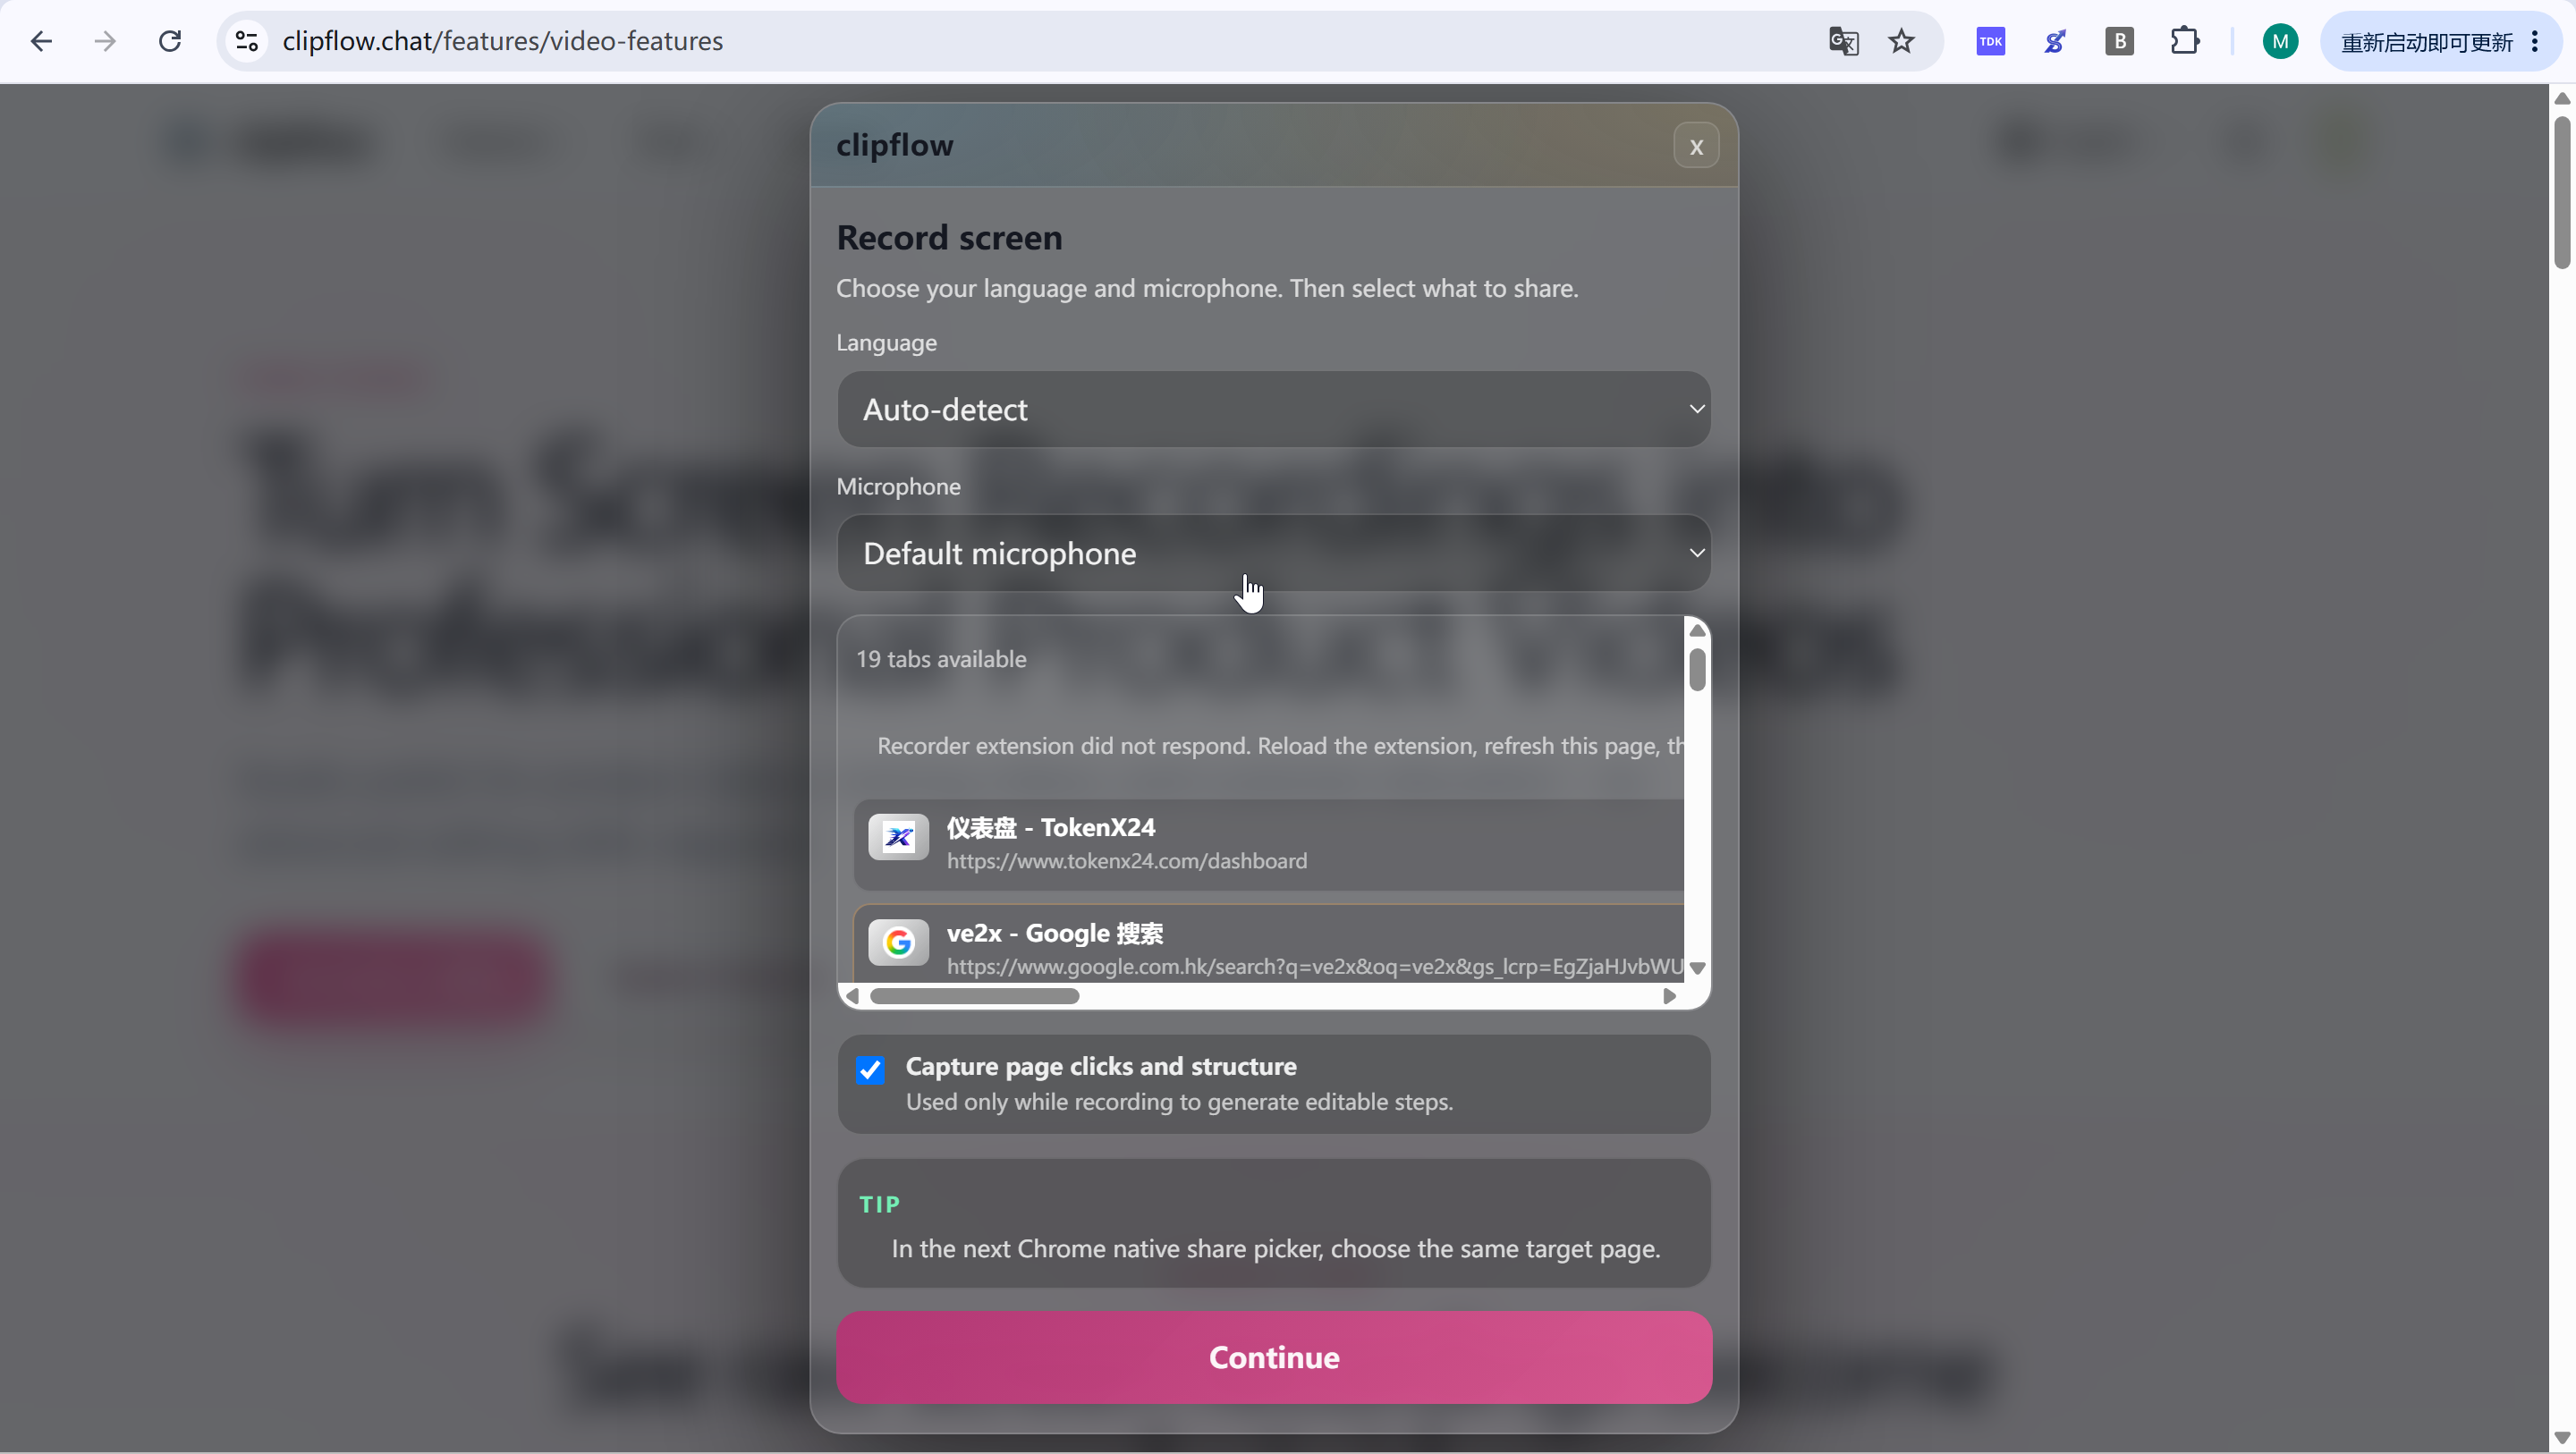
Click the Microphone dropdown.
Choose Default microphone to record narration from the system default input.
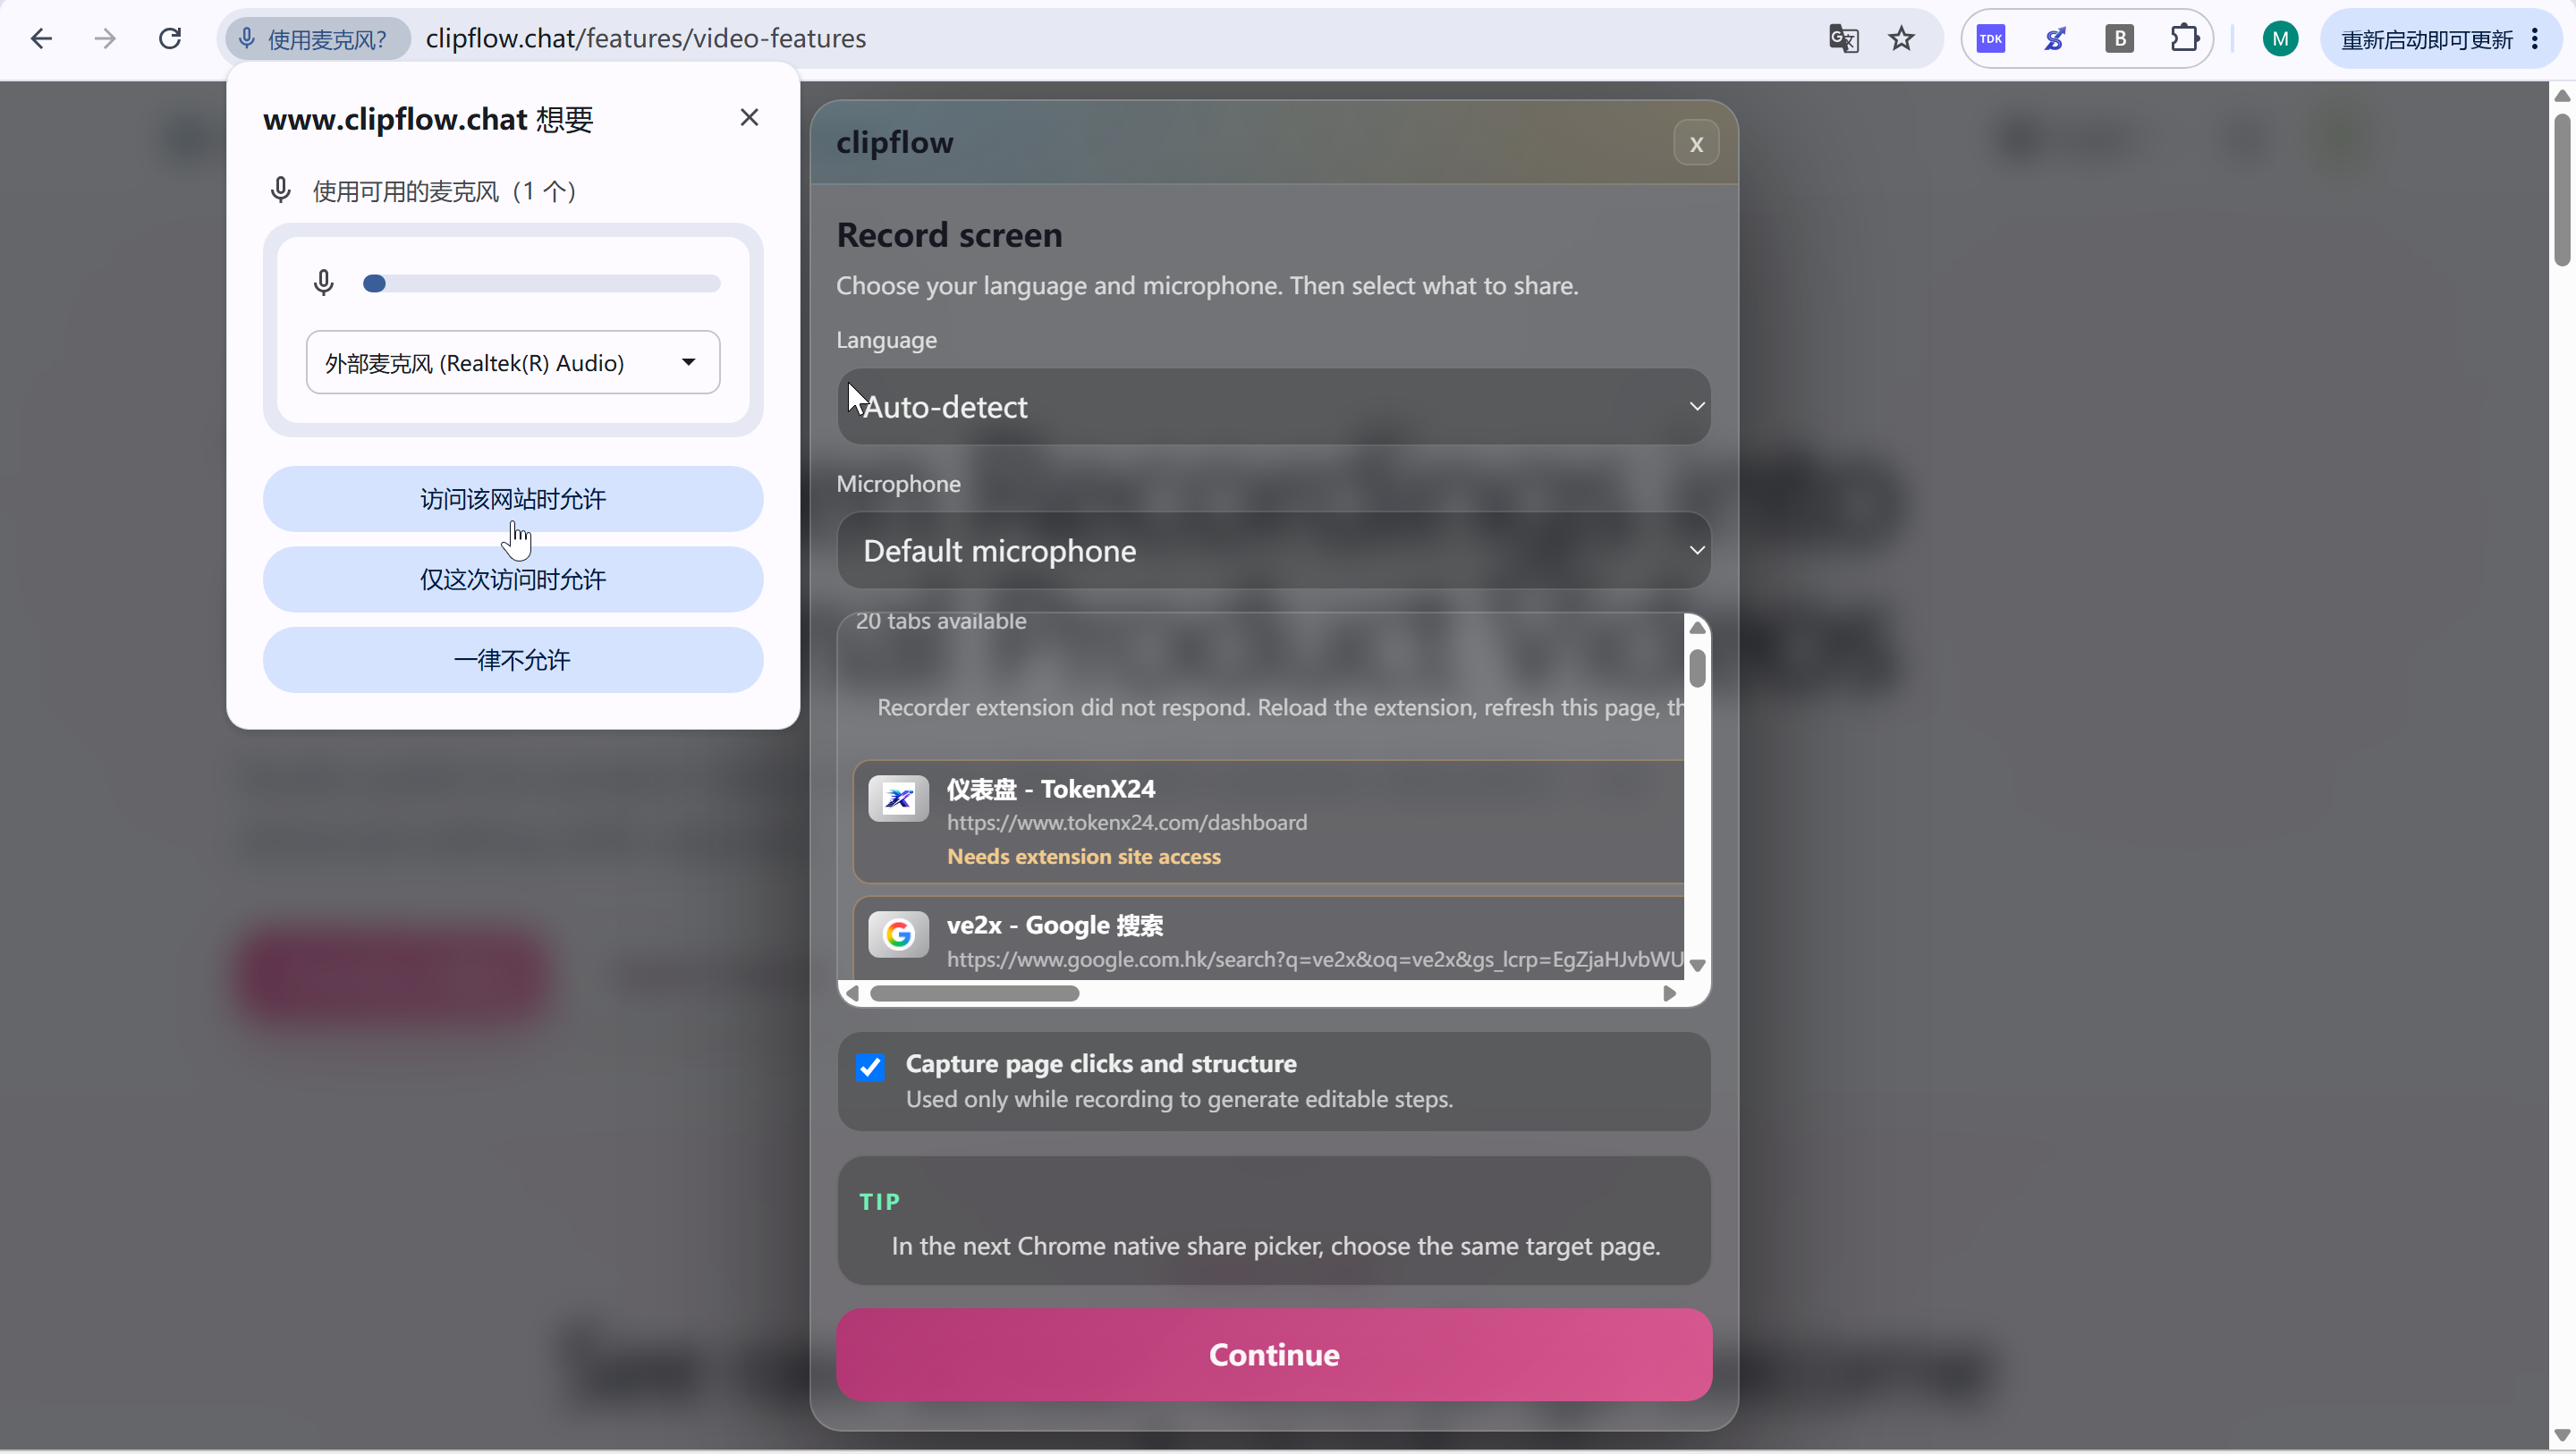
If Chrome shows a microphone permission prompt, choose the option that allows access while visiting this site.
Step 5: Select the Chrome tab to record
In the Chrome tab list, use the tab title and URL to confirm the page, then click the tab you want to record.
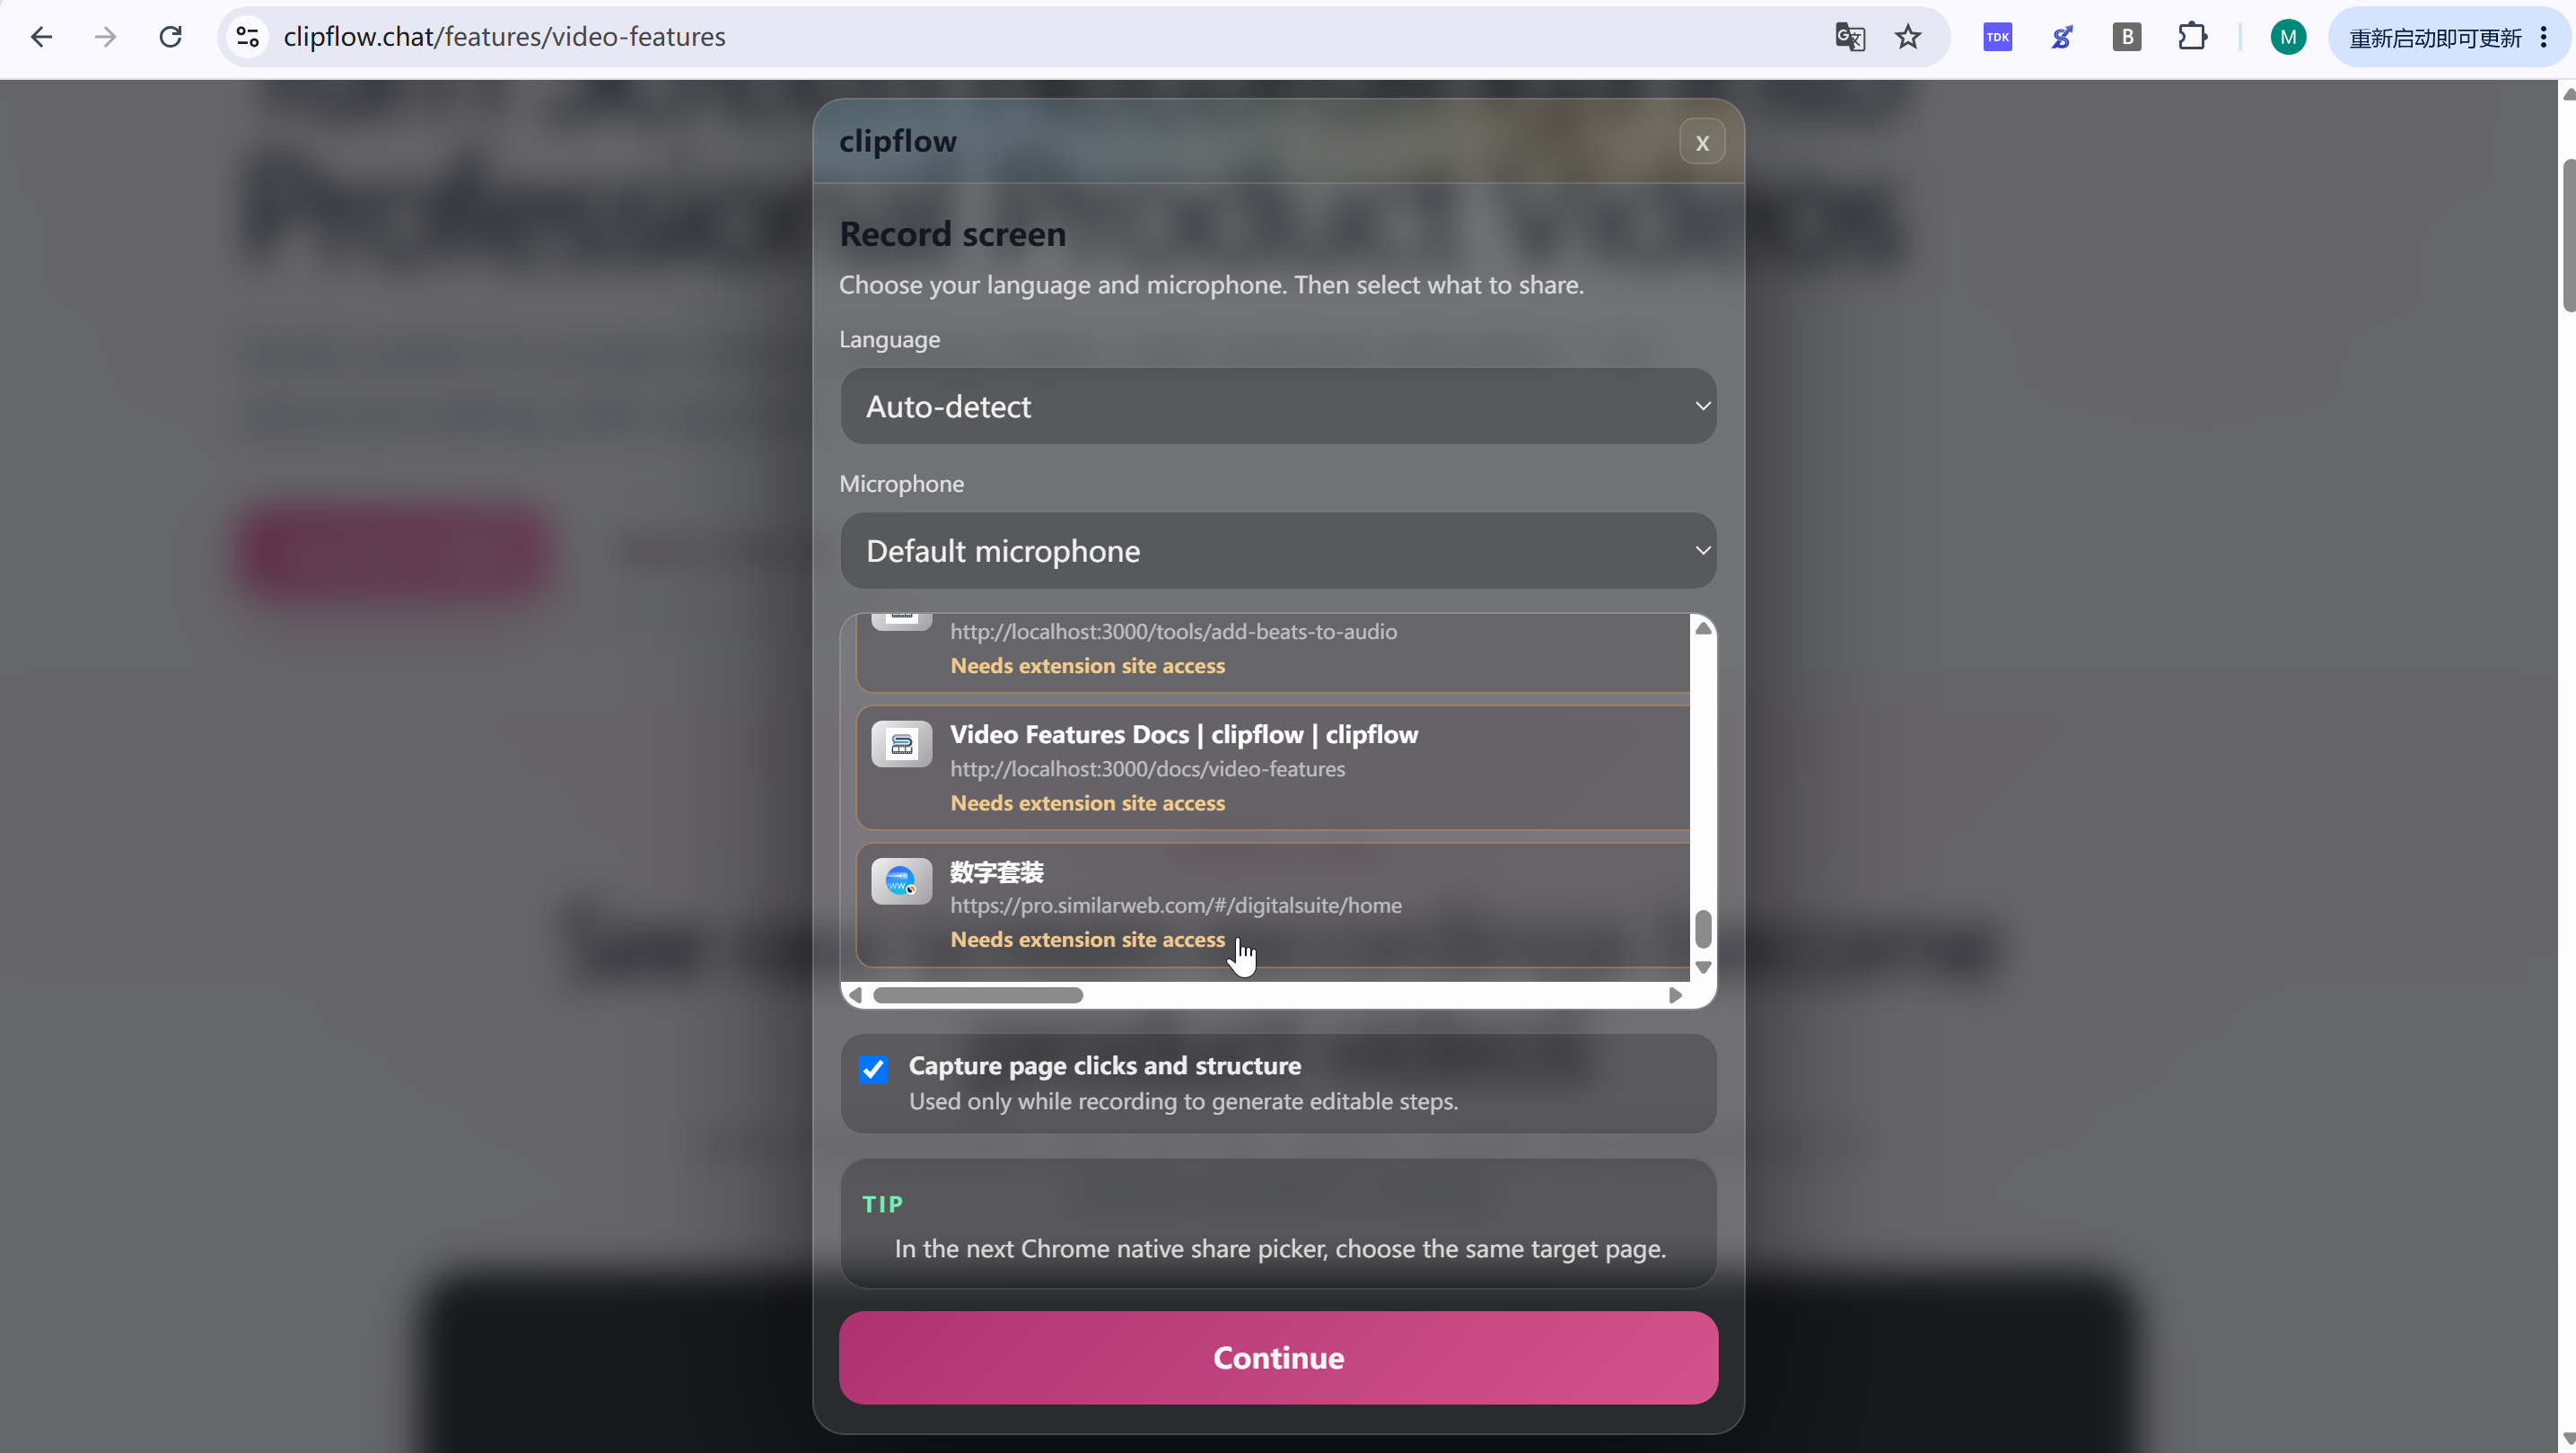
After the options are selected, click Continue.
Step 6: Prepare to start recording and switch to the target page
Click Start recording this tab.
Step 7: Complete recording permissions and sharing
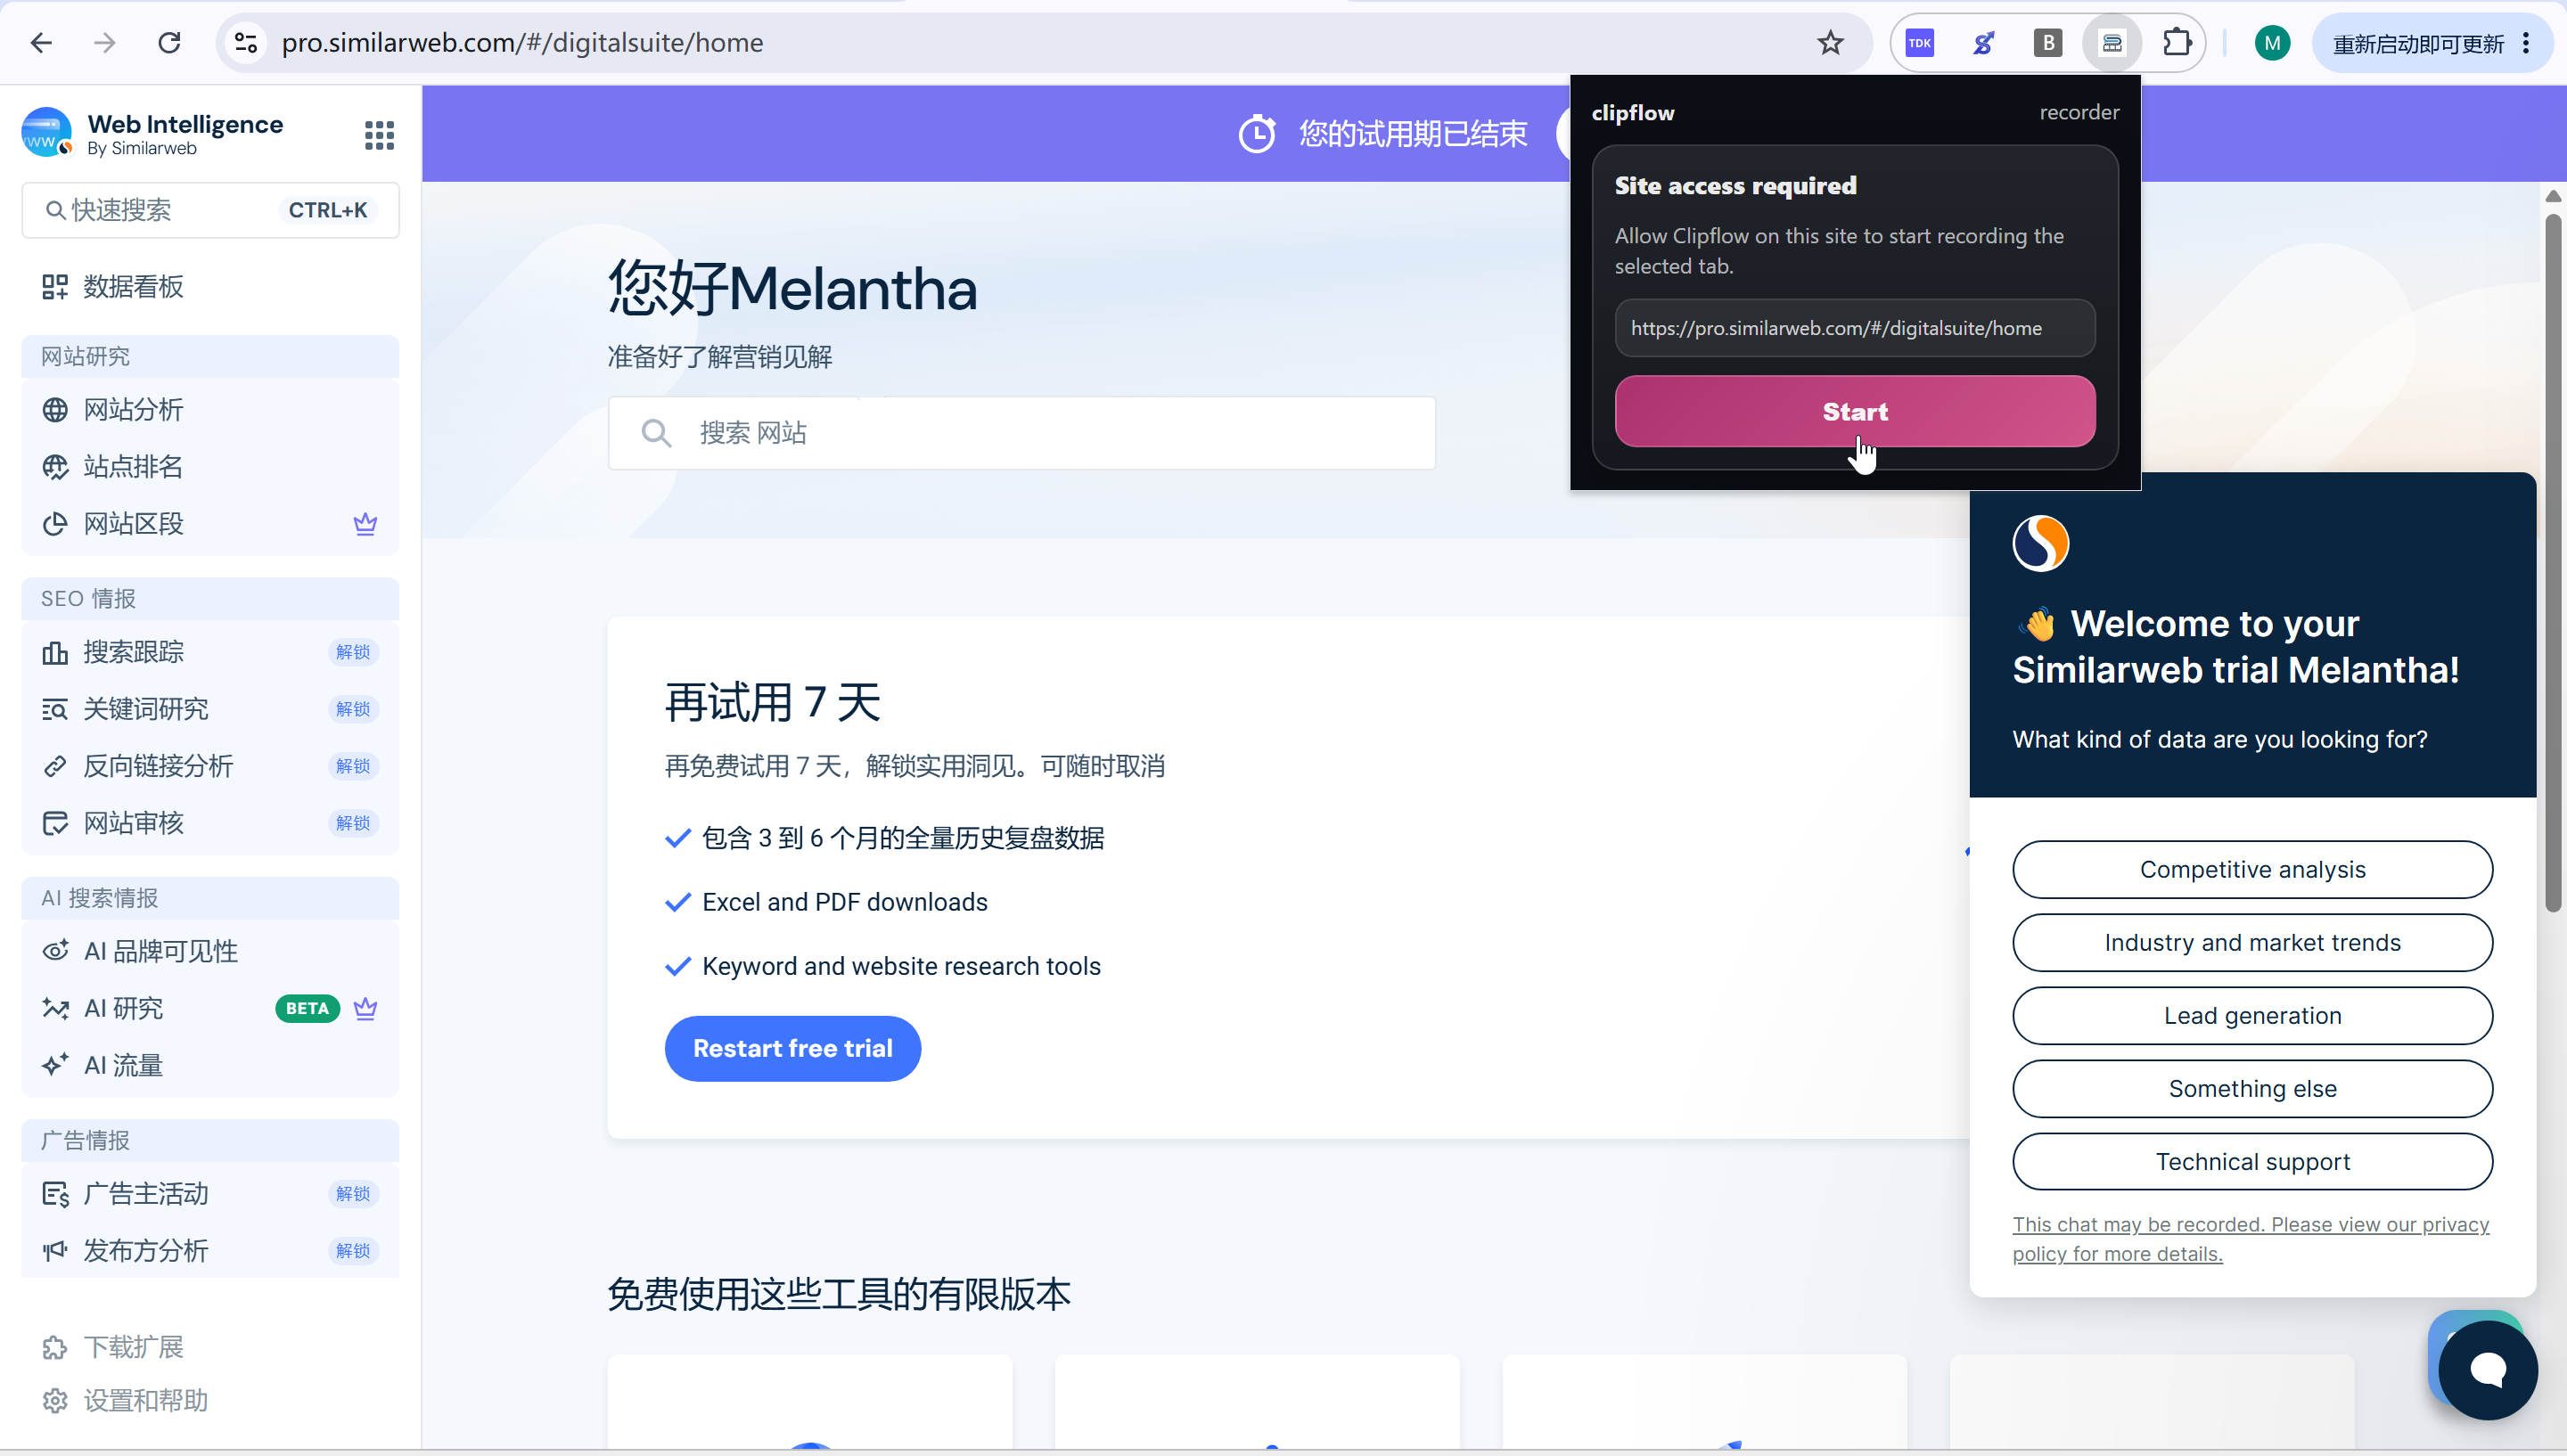
Click Start in the Clipflow Recorder popup to begin the site-access permission flow.
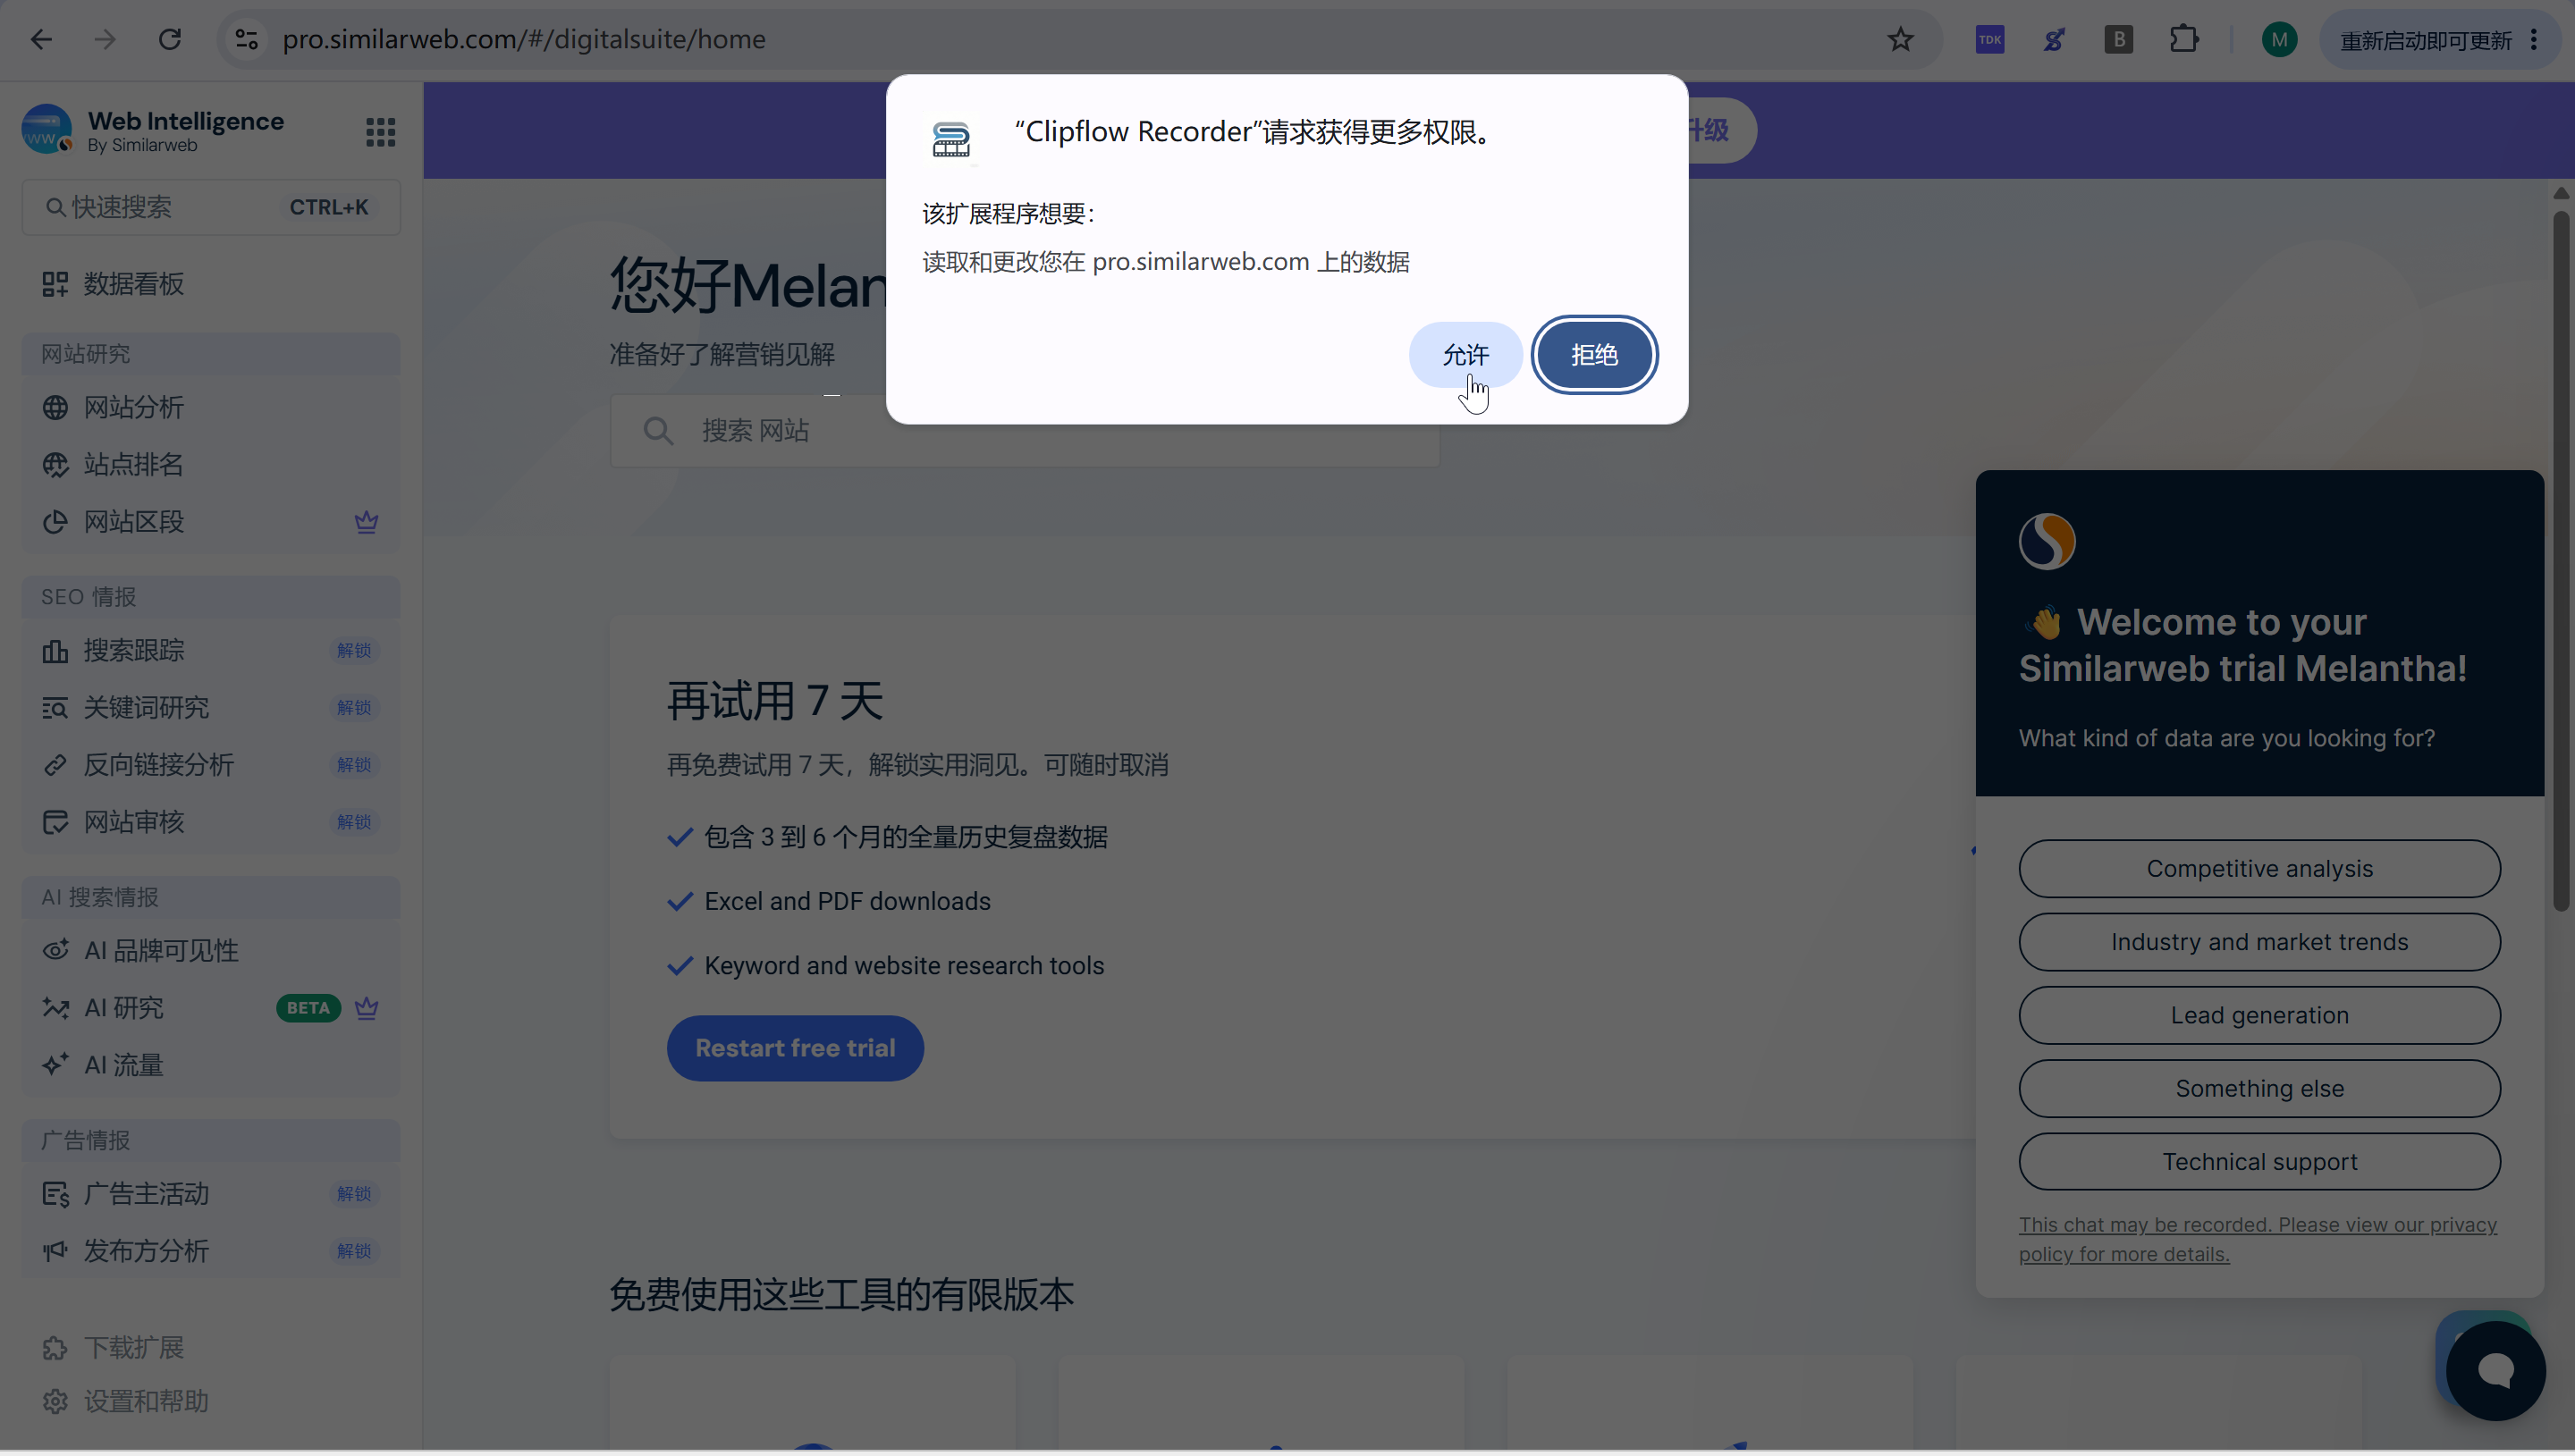
Click Allow in the Chrome permission dialog so Clipflow Recorder can access the current site.
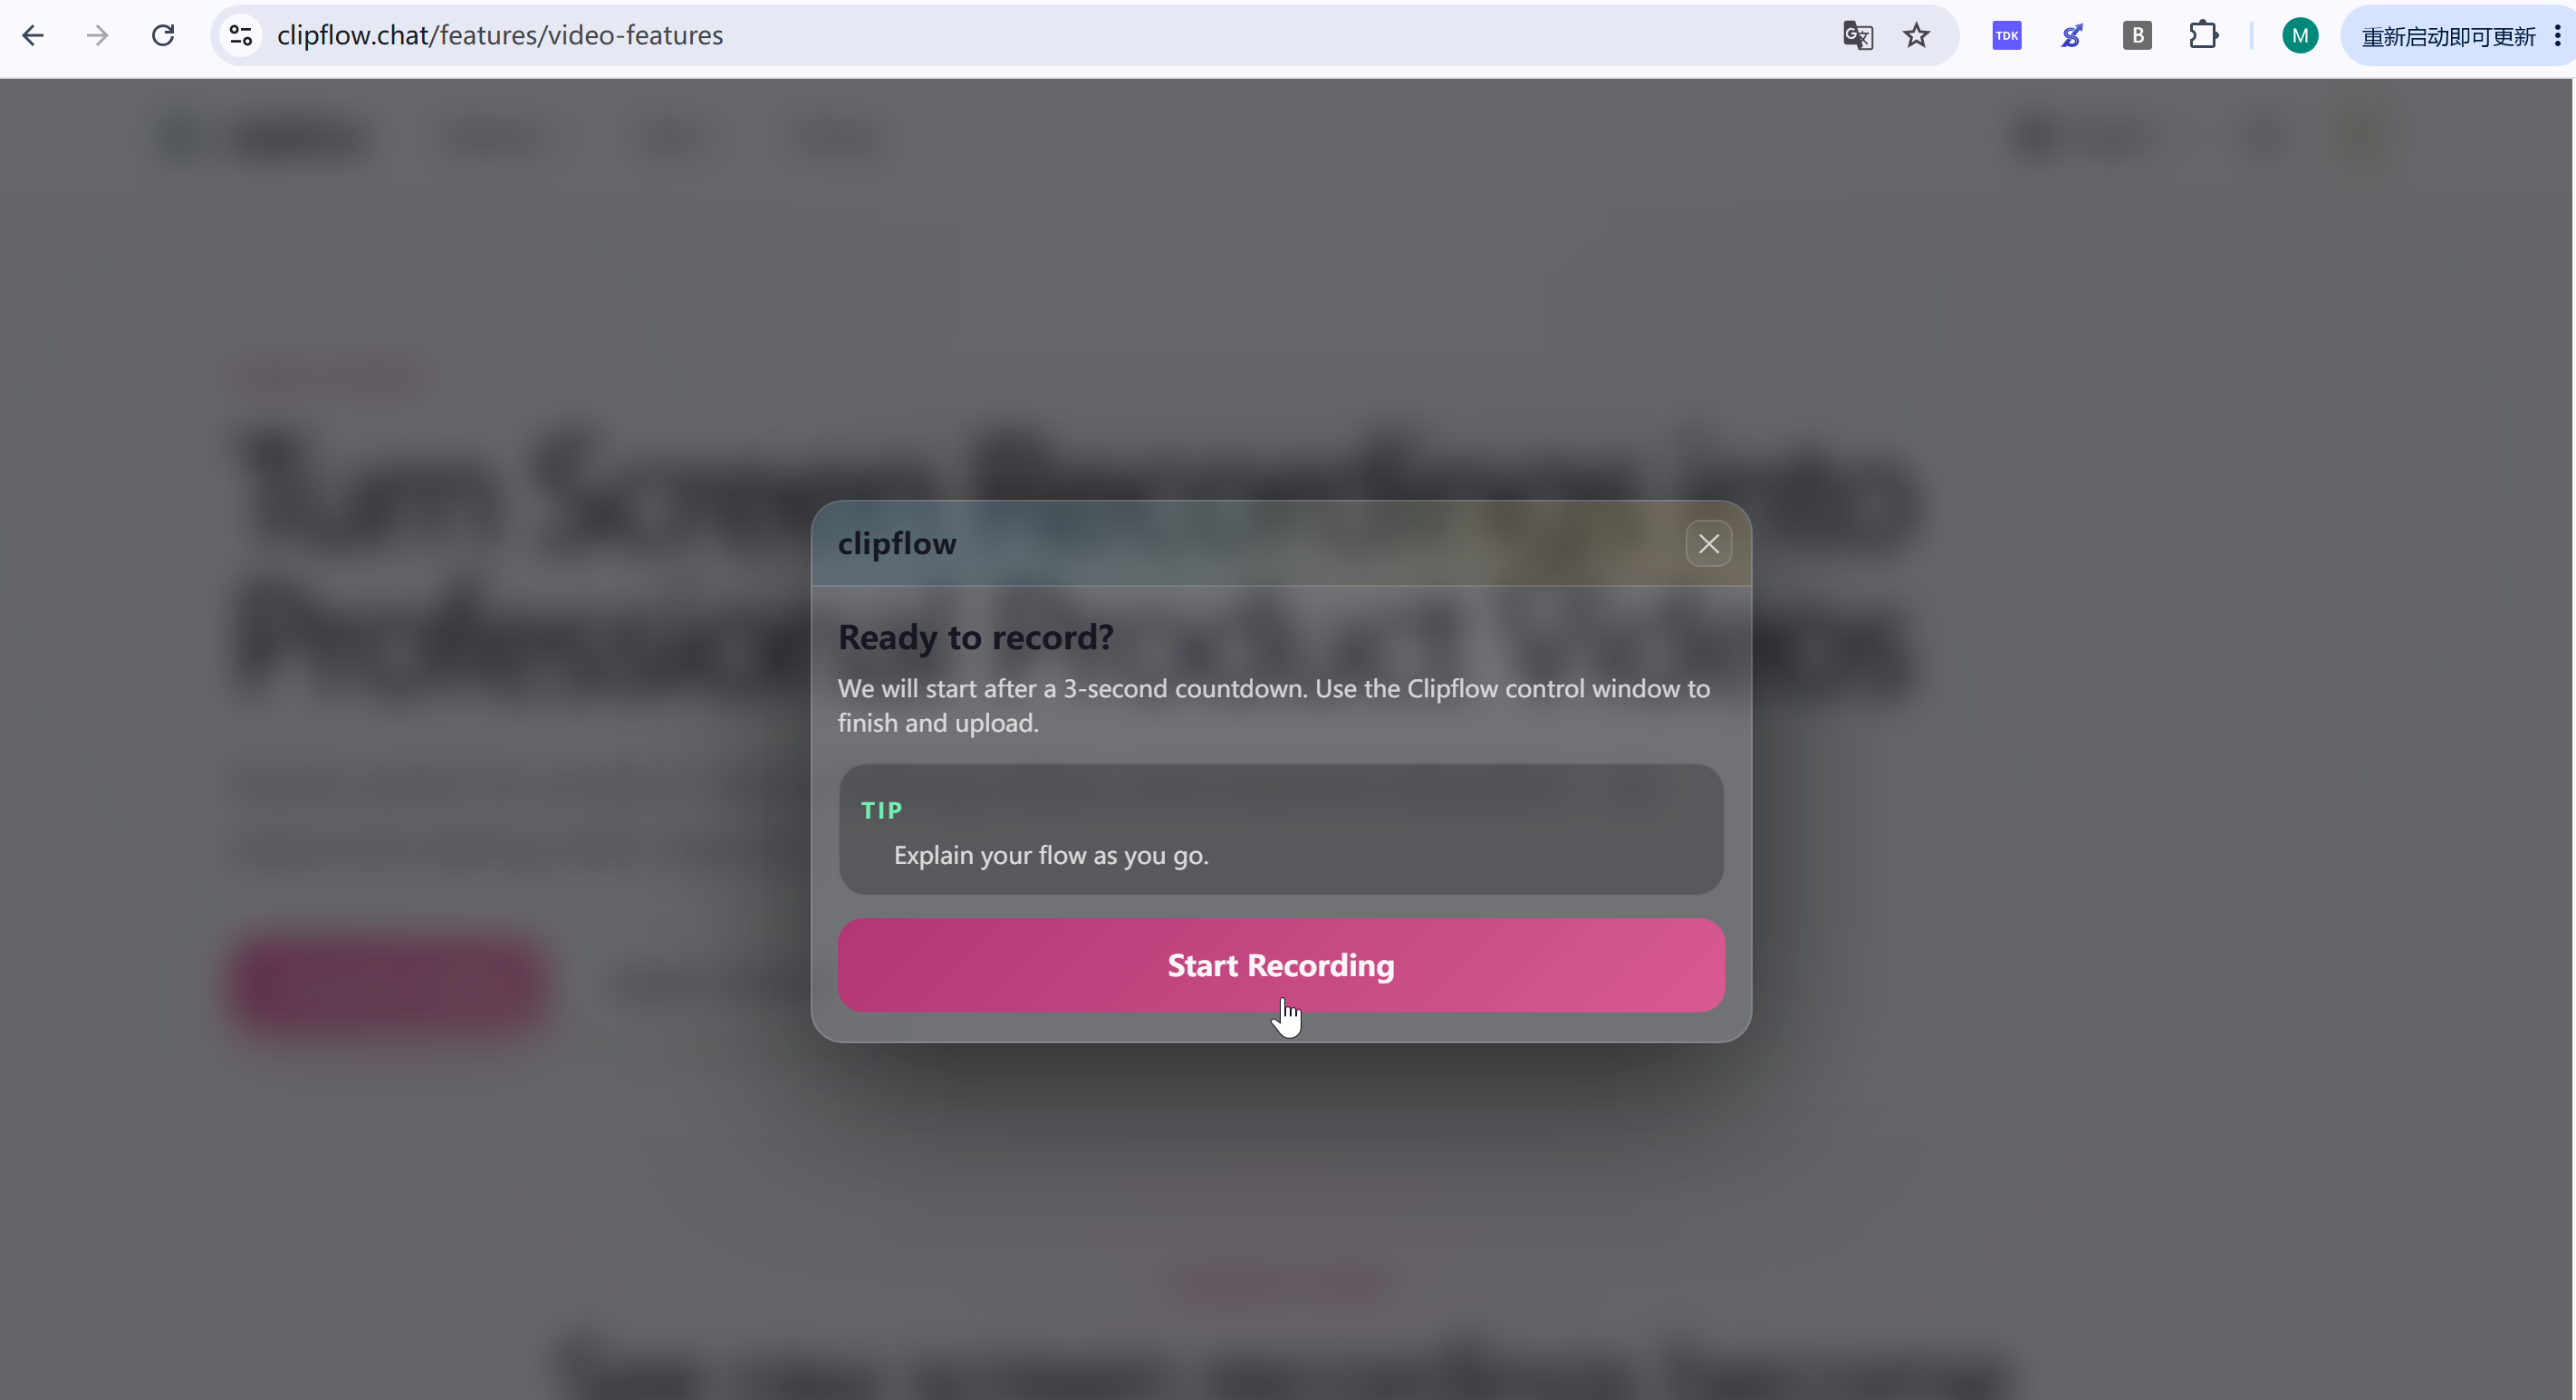
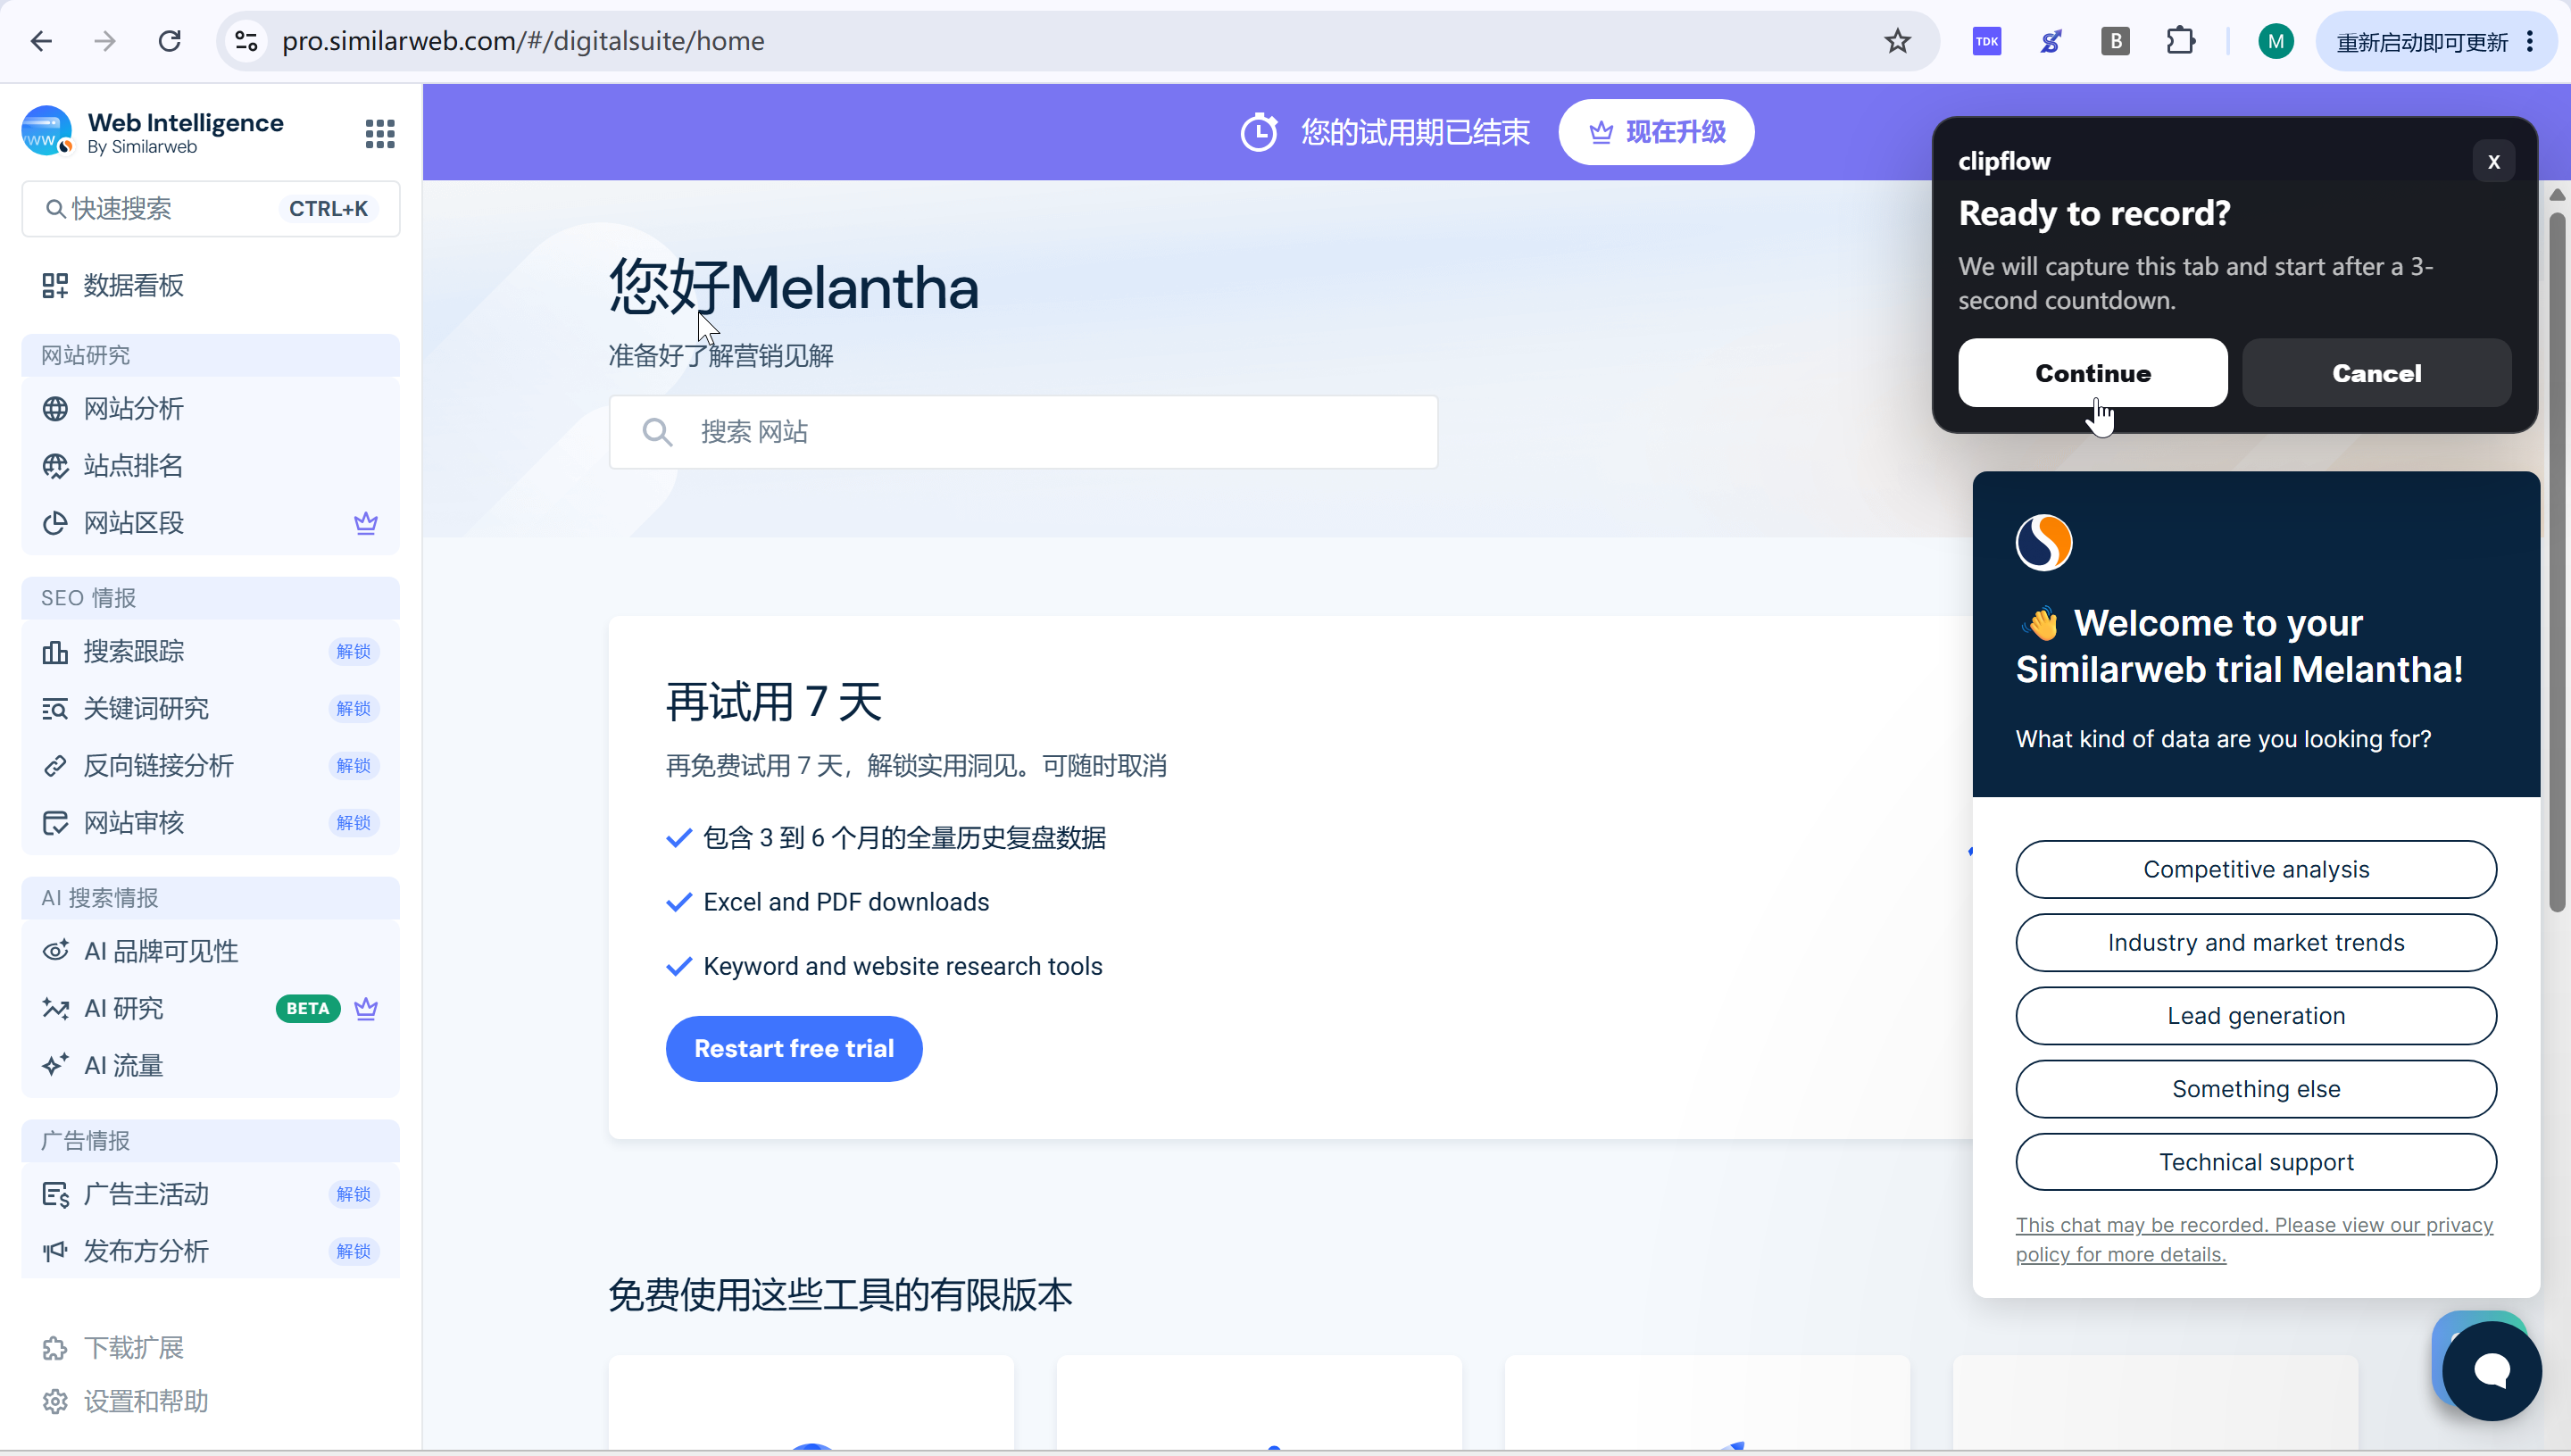
When the Ready to record? dialog appears, click Continue to start after the 3-second countdown.
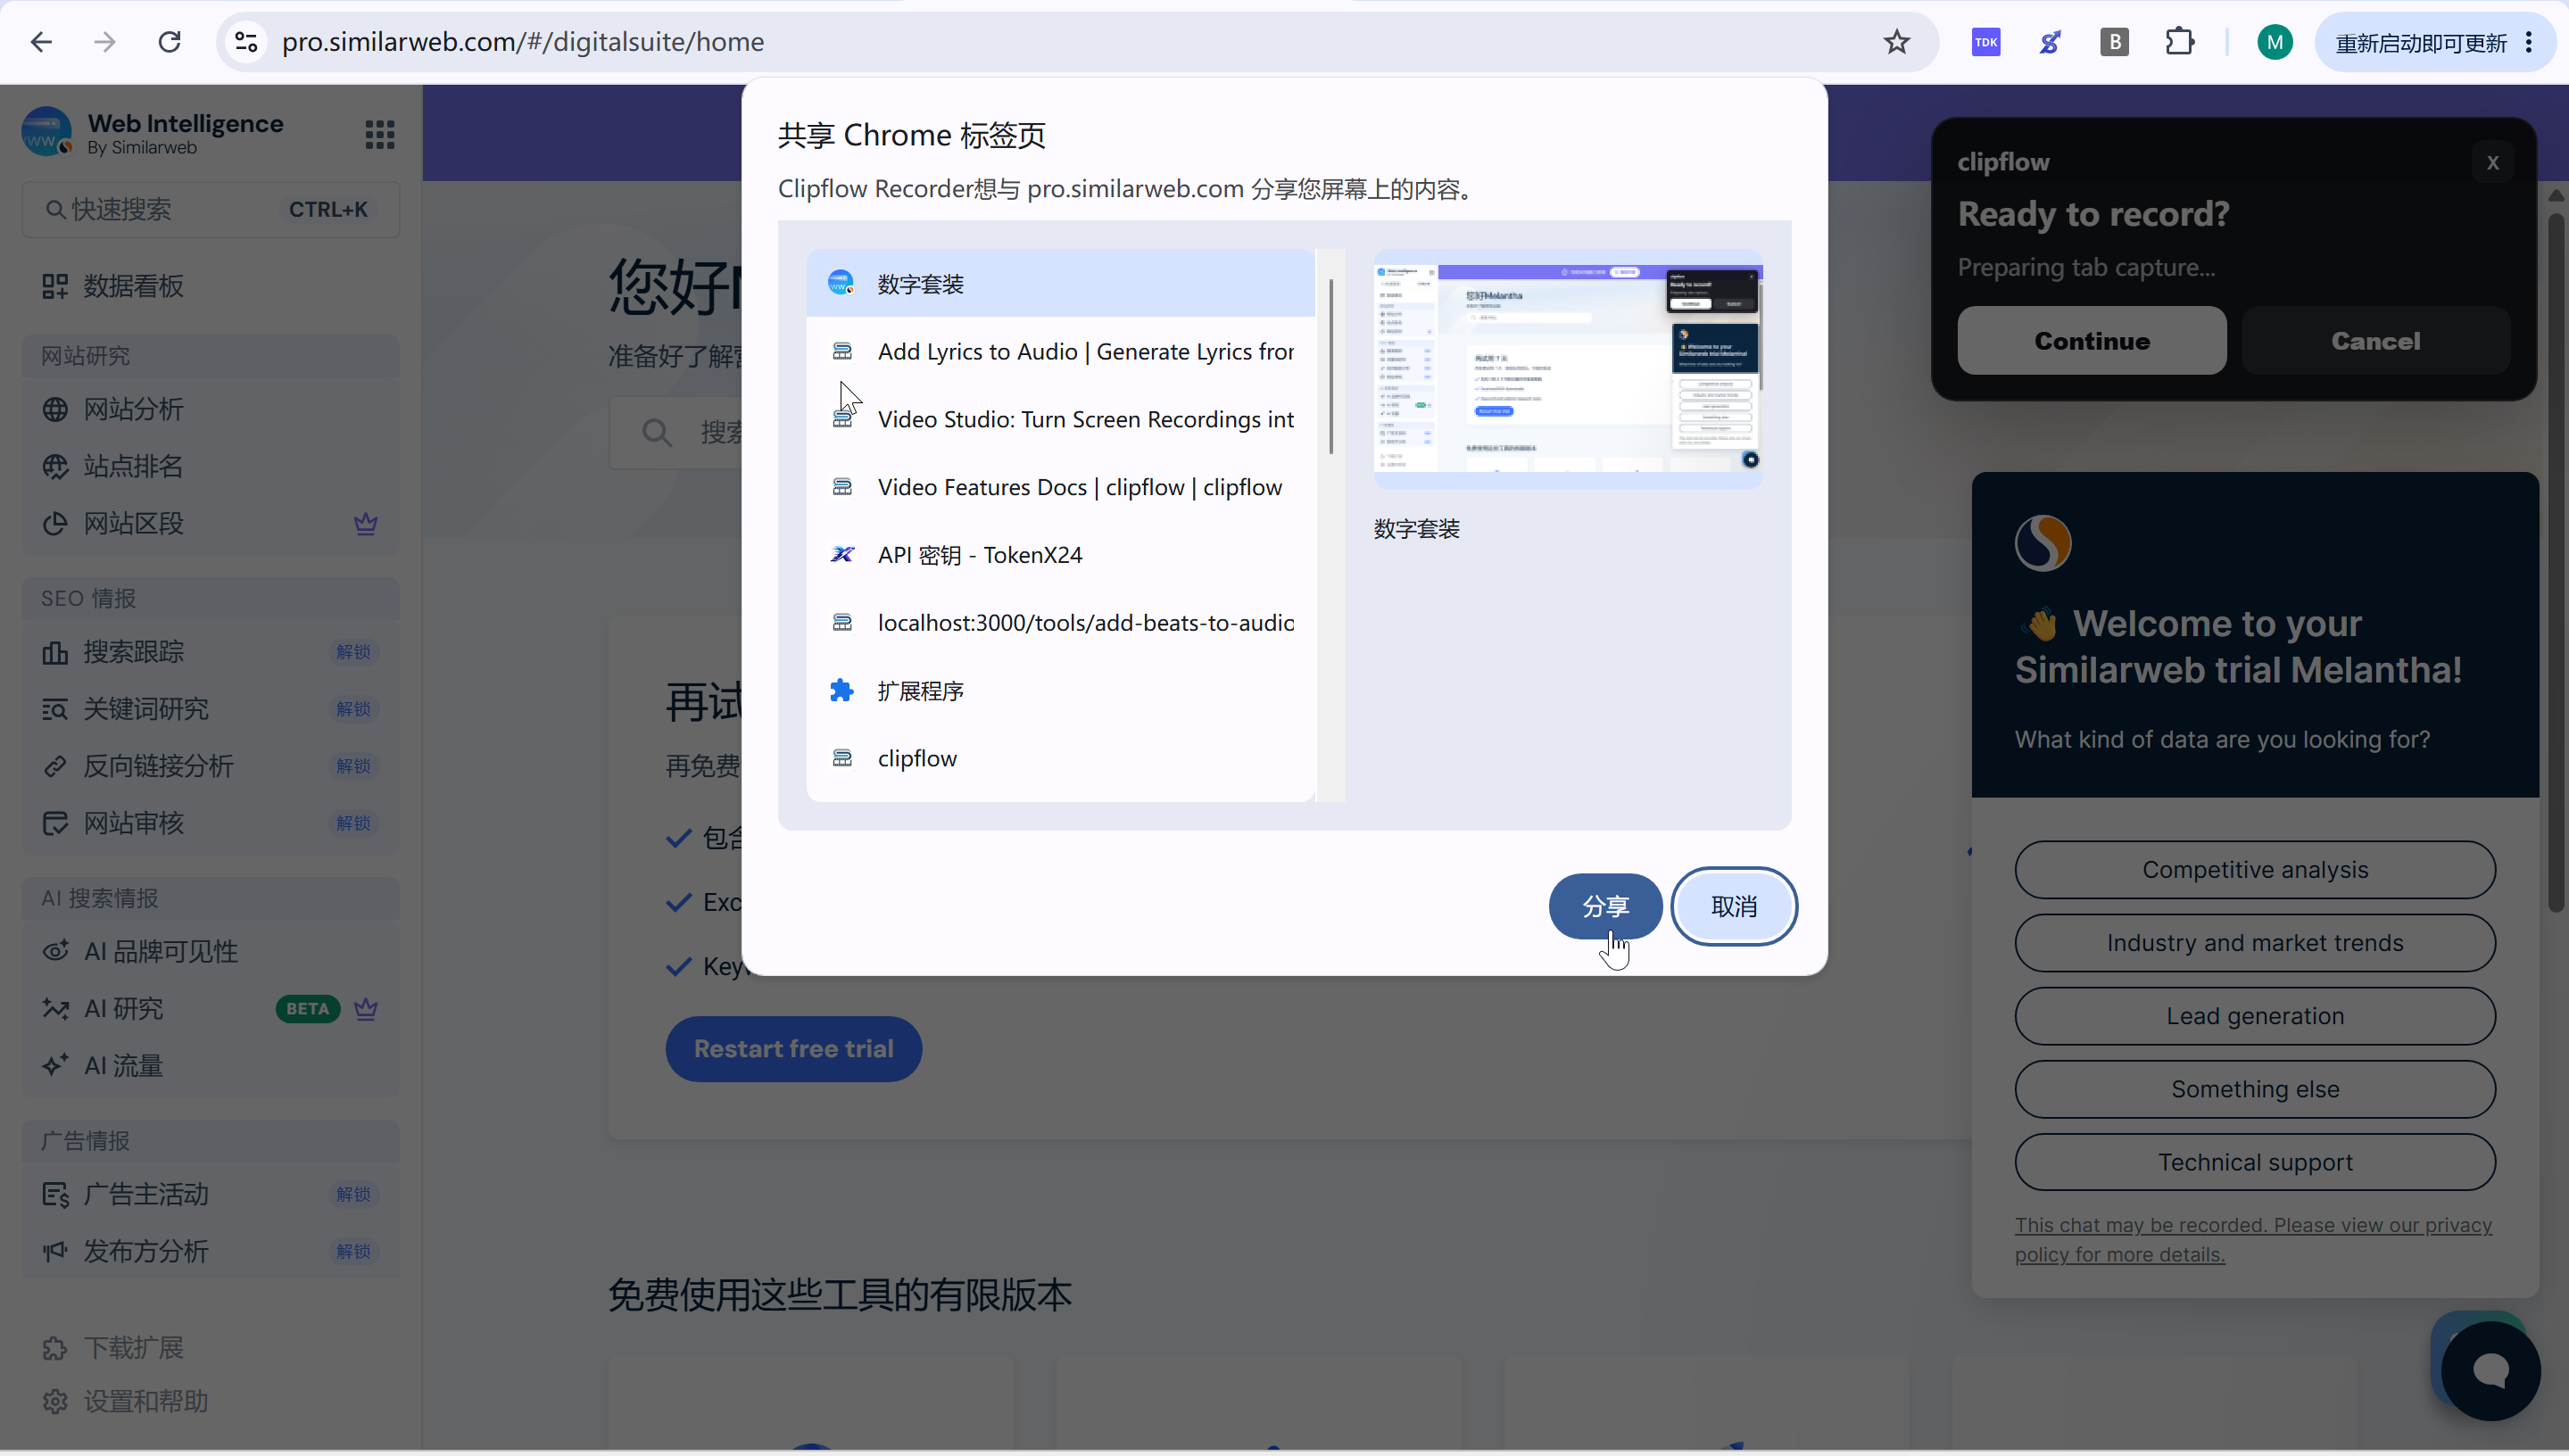
In Chrome's share dialog, confirm the current tab and click Share.
Step 8: Record the product workflow and stop recording
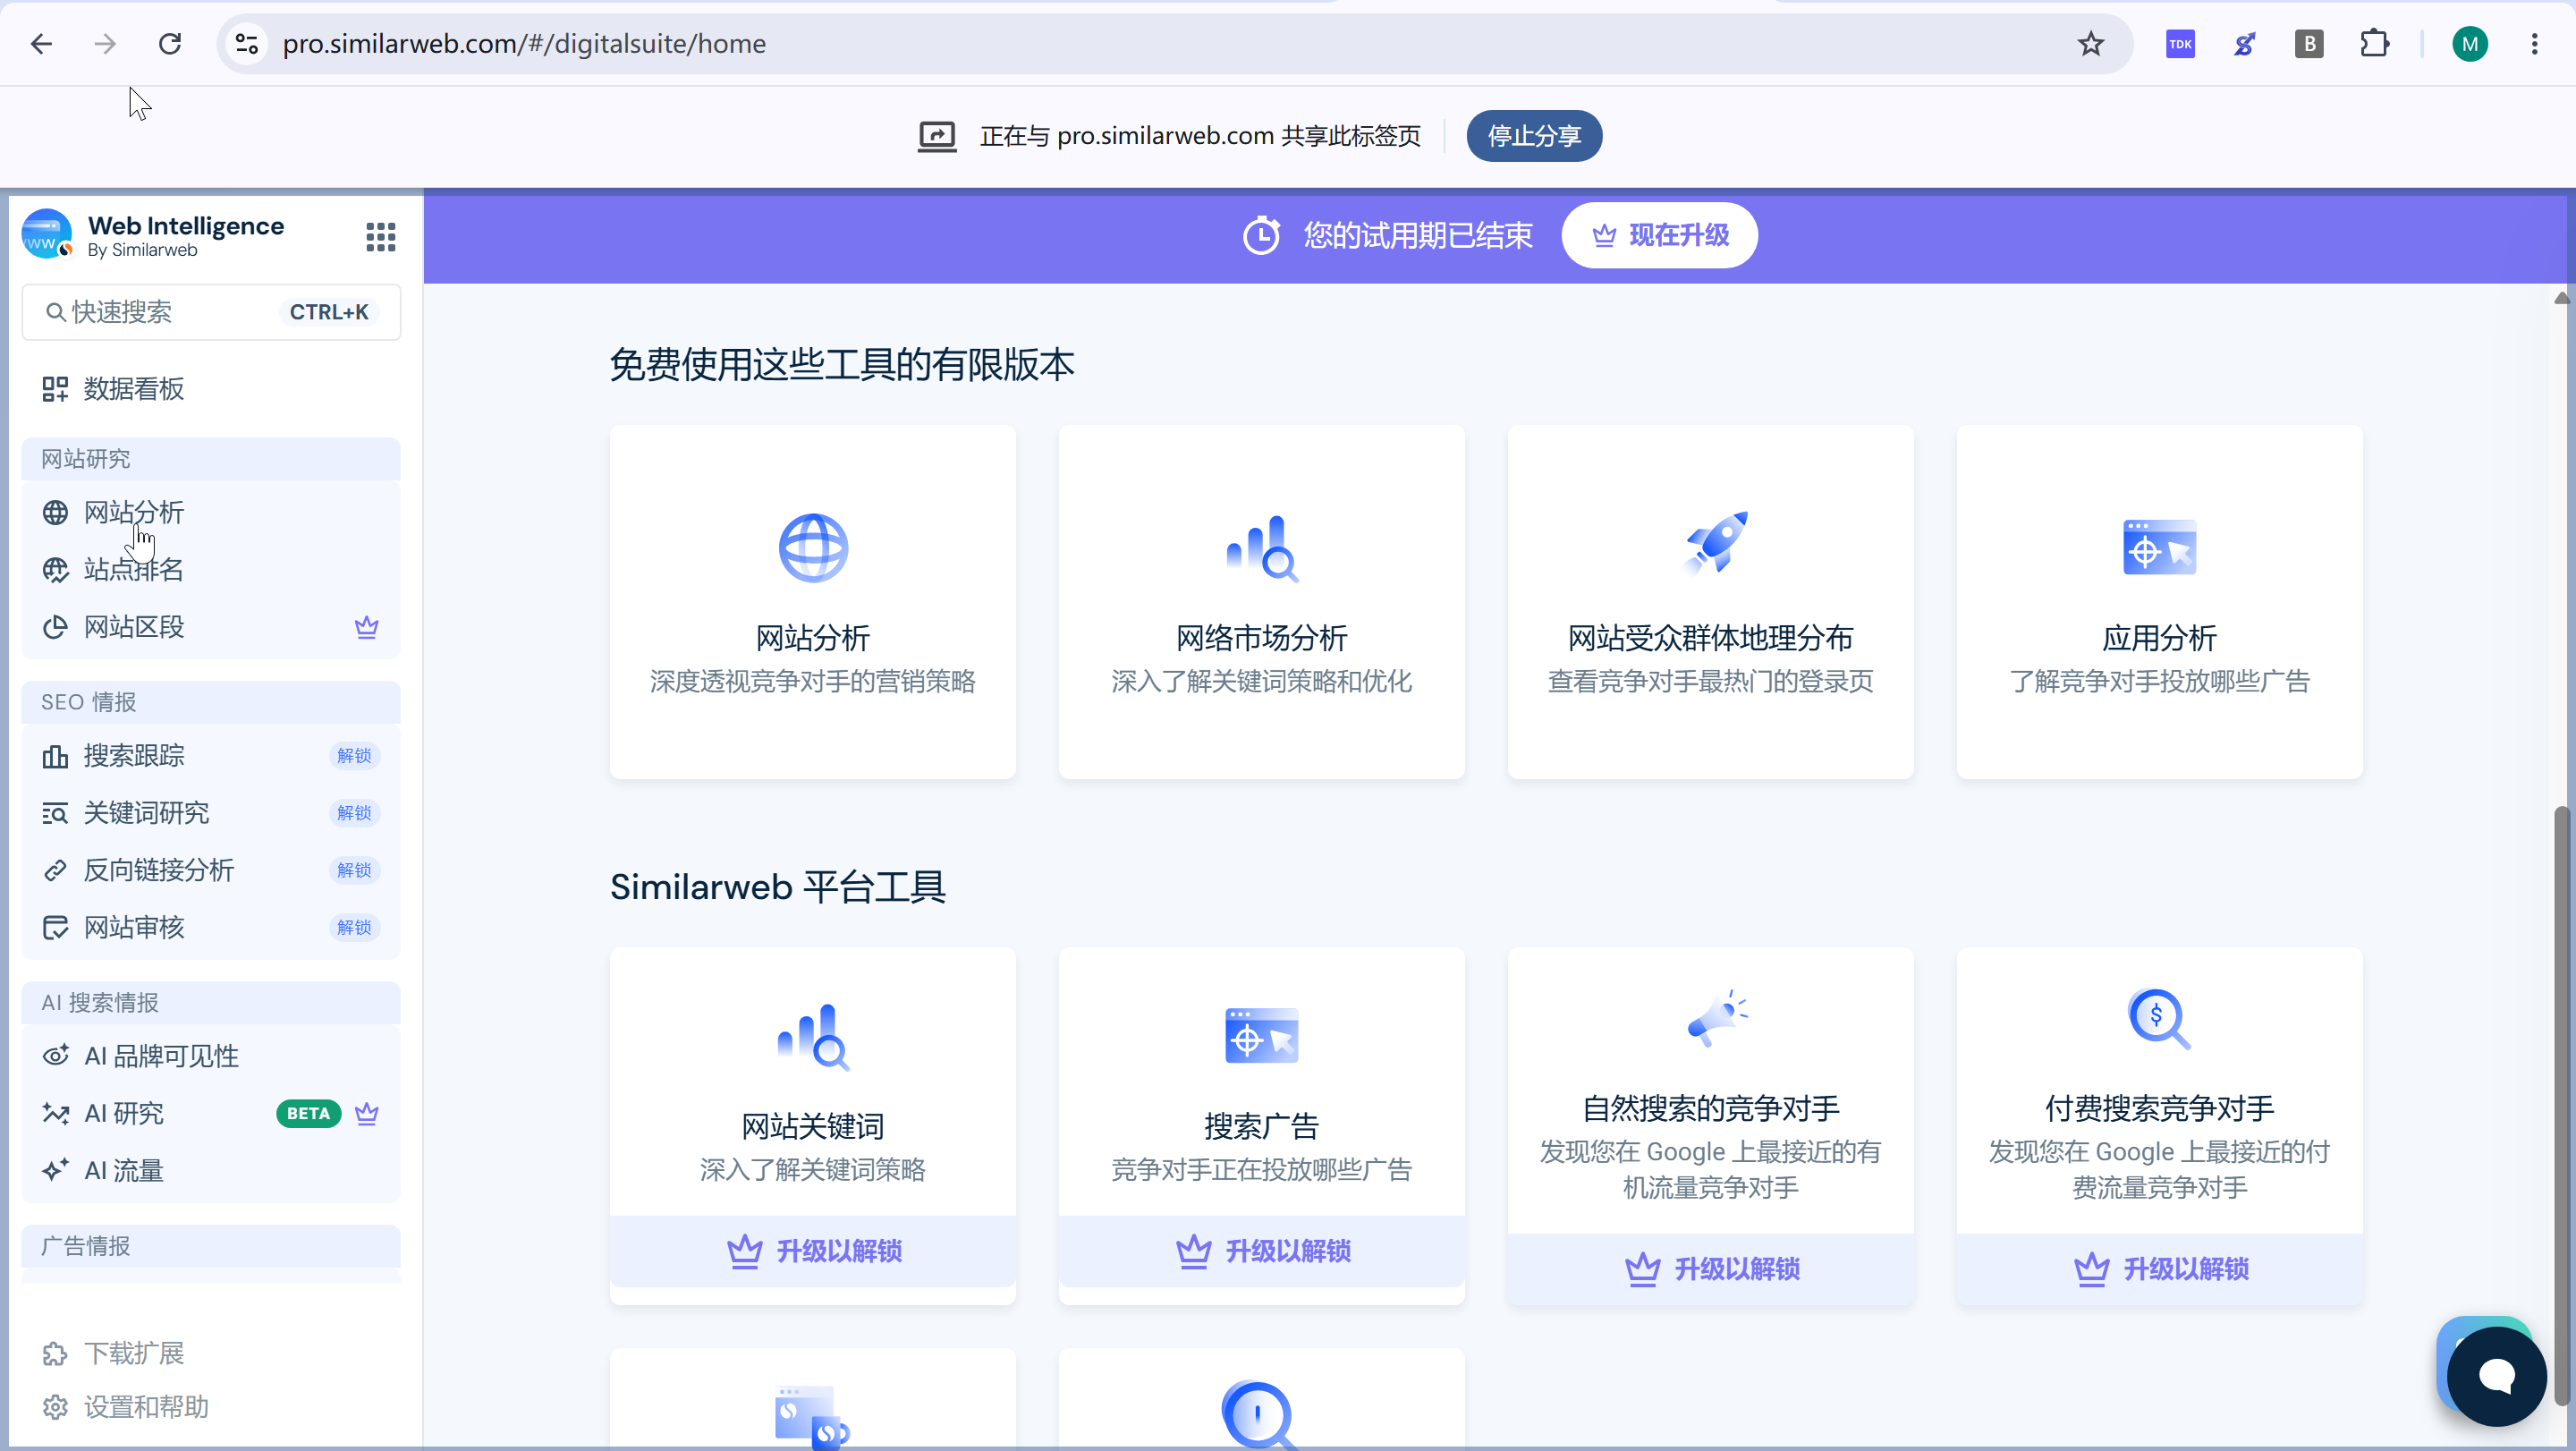
After the 3-second countdown ends, start recording the product steps.
Move through the real product path you want to show, including the menus, buttons, inputs, and page transitions that should appear in the video.
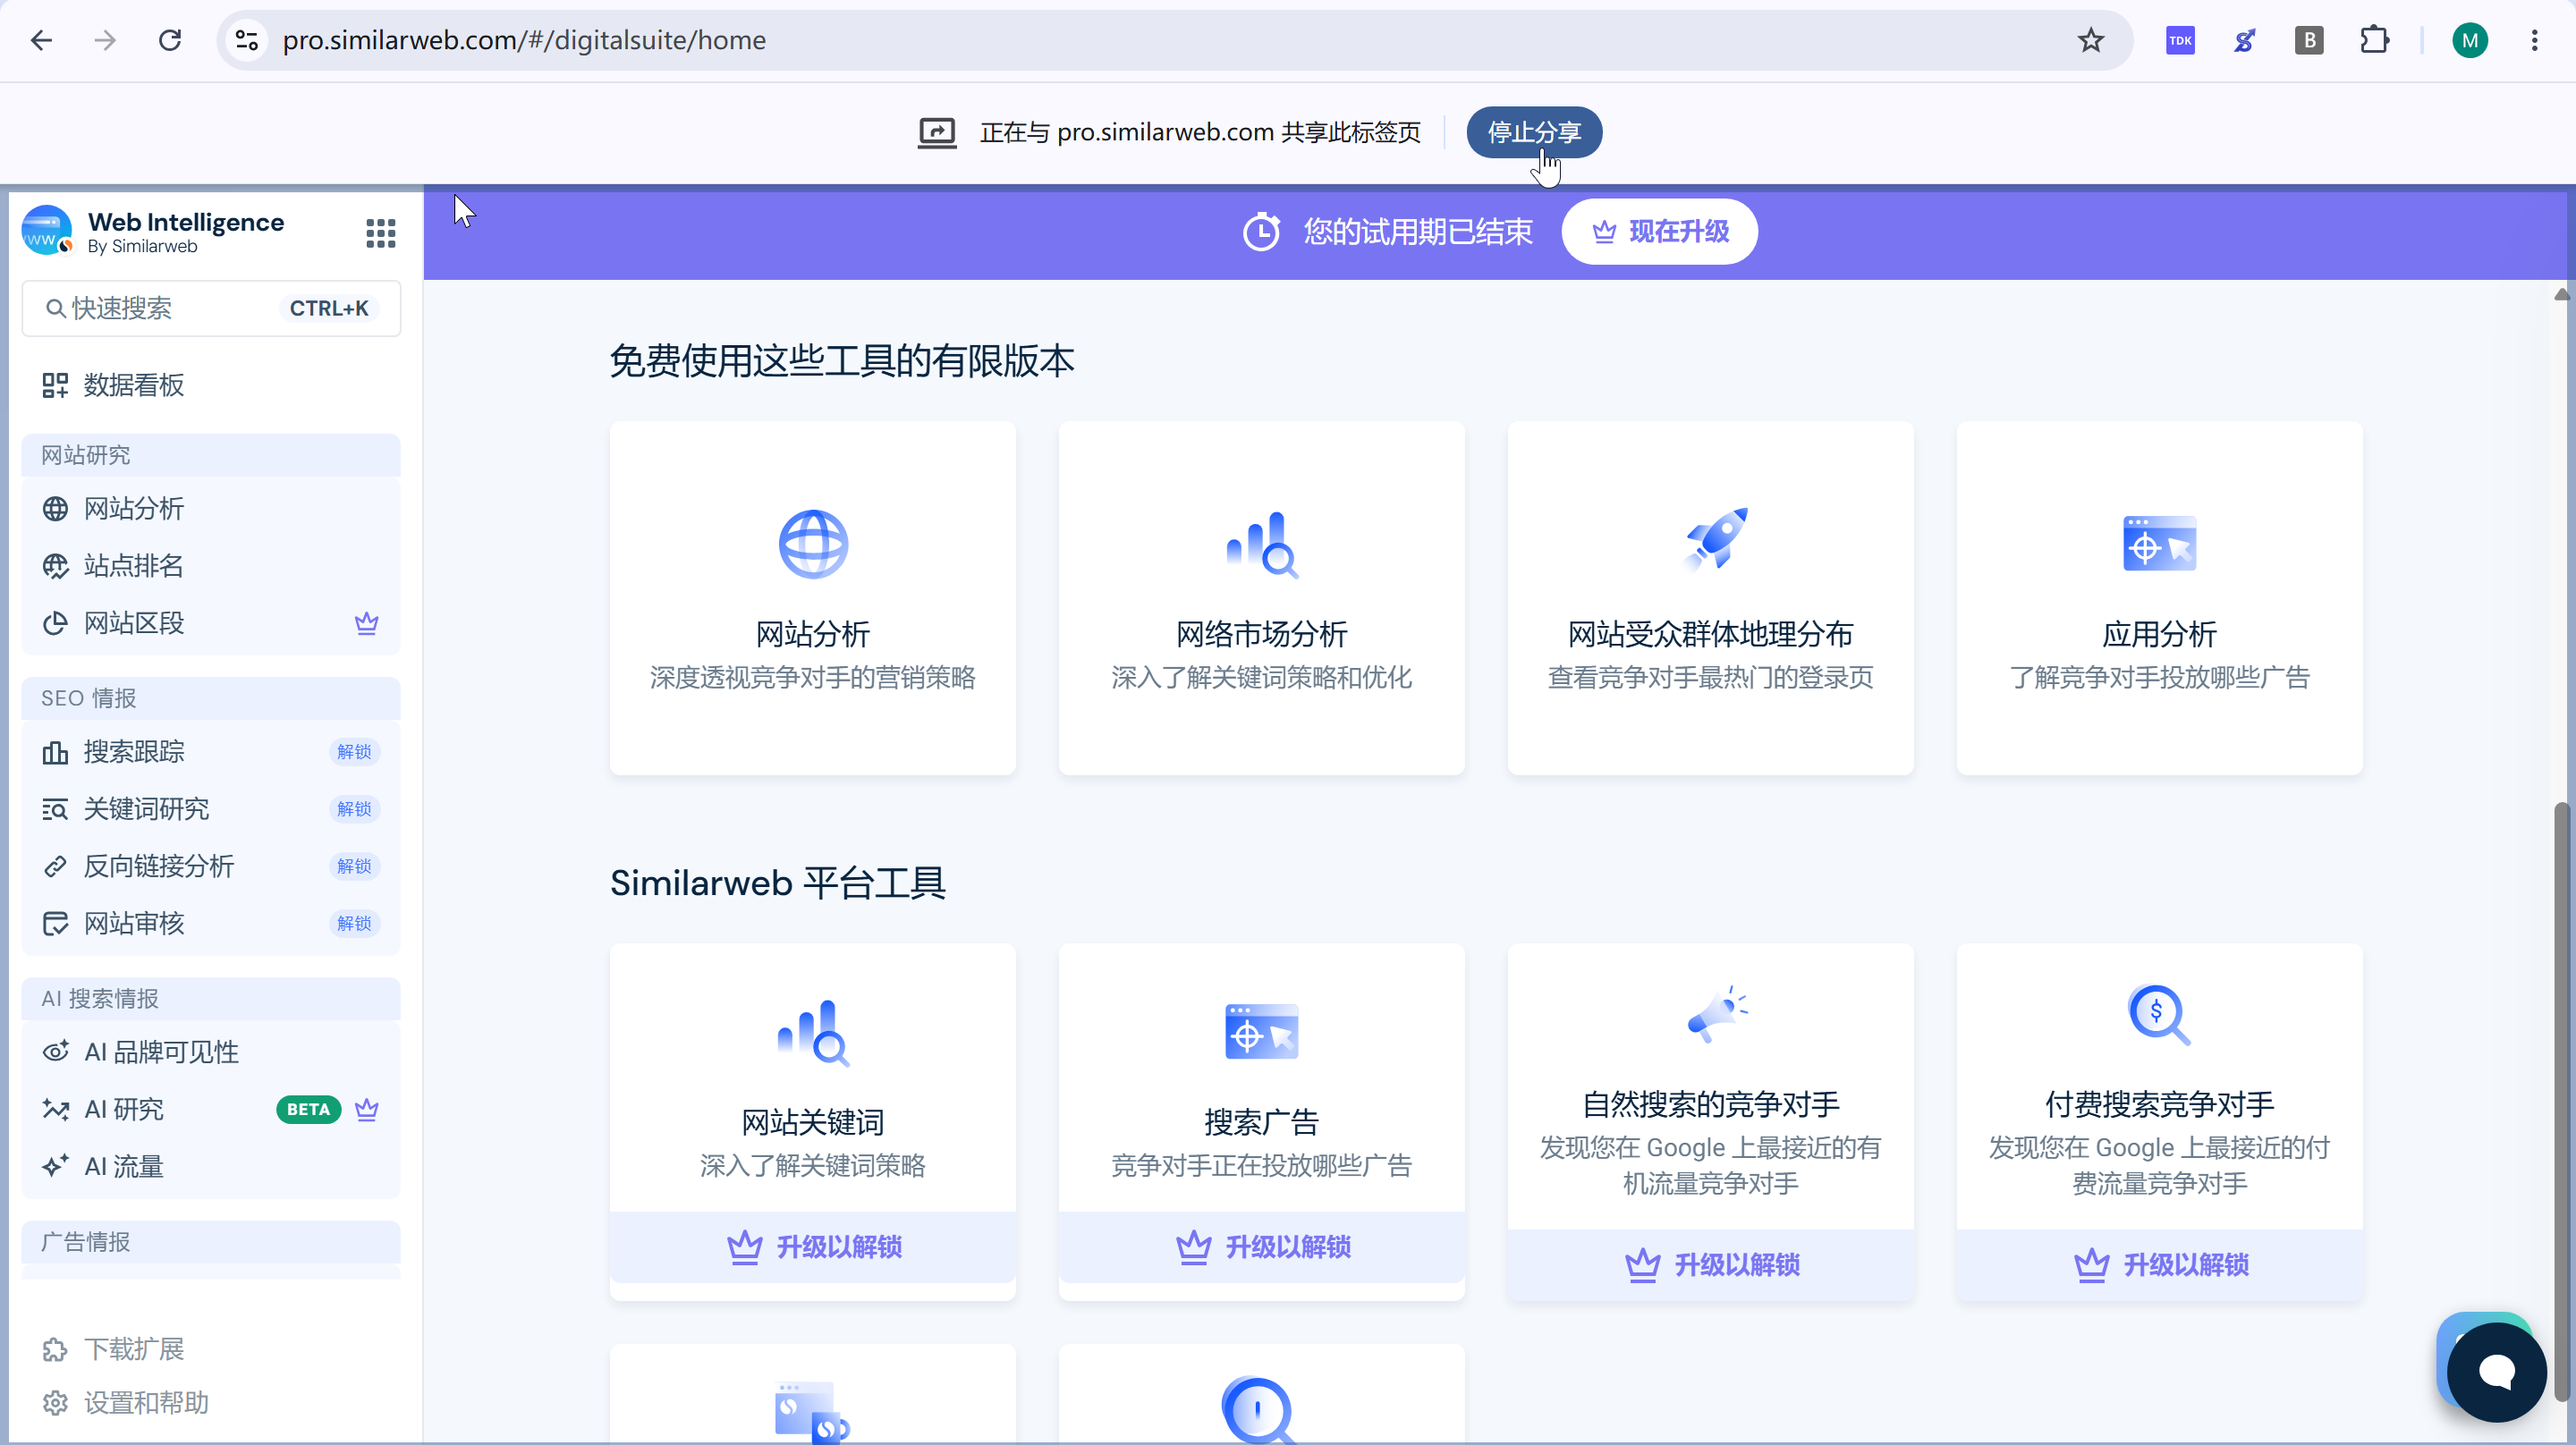
Click Stop recording in the Clipflow Recording control window.
Wait for each page change to finish before the next click. Clean transitions produce better zooms, highlights, and step context.