Step 1: Complete the shared recording steps first
Click Recording Steps and complete the shared flow from extension installation through stopping the recording. Use https://www.clipflow.chat/features/help-articles as the feature URL in that flow.
Help Articles needs a complete path from entry point to finish. Clipflow uses the clicks and page states to split the recording into article steps.
Step 2: Wait for Help Articles to process the recording
Return to Clipflow and watch the job status.
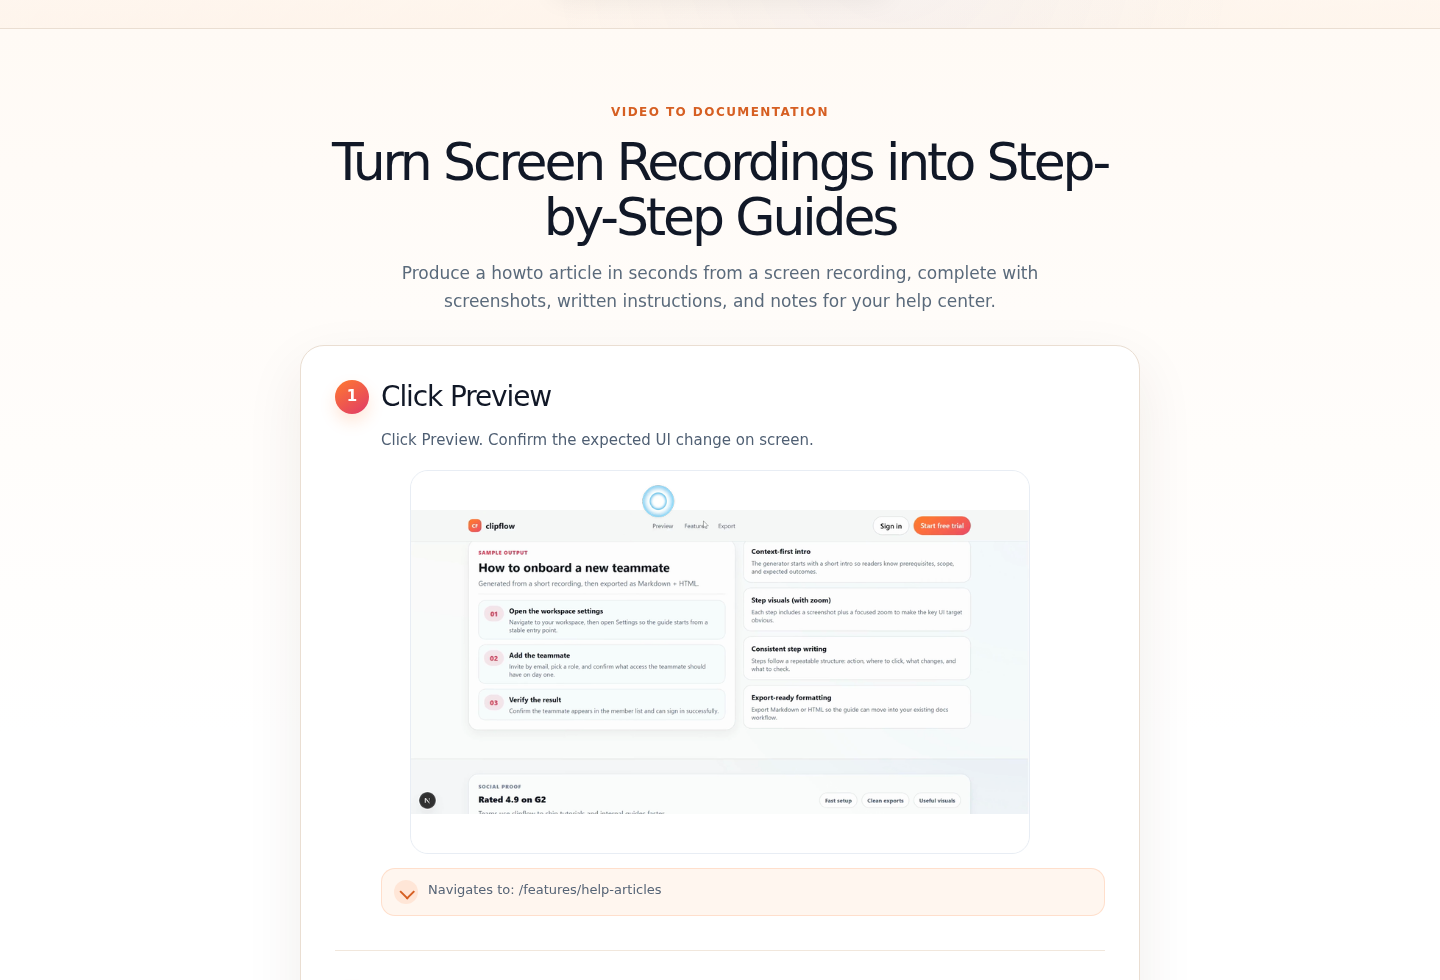
Wait while Clipflow extracts the click sequence and page screenshots.
When processing finishes, let the app redirect to the Help Articles result page.
Step 3: Review and export the article
Review each generated step description.
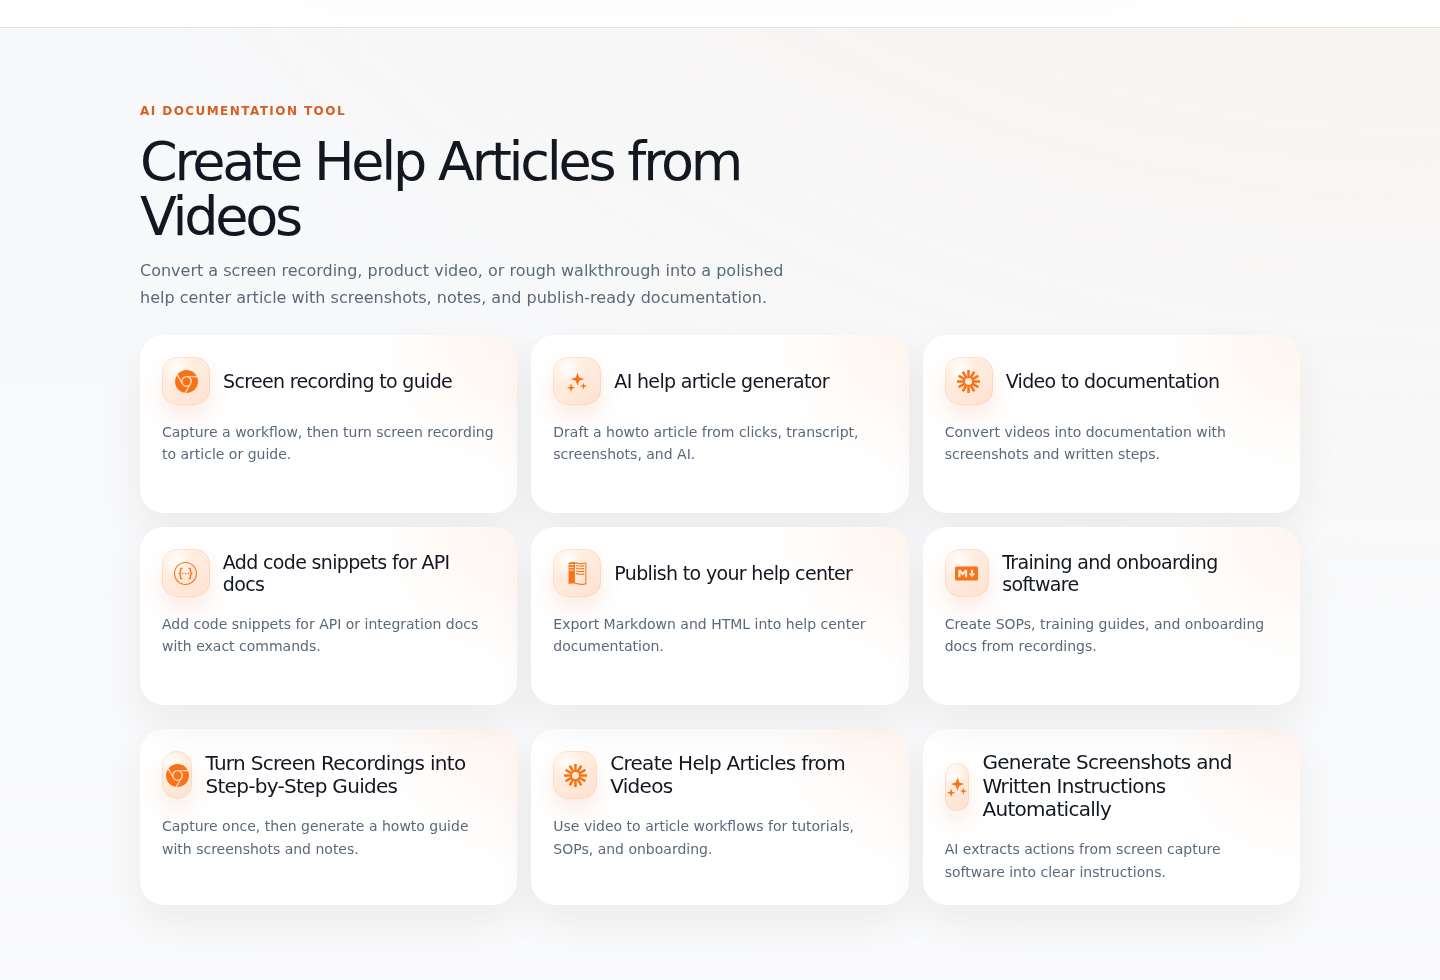
Check that every screenshot shows the correct page state.
Export the article as RTF, Markdown, HTML, DOCX, or PDF.
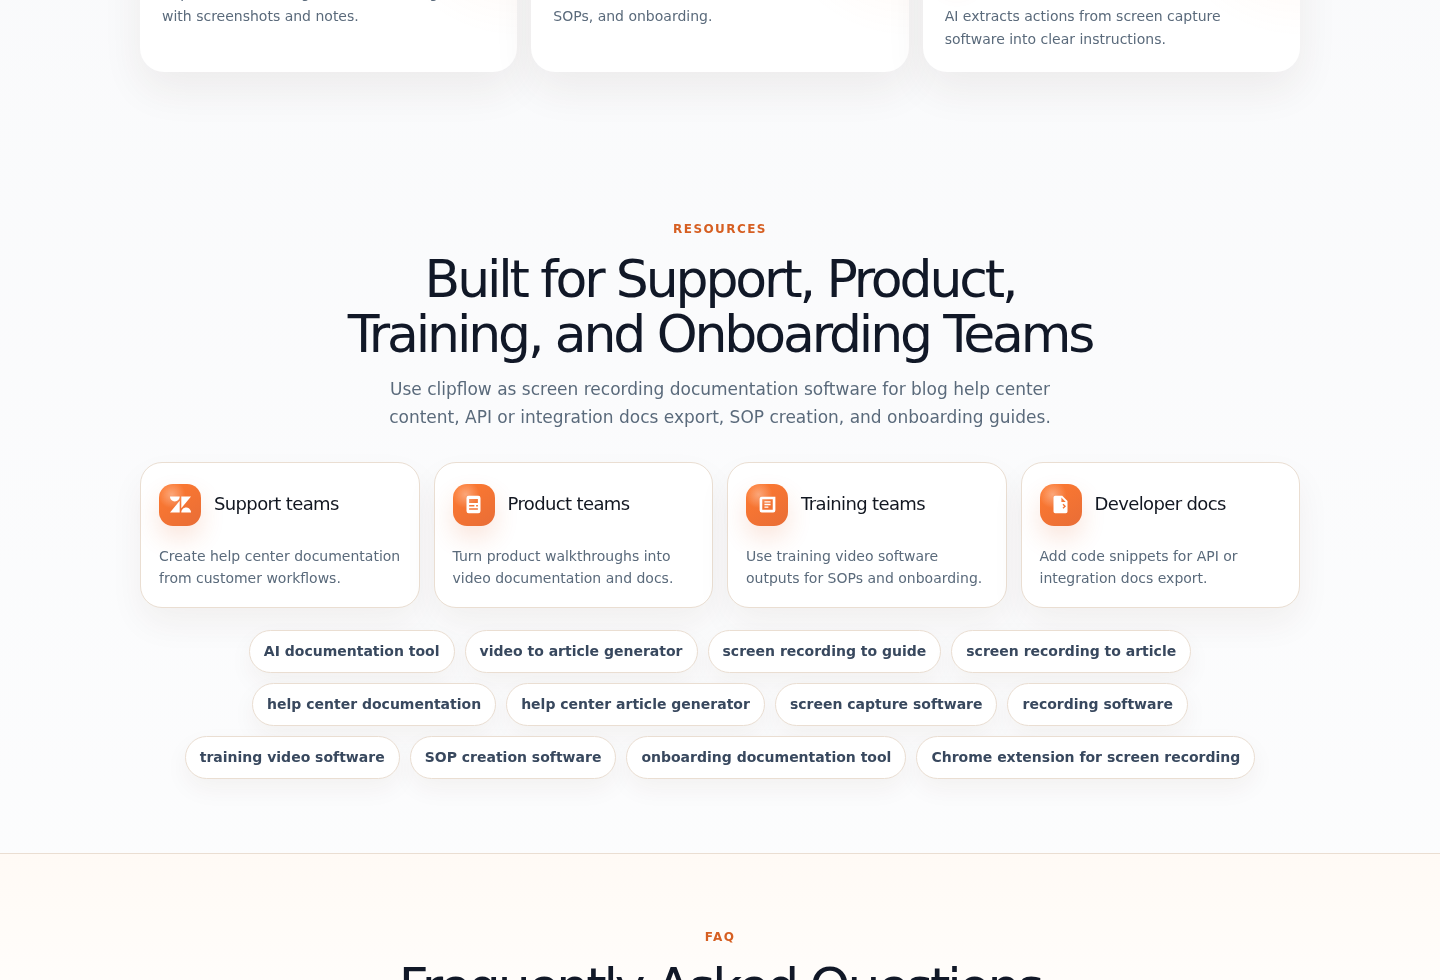
Copy the result page link for review or handoff.
Copy the embed code if the article will be embedded in a docs site.
Review the body text, screenshot, target label, and note for each step before publishing the article.
Output formats
- RTF
- Markdown
- HTML
- DOCX
- Result page link
- Embed code