Step 1: Complete the shared recording steps first
Click Recording Steps and complete the shared flow from extension installation through stopping the recording. Use https://www.clipflow.chat/features/video-features as the feature URL in that flow.
Step 2: Stop and upload the recording
Wait for the Stopping and uploading... status.
Wait for Upload started. Returning to Clipflow... before returning to the Clipflow page.
Keep the control window open until upload starts. Clipflow receives the screen recording and related event data after this step.
Step 3: Wait for Video Features to process the recording
Return to Clipflow and watch the job status.
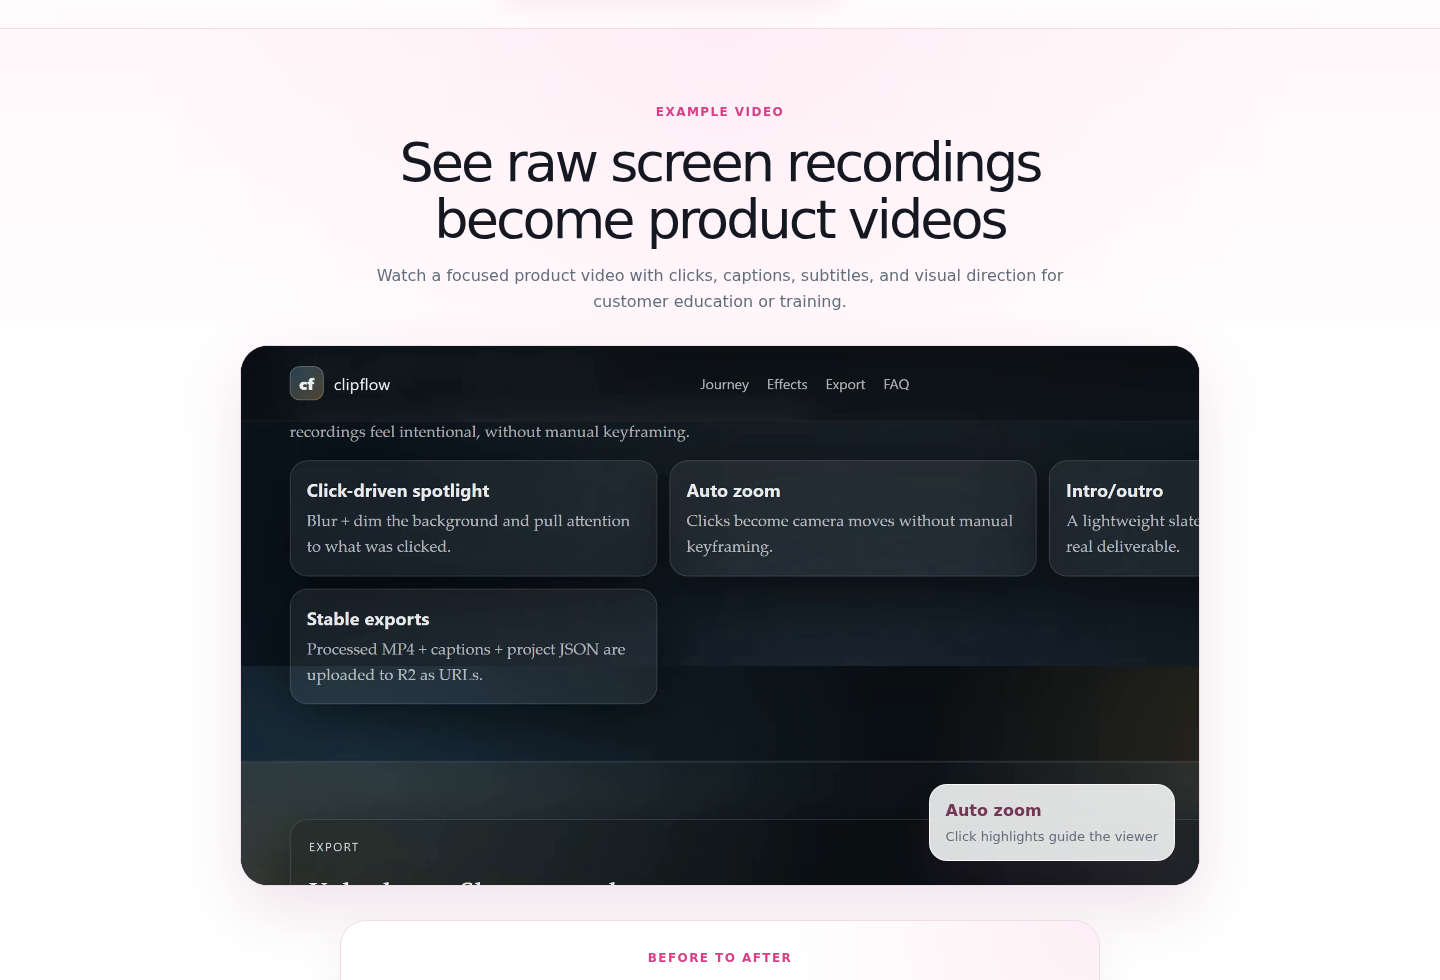
Wait while the job shows Uploading source.
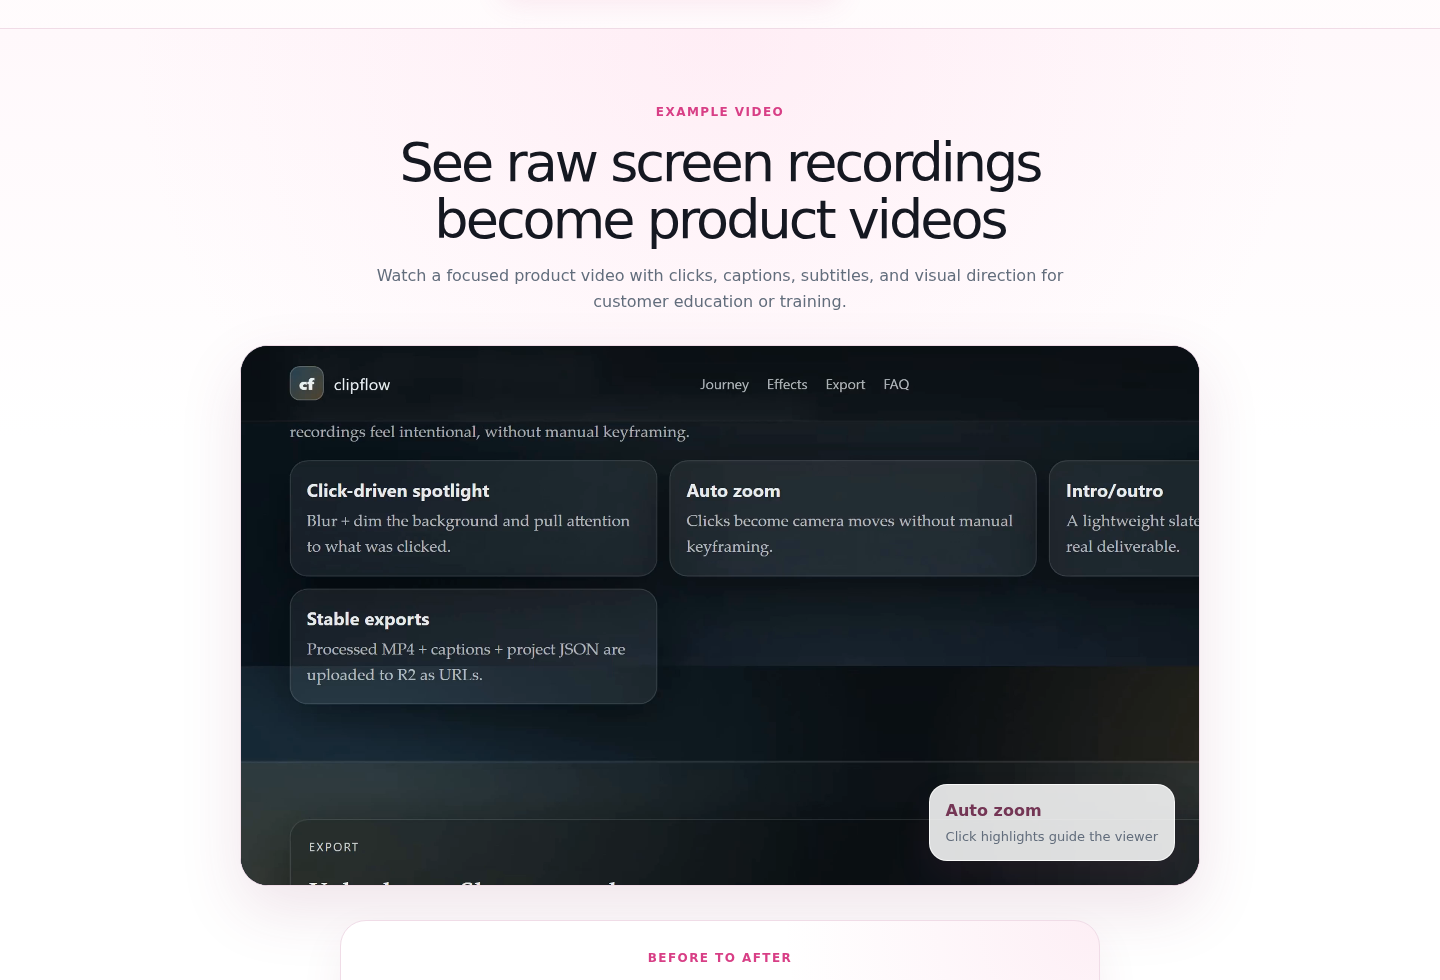
Wait while the job shows Transcribing (ASR).
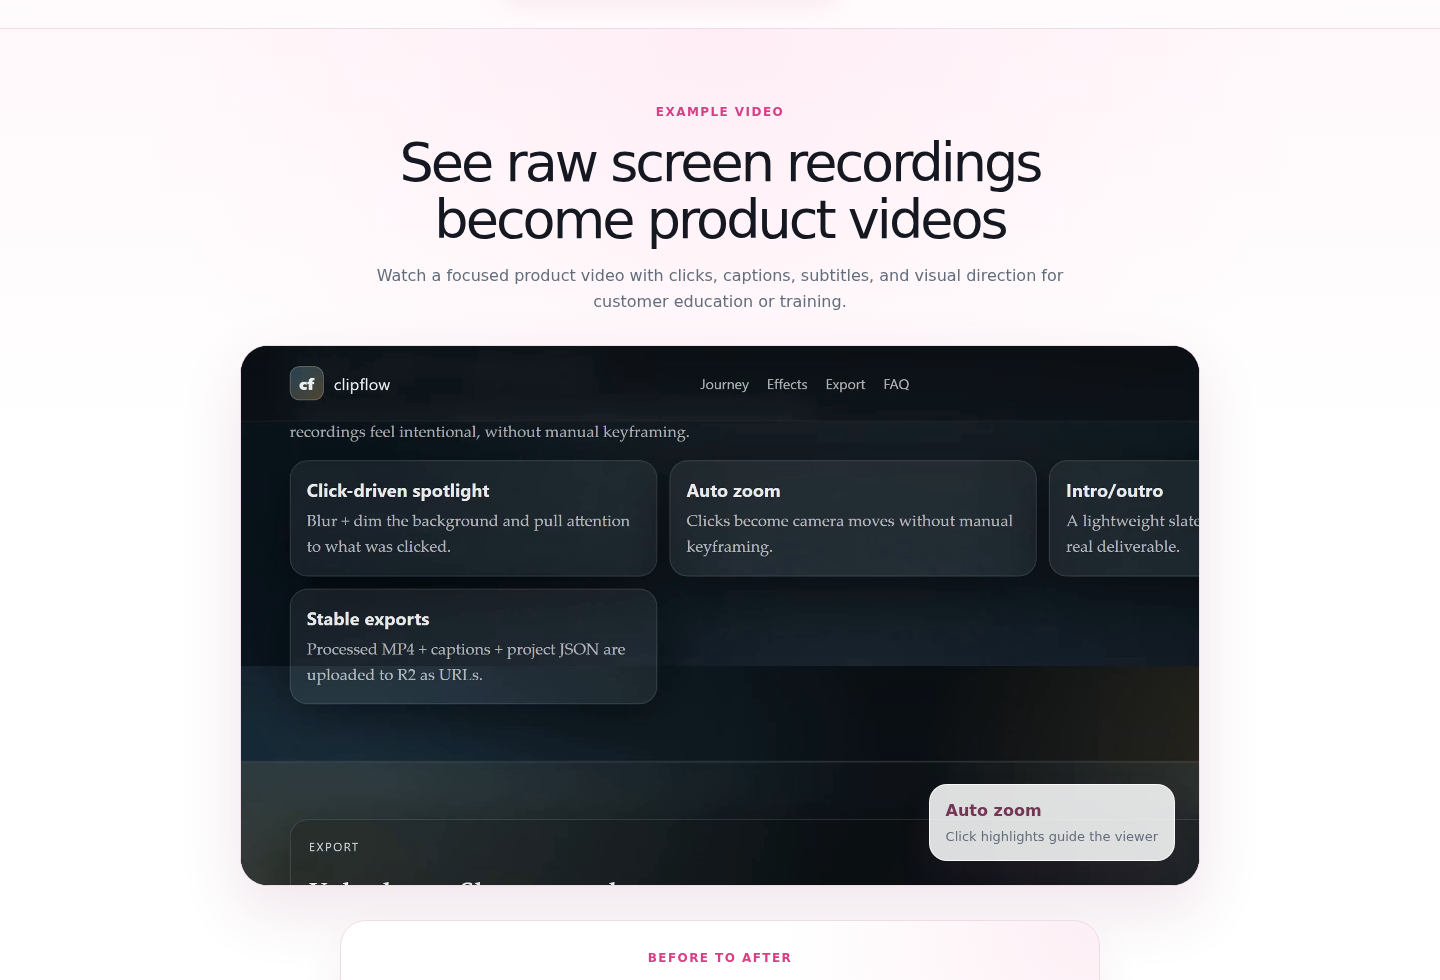
Wait while the job shows Rendering video.
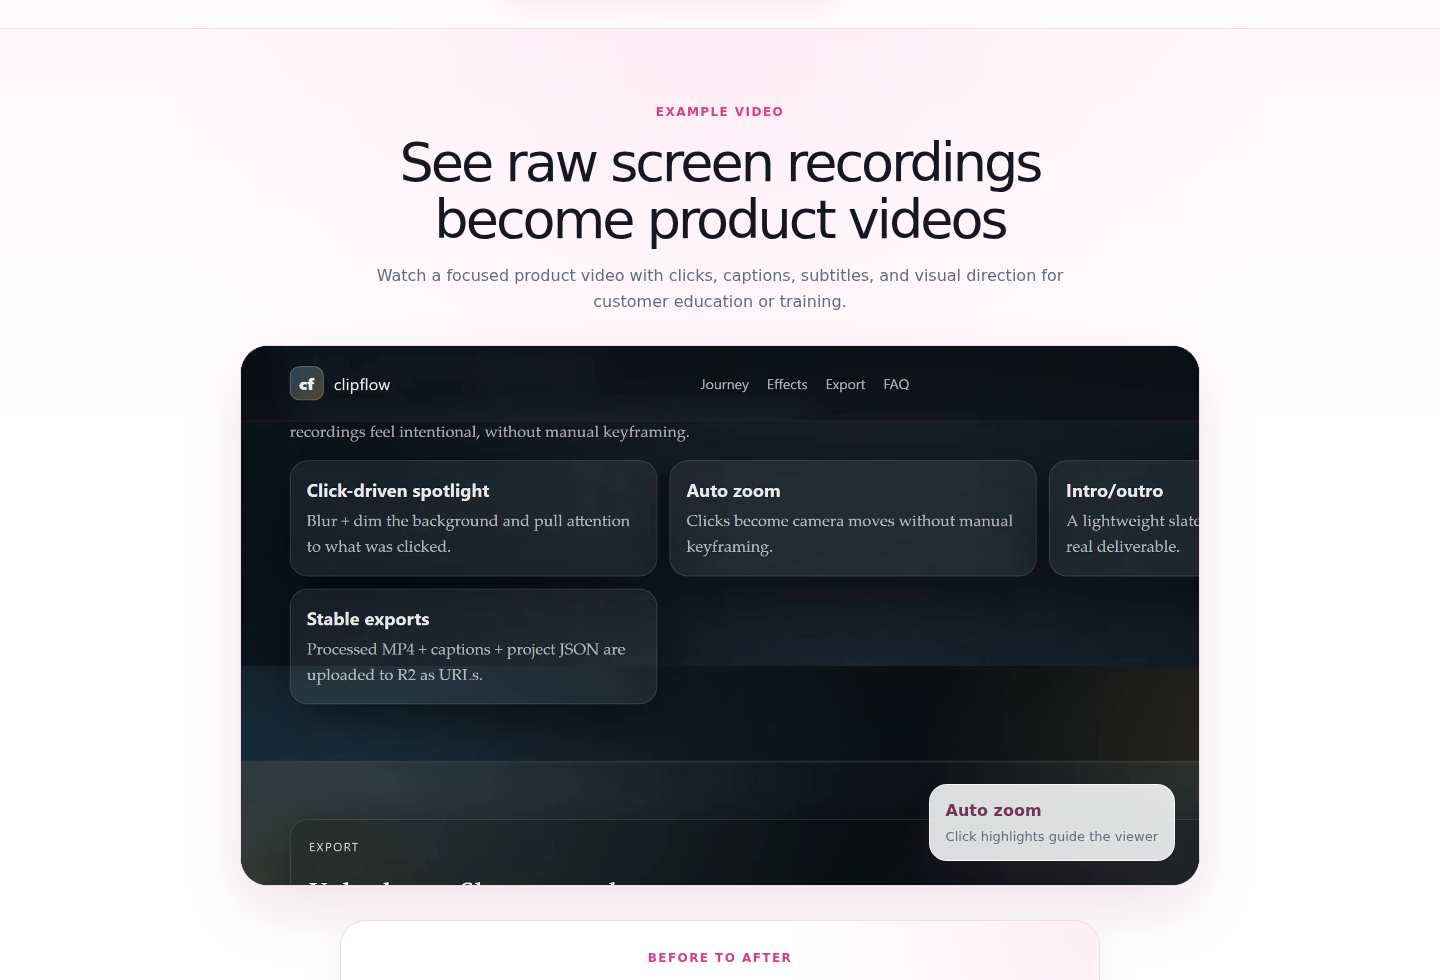
When processing finishes, let the app redirect to the Video Features result page.
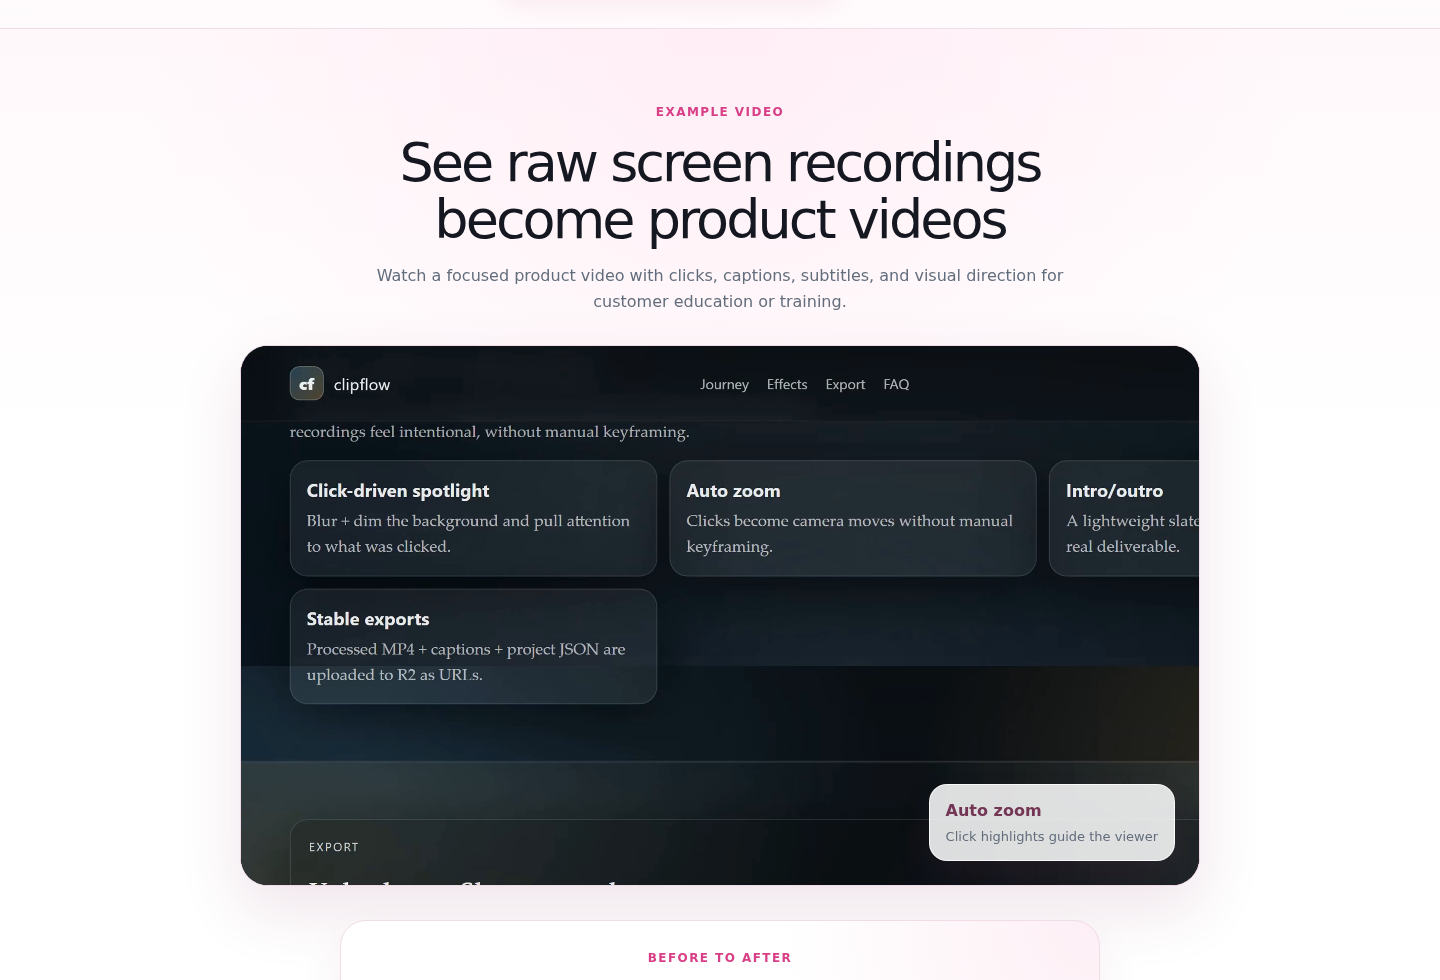
Step 4: Review and export the result
Click the video player to preview the generated video.
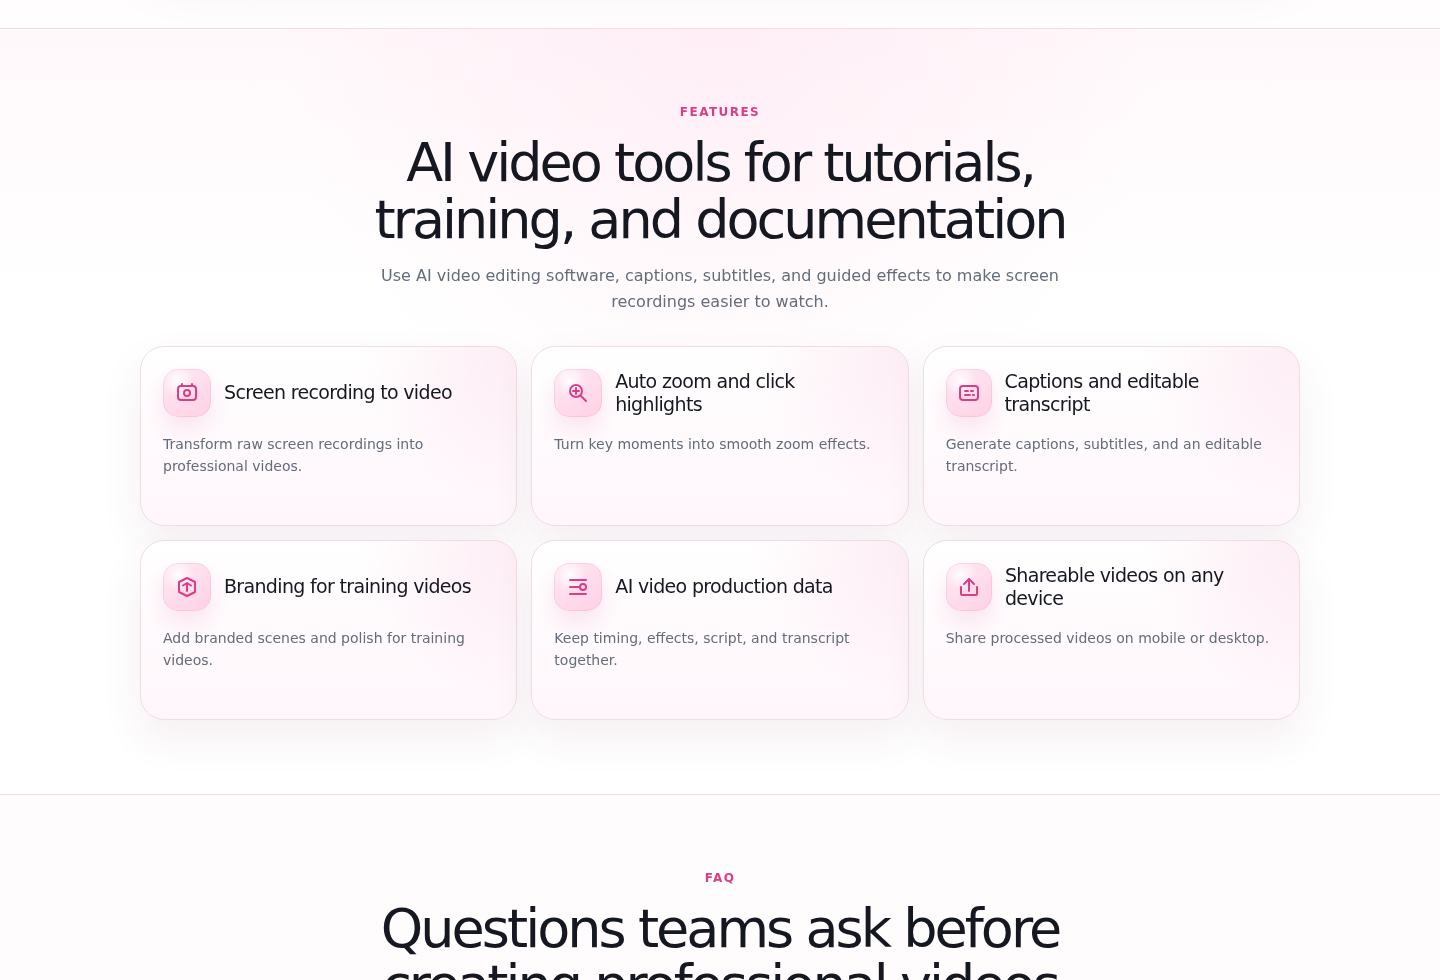
Check the auto zoom and click highlight effects in the preview.
Review captions / subtitles for timing and wording.
Review the transcript for product names, button labels, and key terms.
Click the MP4 export option to download the finished video.
Click the captions / subtitles export option.
Click the transcript export option.
Click the share-link option to copy the result page link.
Click the embed option to copy the video embed snippet.
Before publishing, make sure important UI is readable, captions do not cover key controls, and click highlights land in the right places.
Output formats
- MP4 video
- Captions and transcript
- Result page share link
- Embeddable video snippet